
The art of creating beautiful and delicious sugar cookies, once the exclusive domain of professional bakeries, is now accessible to home bakers with a straightforward recipe that promises consistently perfect results. This comprehensive guide delves into a foolproof method for crafting cut-out sugar cookies, renowned for their delightful crisp edges and tender centers. Complementing the cookies is an easy-to-make buttercream frosting, specifically formulated for its smooth texture and excellent piping capabilities, making it ideal for intricate decorating. This recipe demystifies the often-intimidating process of cookie decorating, empowering even novice bakers to achieve bakery-quality results.

The Appeal of Homemade Sugar Cookies
For many home bakers, the prospect of piping decorative frosting can evoke a sense of apprehension, akin to the suspenseful opening notes of a classic film score. This recipe aims to dissolve that fear by providing a clear, accessible path to creating visually stunning and delicious sugar cookies. The core of this endeavor lies in a meticulously developed cut-out sugar cookie dough recipe, designed for optimal spread and structural integrity when cut and baked. While the featured cookies showcase a sophisticated "wreath" design achieved with scalloped cutters, the versatility of the dough means any shape or size can be transformed into a delightful confection.
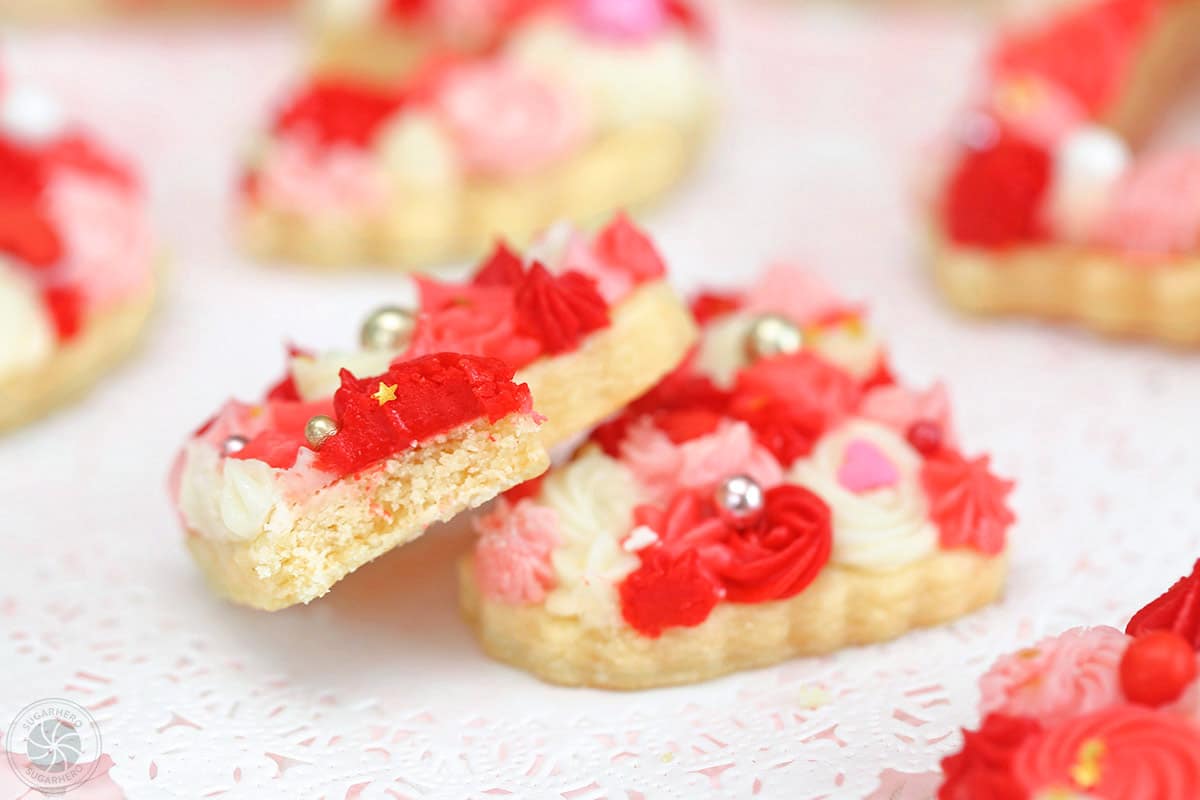
The accompanying frosting is an American-style buttercream, a testament to simplicity and efficiency. Requiring only a handful of common ingredients and mere minutes to prepare, it offers a smooth, stable base for creative expression. The key to its user-friendly nature, and indeed the entire decorating process, lies in the strategic use of various colors and piping tips. By employing a spectrum of buttercream hues and small star tips, bakers can transform plain cookies into edible works of art that rival those found in high-end patisseries. The beauty of this technique is its inherent forgiveness; there is no single "correct" way to pipe. Swirls, dots, and whimsical lines in a multitude of colors can be layered and combined to cover the cookie surface, creating a captivating, "beautifully chaotic" aesthetic. A final flourish of sprinkles adds the perfect finishing touch to these personalized masterpieces.
Ingredients and Equipment for Success
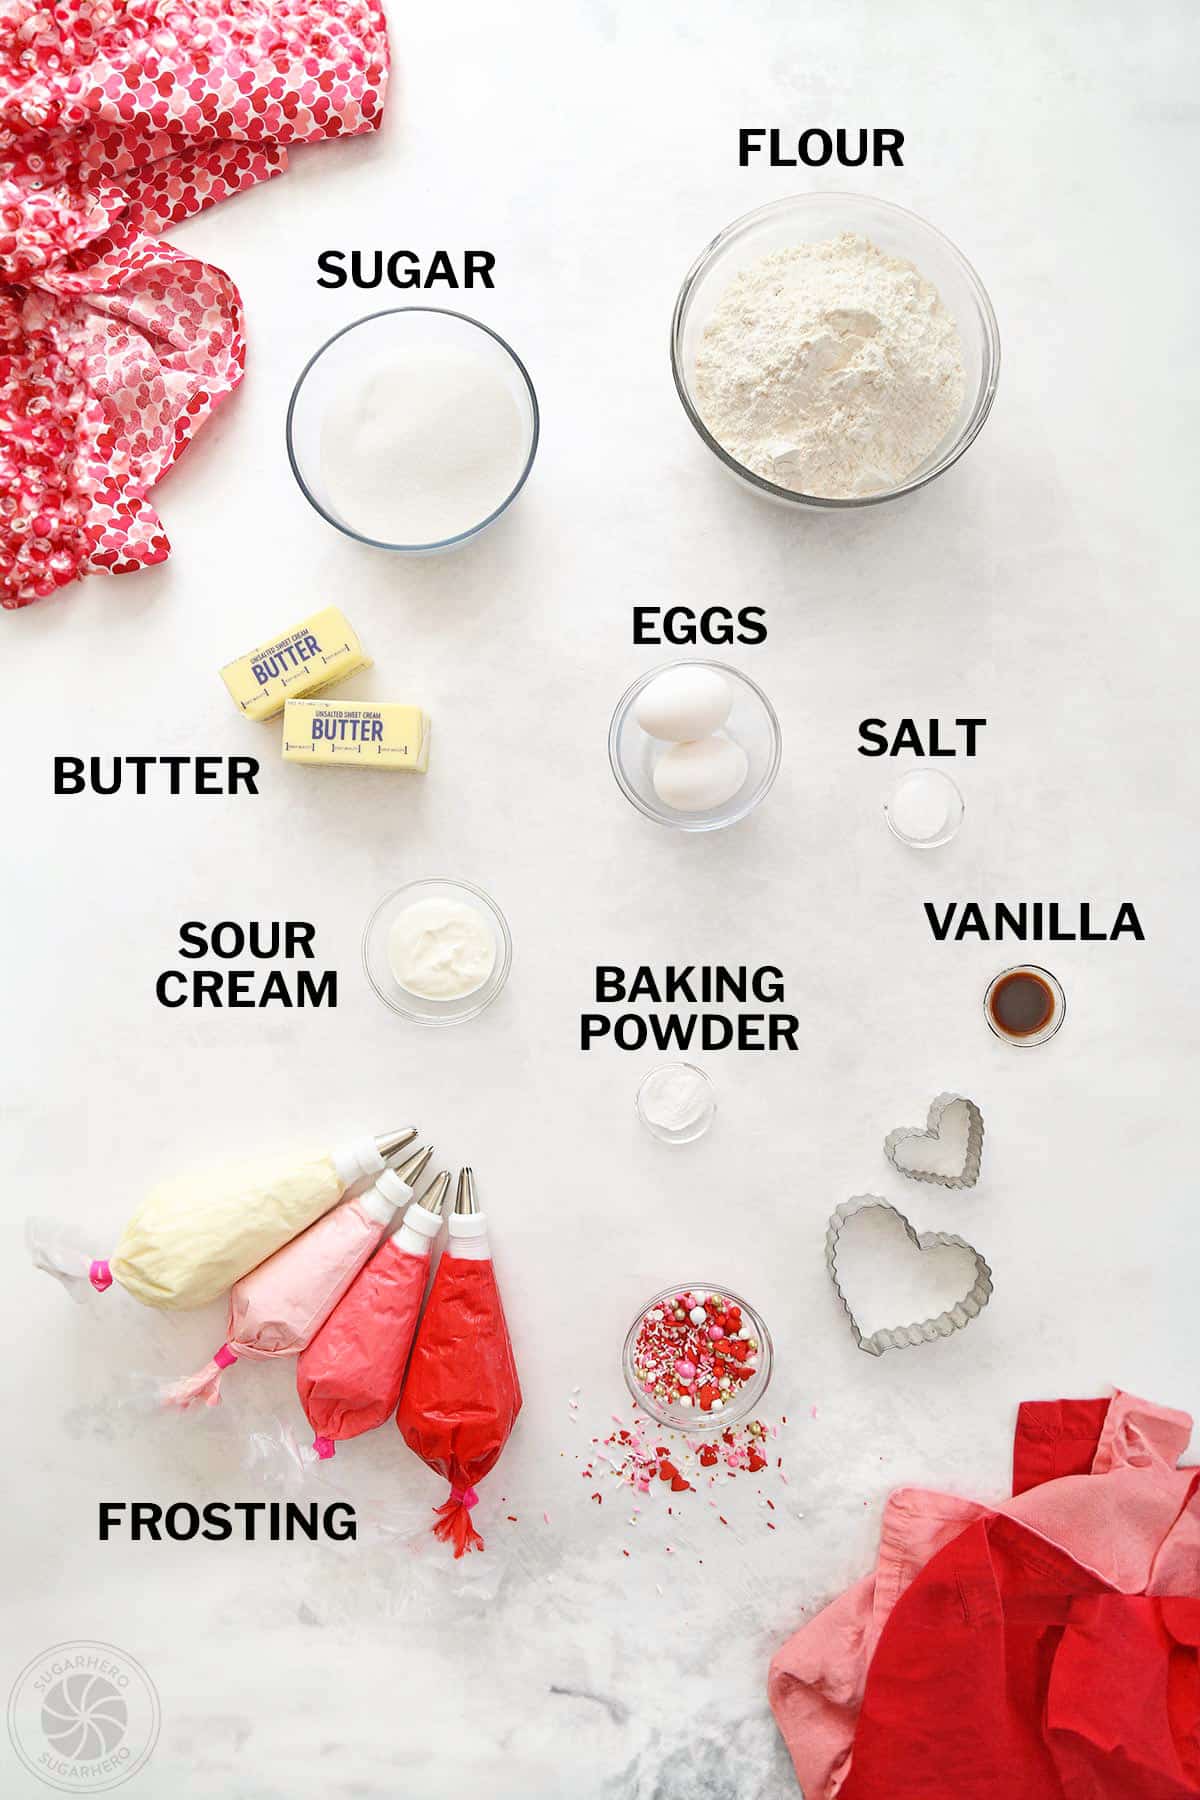
The foundation of any successful baking endeavor lies in the quality and selection of ingredients, as well as the right tools. This recipe emphasizes using readily available items, ensuring that the barrier to entry for creating these delightful cookies is minimal.

For the Sugar Cookies:

- All-purpose flour
- Baking soda
- Salt
- Unsalted butter, softened
- Granulated sugar
- Eggs
- Vanilla extract
- Sour cream (or plain yogurt)
For the Buttercream Frosting:
- Unsalted butter, softened
- Powdered sugar (confectioners’ sugar)
- Heavy cream (or milk)
- Vanilla extract
- Salt
For Decoration:
- Food coloring (gel or liquid) in desired shades (e.g., red, pink, white)
- Sprinkles (optional, for added flair)
Essential Equipment:
- Mixing bowls (various sizes)
- Electric mixer (stand or hand mixer)
- Measuring cups and spoons (or a kitchen scale for precision)
- Whisk
- Spatula
- Rolling pin
- Cookie cutters (various shapes and sizes, including scalloped for the featured design)
- Baking sheets
- Parchment paper
- Piping bags
- Piping tips (small star tips are recommended for this technique)
- Cooling racks
A Detailed Tutorial: Crafting Your Sugar Cookies
The process of creating these sugar cookies can be broken down into distinct stages, each contributing to the final delectable outcome.
Part 1: Preparing the Sugar Cookies
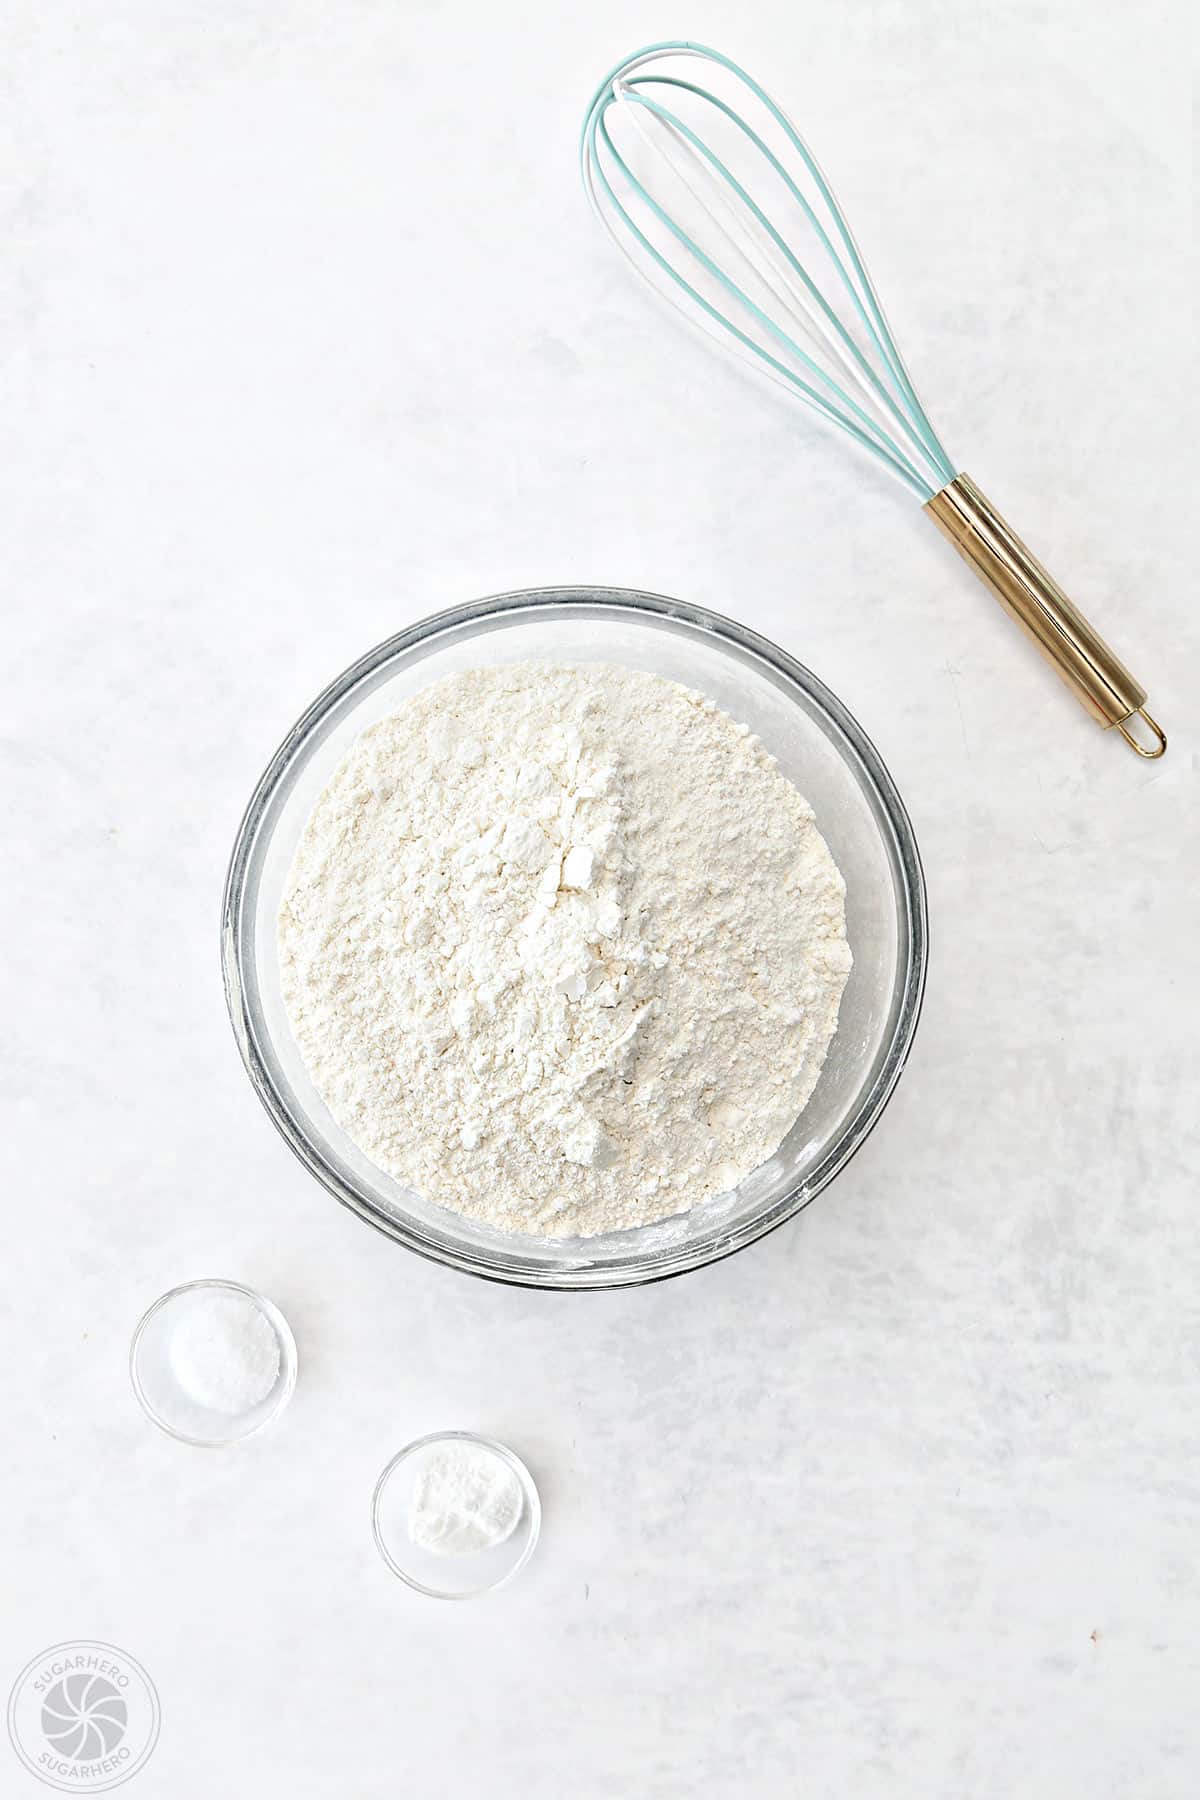
- Dry Ingredients Preparation: In a medium bowl, whisk together the all-purpose flour, baking soda, and salt. This ensures that the leavening agents are evenly distributed, promoting consistent cookie rise.
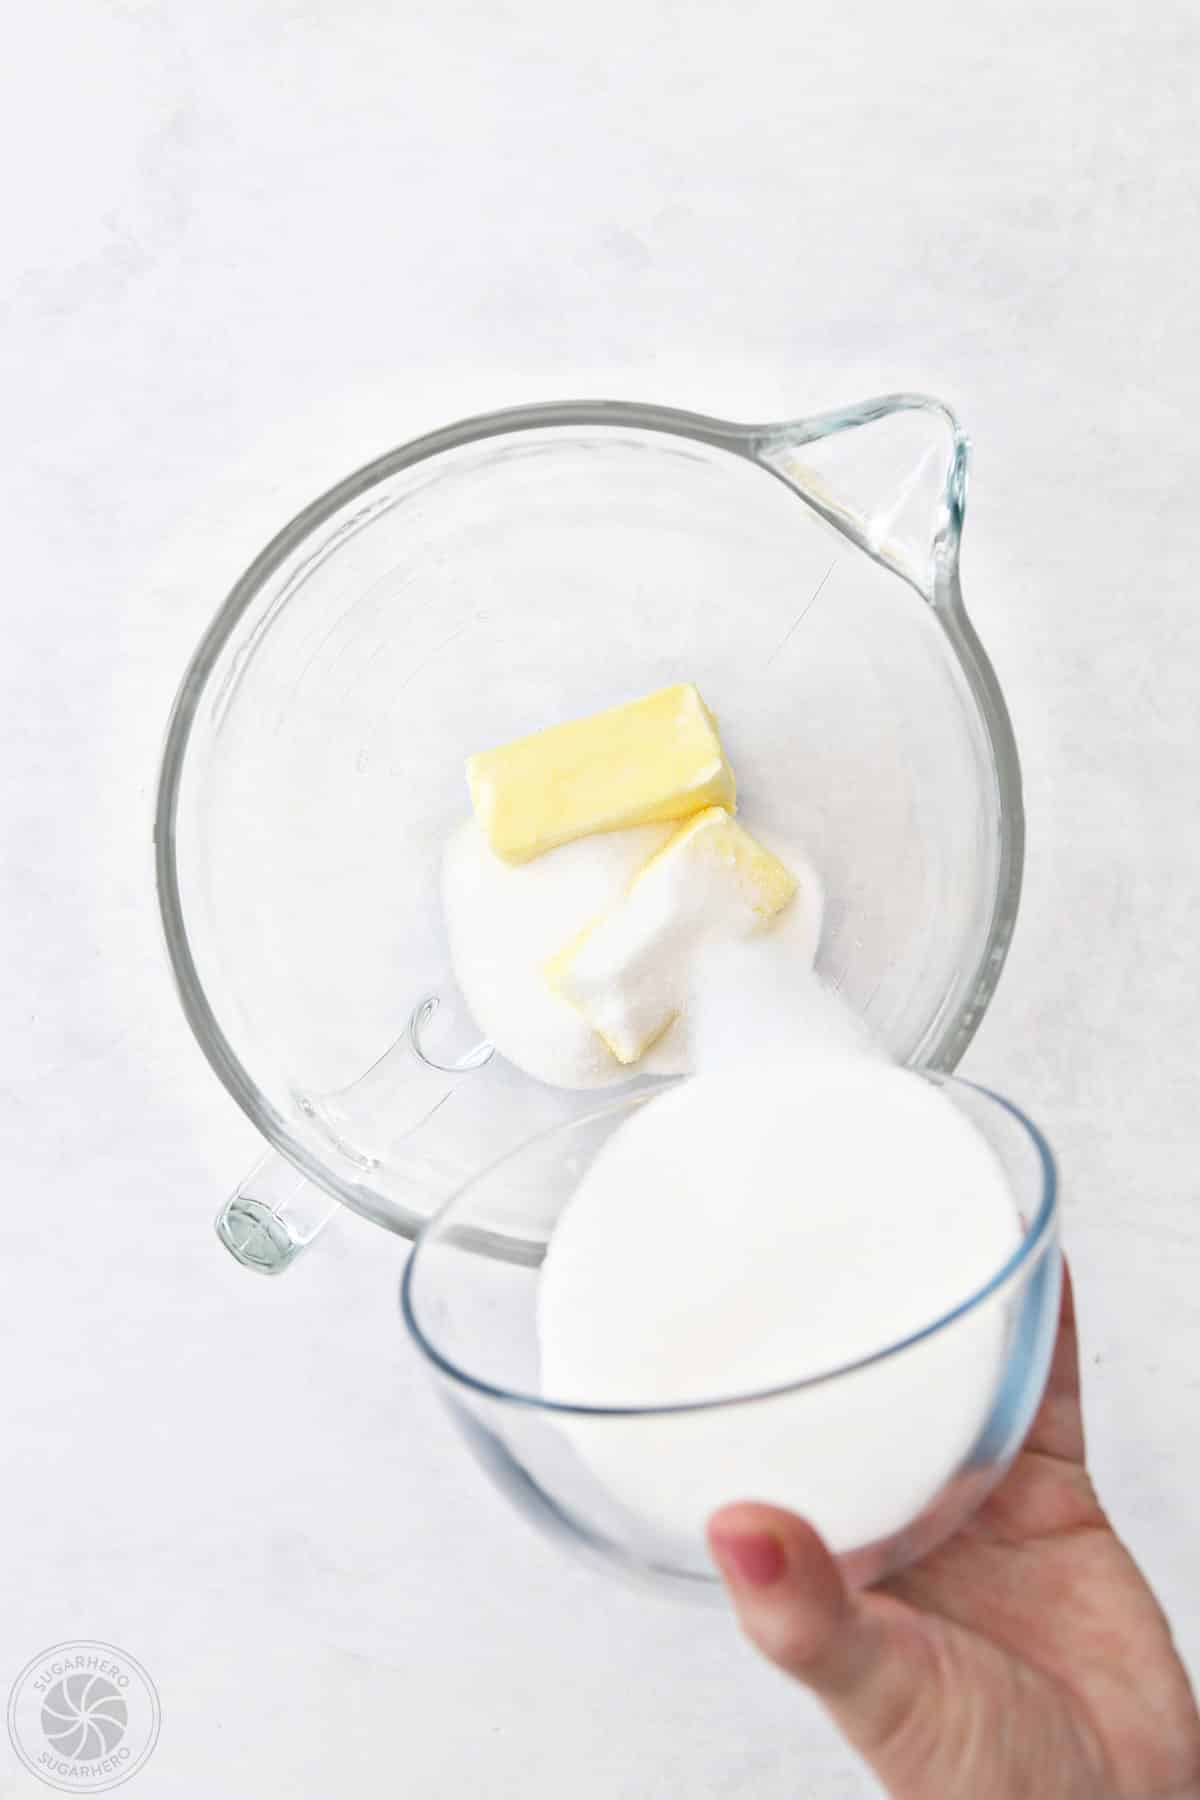
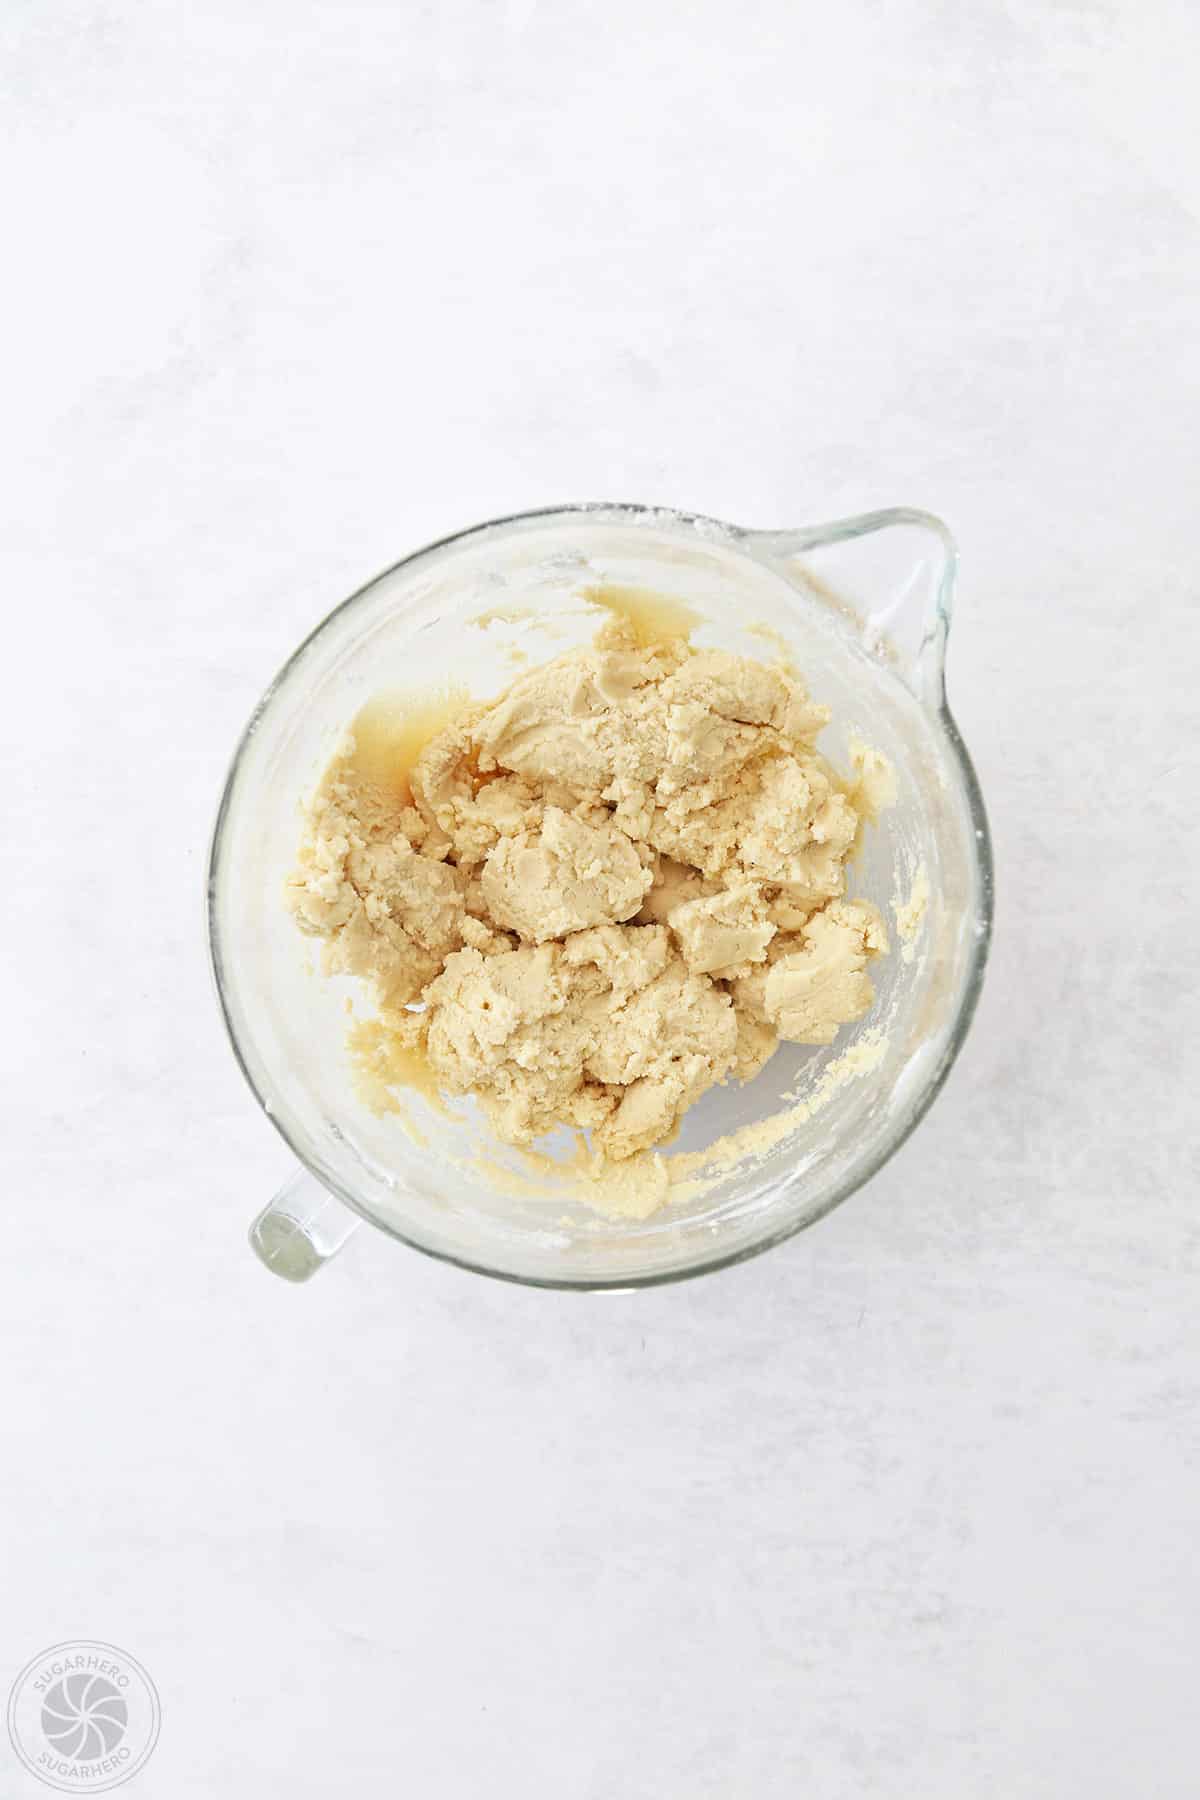
- Creaming the Butter and Sugar: In a large mixing bowl, cream together the softened unsalted butter and granulated sugar until the mixture is light and fluffy. This process incorporates air, which is crucial for the cookies’ texture.
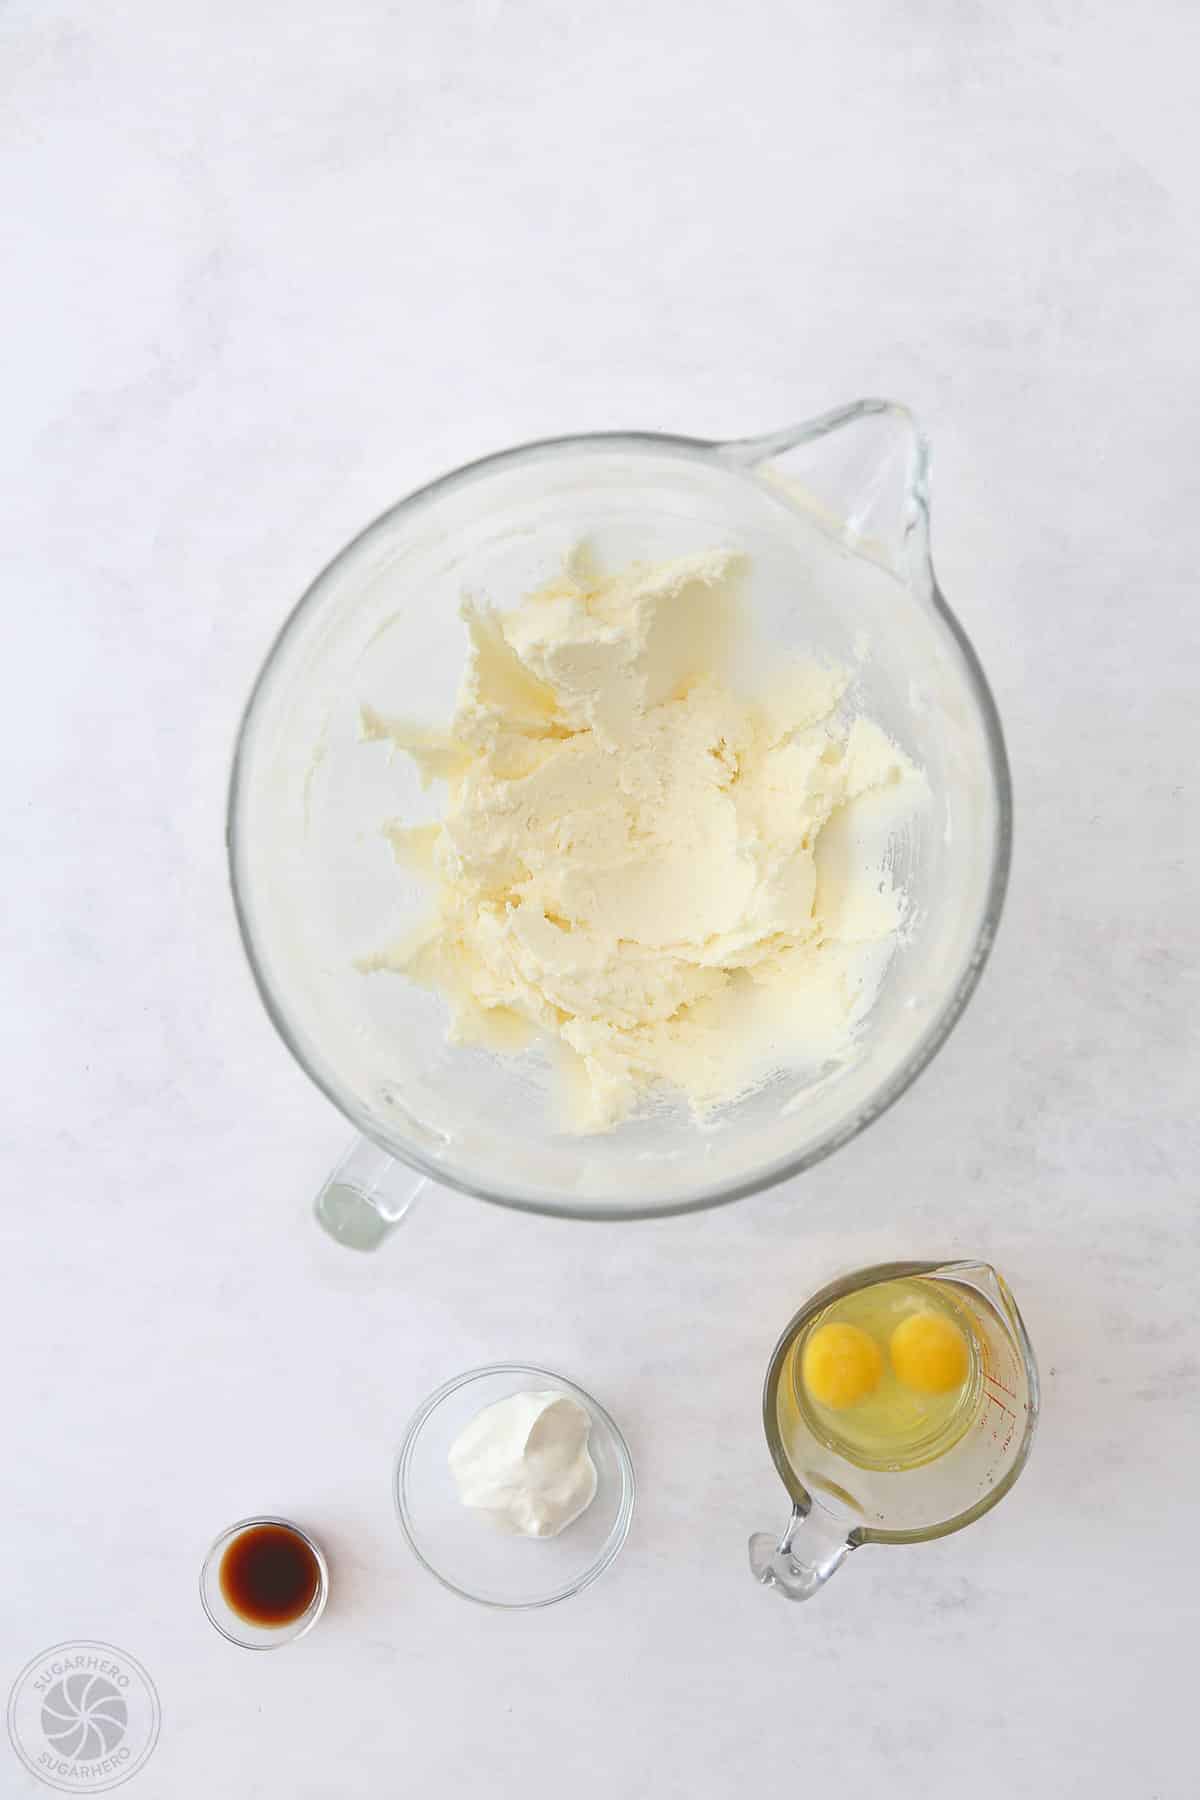
- Incorporating Wet Ingredients: Beat in the eggs one at a time, ensuring each is fully incorporated before adding the next. Then, stir in the vanilla extract and sour cream until well combined. The sour cream adds moisture and tenderness to the cookie dough.
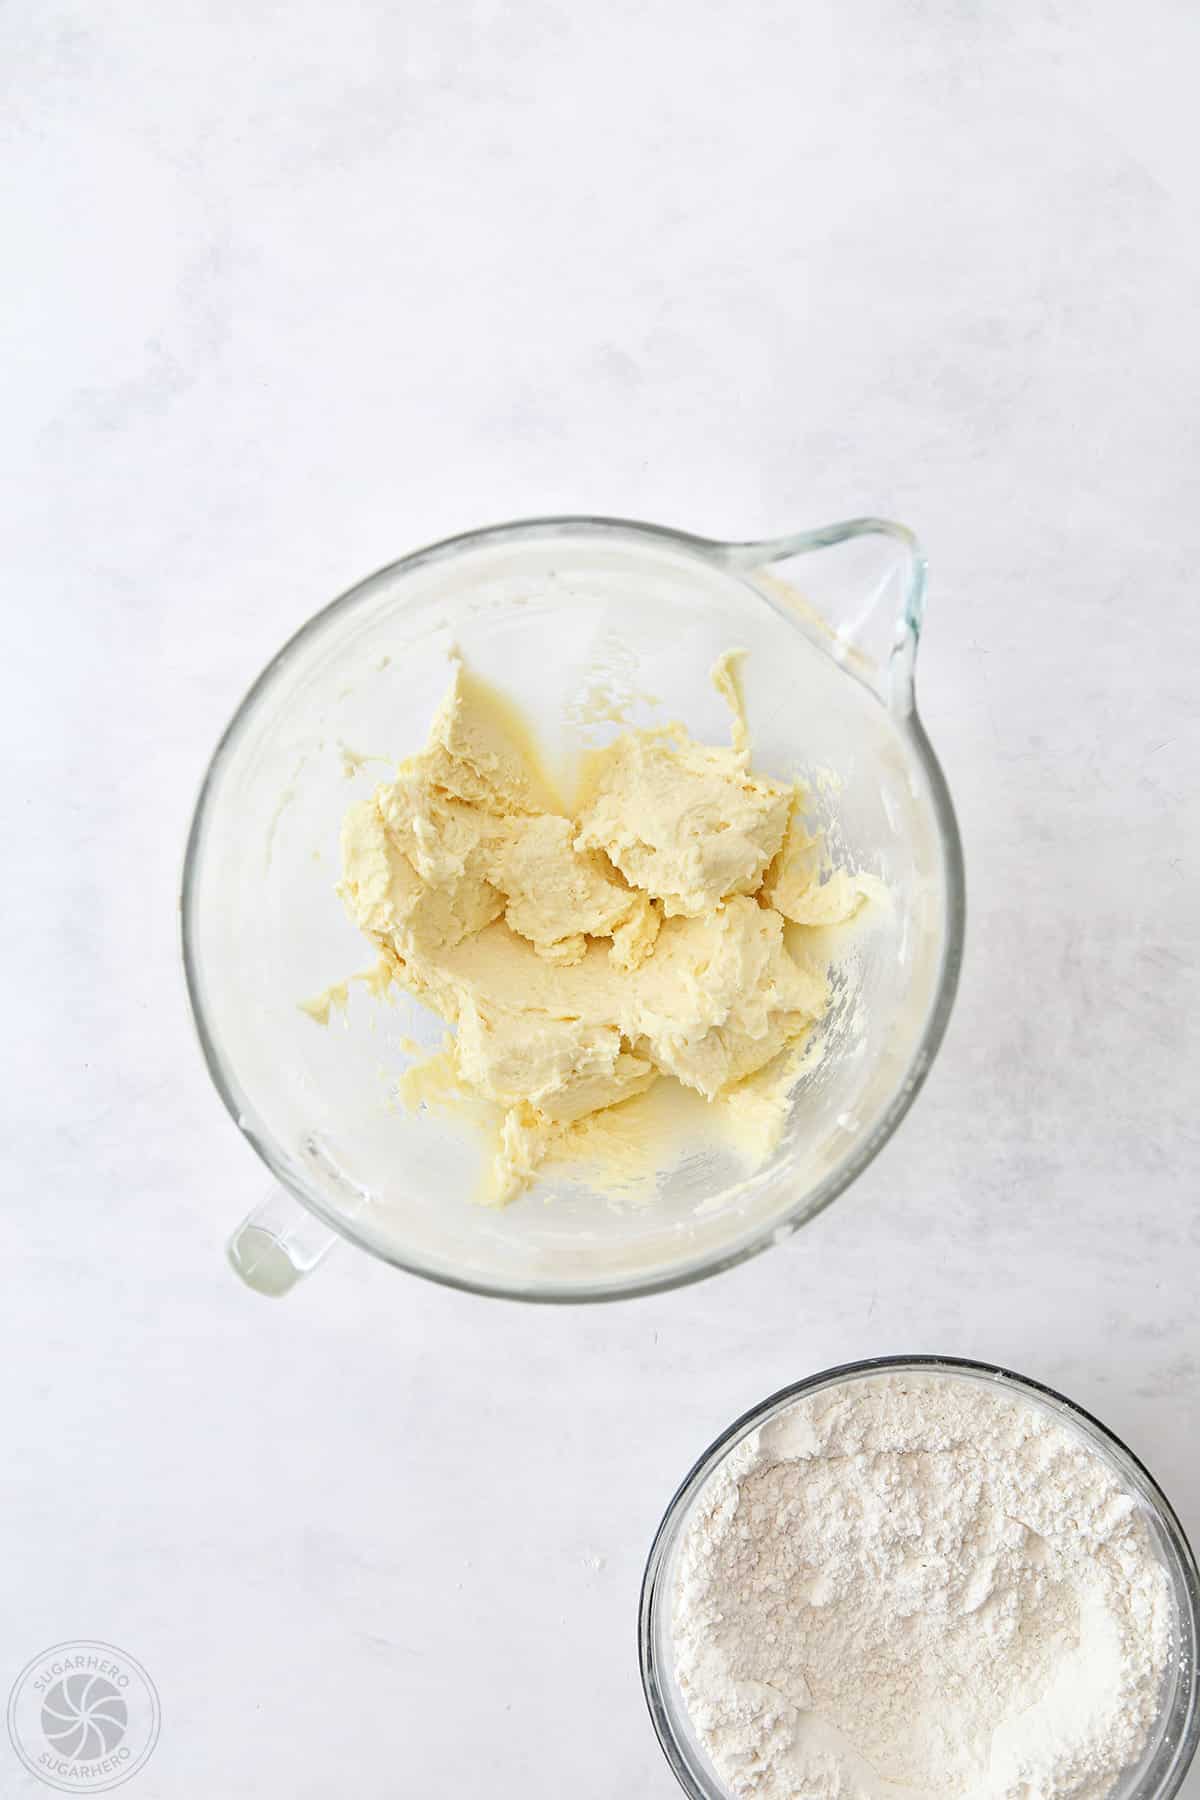
- Combining Wet and Dry Mixtures: Gradually add the dry ingredients to the wet ingredients, mixing on low speed until just combined. Avoid overmixing, as this can develop the gluten in the flour, resulting in tough cookies.
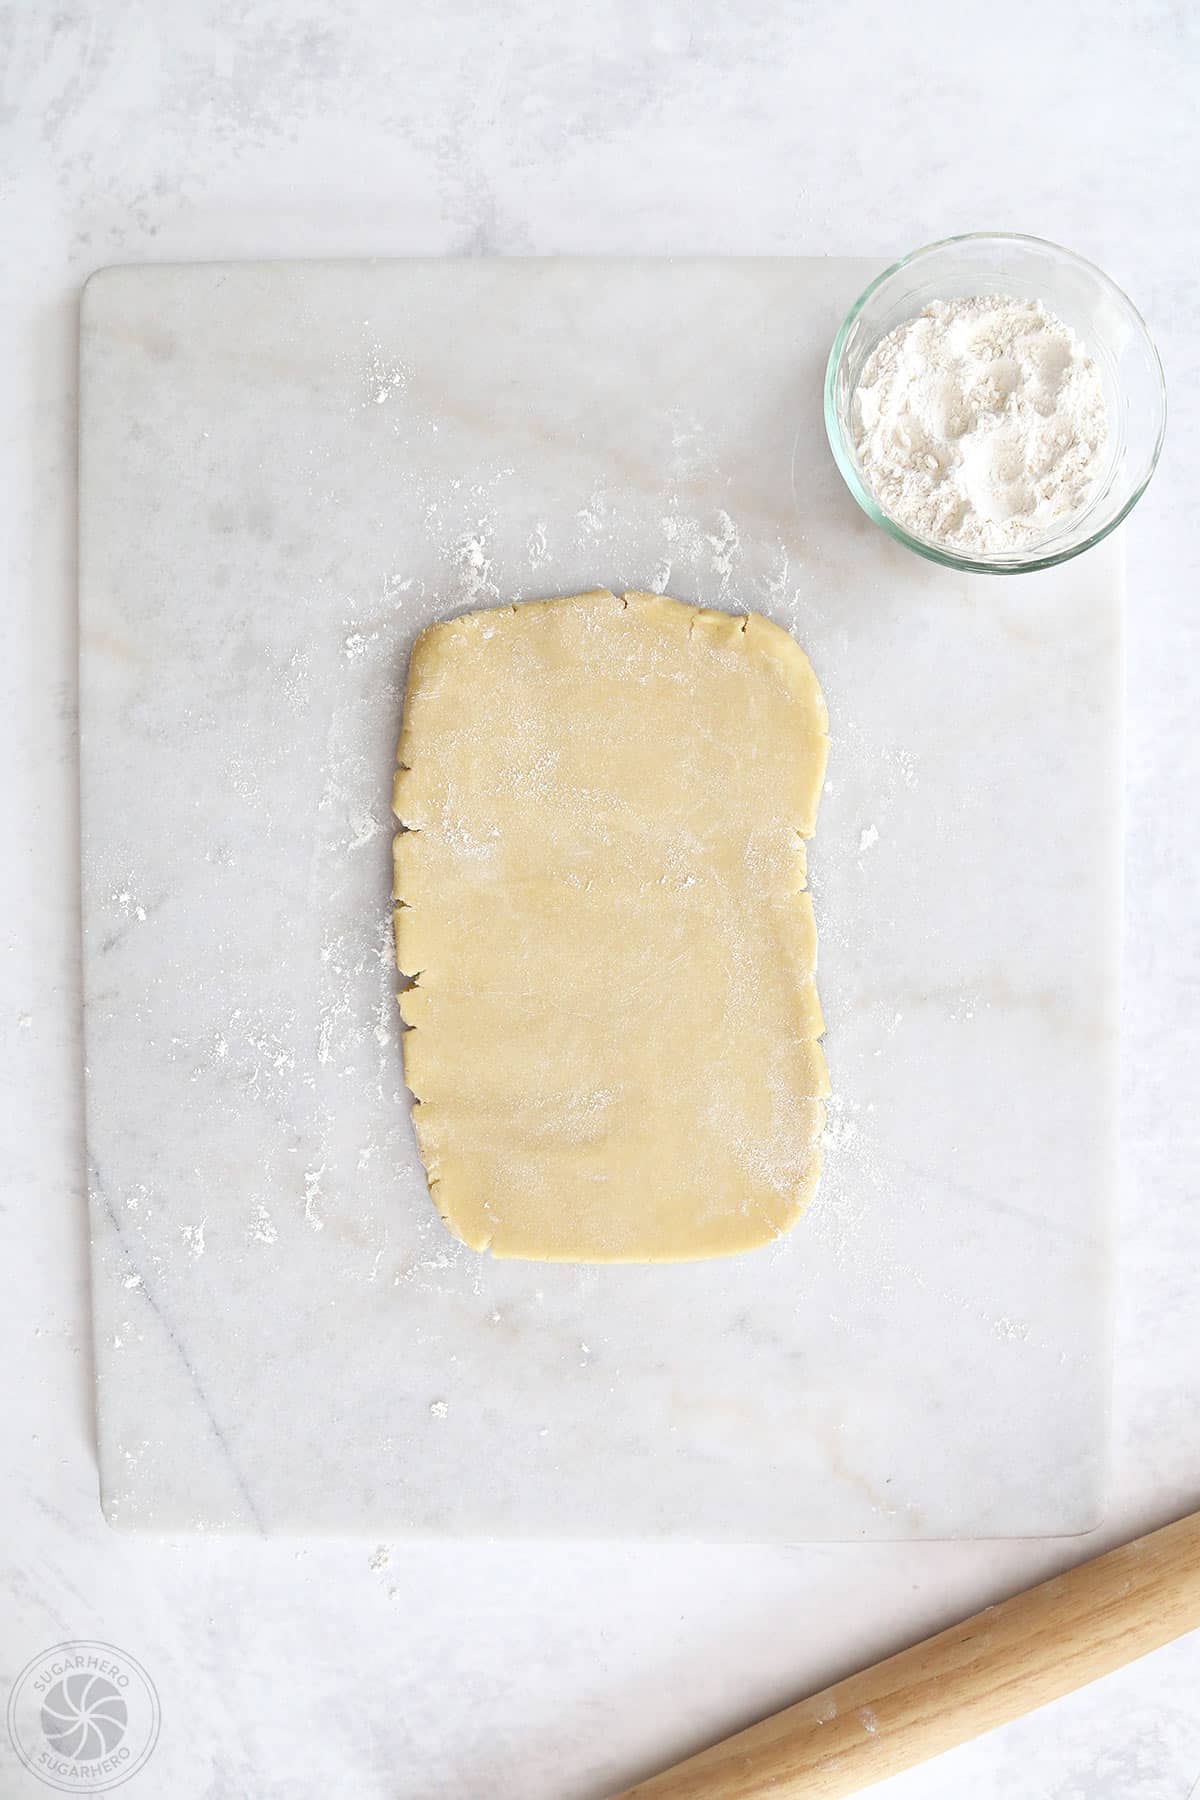
- Chilling the Dough: Divide the dough into two equal discs, flatten them slightly, wrap them tightly in plastic wrap, and refrigerate for at least 2 hours, or until firm. Chilling is essential for cut-out cookies, as it prevents excessive spreading during baking and makes the dough easier to handle and roll out.
Part 2: Shaping and Baking the Cookies
- Preheating the Oven and Preparing Baking Sheets: Preheat your oven to 350°F (175°C). Line baking sheets with parchment paper to prevent sticking and ensure even baking.
- Rolling the Dough: On a lightly floured surface, roll out one disc of chilled dough to approximately 1/4-inch thickness. For best results, consider rolling the dough between two sheets of parchment paper to minimize sticking and dough manipulation.
- Cutting the Cookies: Use your chosen cookie cutters to cut out shapes from the rolled dough. If making the "wreath" design, use a larger scalloped cutter and then a smaller cutter to remove the center. Reroll scraps as needed, but try to handle the dough as little as possible to maintain its texture.
- Transferring to Baking Sheets: Carefully transfer the cut-out cookies to the prepared baking sheets, leaving about 1-2 inches between them to allow for slight expansion.
- Baking: Bake for 8-12 minutes, or until the edges are lightly golden brown. The baking time will vary depending on the size and thickness of your cookies.
- Cooling: Allow the cookies to cool on the baking sheets for a few minutes before transferring them to wire racks to cool completely. It is crucial that the cookies are entirely cool before frosting.
Part 3: Preparing the Buttercream Frosting
- Creaming the Butter: In a large mixing bowl, beat the softened unsalted butter until it is pale and creamy. This can take several minutes, and the quality of the creaming directly impacts the frosting’s texture.
- Adding Powdered Sugar: Gradually add the powdered sugar, about a cup at a time, mixing on low speed until incorporated. Scrape down the sides of the bowl as needed.
- Incorporating Liquid and Vanilla: Add the heavy cream (or milk) and vanilla extract. Increase the mixer speed to medium-high and beat for 3-5 minutes until the frosting is light, fluffy, and smooth. If the frosting is too thick, add more cream a teaspoon at a time; if it’s too thin, add more powdered sugar a tablespoon at a time.
- Salting: Add a pinch of salt to balance the sweetness.
- Coloring the Frosting: Divide the frosting into separate bowls for each desired color. Add food coloring gradually, mixing well until the desired shades are achieved. Gel food coloring is often preferred for its concentrated color and minimal impact on frosting consistency.
Part 4: Decorating the Sugar Cookies
- Preparing Piping Bags: Fit piping bags with small star tips and fill each bag with a different color of frosting.
- The Art of Piping: This is where creativity takes center stage. There are no strict rules. Pipe swirls, dots, lines, or any other patterns directly onto the cooled cookies. Experiment with combining different colors next to each other or layering them. The goal is to cover the cookie surface in a visually appealing, albeit not necessarily precise, manner.
- Adding Sprinkles: While the frosting is still wet, gently sprinkle on your chosen embellishments for an extra touch of sparkle and texture.
- Setting the Frosting: Allow the decorated cookies to sit at room temperature for at least 30 minutes to allow the frosting to set.
The Broader Implications of Home Baking Trends
The increasing popularity of home baking, exemplified by recipes like this one, reflects a broader societal trend towards hands-on activities and a desire for personalized experiences. The COVID-19 pandemic, in particular, saw a surge in home baking as individuals sought comfort and a sense of control during uncertain times. This led to a renewed appreciation for traditional skills and the simple joy of creating something tangible from scratch.
Furthermore, the accessibility of online resources, including detailed recipes, video tutorials, and social media sharing platforms, has democratized baking. What was once considered a specialized skill is now widely practiced and celebrated. This trend has implications for the food industry, with a growing demand for high-quality baking ingredients and tools. It also fosters a sense of community among bakers, who share their creations and techniques online, inspiring others to join in. The rise of "aesthetic baking" on platforms like Instagram and TikTok further fuels this trend, with visually appealing treats becoming as important as their taste. This recipe, with its emphasis on both flavor and visual appeal, perfectly aligns with these contemporary baking movements.

Expert Insights and Tips for Success
Bakers often encounter challenges when making cut-out cookies, such as dough spreading too much or becoming tough. To mitigate these issues, several best practices are recommended:
- Accurate Measuring: Using a kitchen scale for flour is the most accurate method to prevent dry cookies. If using cups, spoon the flour into the cup and level it off without packing.
- Proper Chilling: Do not skip the chilling steps. Cold dough is crucial for preventing spread and for ease of handling.
- Avoid Overmixing: Overworking the dough develops gluten, leading to tough cookies. Mix until just combined.
- Even Rolling: Roll the dough to a consistent thickness to ensure even baking.
- Parchment Paper is Key: This not only prevents sticking but also helps the cookies maintain their shape during baking.
- Cool Completely Before Frosting: Frosting warm cookies will result in melted, messy decorations.
- Food Coloring Choice: Gel food coloring provides vibrant colors without adding excess liquid, which can alter the frosting’s consistency.
The journey from a simple dough to a beautifully decorated sugar cookie is a rewarding one, offering a tangible sense of accomplishment and a delicious treat to share. This recipe empowers home bakers to bring a touch of professional artistry into their own kitchens, proving that bakery-quality confections are well within reach.