Pastrami, a culinary masterpiece of cured, seasoned, smoked, and thinly sliced meat, embodies a delicate balance of techniques. While its theoretical simplicity is appealing, even minor missteps can significantly impact the final outcome, leaving pitmasters grappling with less-than-ideal results. This comprehensive guide delves into the common challenges encountered in pastrami preparation, offering diagnostic tools and actionable solutions to ensure success in future endeavors, or even to salvage current batches. For an in-depth exploration, consult the ultimate pastrami guide, available at https://girlscangrill.com/pastrami/.
Table of Contents
- Pastrami Too Salty?
- Pastrami Too Dry or Tough?
- Bark Too Soft?
- Not Smoky Enough?
- Too Smoky?
- Slices Crumble?
- Meat Isn’t Pink?
Pastrami Too Salty?
One of the most frequently cited reasons for a less-than-perfect pastrami experience is excessive saltiness. This issue can deter even adventurous eaters, yet it is entirely preventable with a thorough understanding of the curing process.
Why It Happens
The primary culprit behind overly salty pastrami is an imbalanced brine or cure. This can stem from several factors:
- Incorrect Brine Ratio: Using too much salt relative to the other ingredients in the curing solution is the most direct cause. This can occur due to inaccurate measurements, inconsistent salt types (e.g., using table salt instead of kosher salt, which has larger crystals and a different density), or a misunderstanding of the required salt concentration for the weight of the meat.
- Over-Curing Time: Allowing the meat to remain in the brine for longer than recommended can lead to excessive salt absorption. The curing process is a gradual diffusion, and prolonged exposure intensifies the saltiness.
- Inadequate Rinsing: After the curing period, failing to thoroughly rinse the excess salt from the surface of the meat is a critical oversight. This residual salt will contribute significantly to the final product’s salinity.
- Lack of Soaking: For very heavily cured meats, an intermediate soaking step in fresh water before smoking can help leach out excess salt. Omitting this step, especially with a potent cure, can result in an unpalatable salt level.
How to Fix It
Addressing salinity issues requires a multi-pronged approach, focusing on prevention and mitigation:
- Precise Measurement: Always use a digital scale to weigh both the meat and the curing ingredients. Adhere strictly to established brine ratios, typically expressed as a percentage of salt by meat weight. For instance, a common dry cure might range from 2% to 3% salt by weight.
- Correct Salt Type: Utilize kosher salt or pickling salt, which are specifically designed for curing and lack the anti-caking agents found in table salt that can affect brine clarity and absorption.
- Adhere to Curing Times: Follow the recommended curing duration meticulously. Curing times vary based on the cut and thickness of the meat, typically ranging from several days to a couple of weeks for larger cuts.
- Thorough Rinsing: After the curing period, rinse the meat under cold running water for several minutes, ensuring all surfaces are exposed.
- Soaking (If Necessary): If you suspect the cure was particularly aggressive or if the meat tastes too salty after rinsing, soak the meat in a bath of cold, unsalted water for several hours, changing the water periodically. This process helps to draw out some of the absorbed salt.
- Taste Testing (Carefully): Before smoking, a small piece of the cured meat can be gently simmered or pan-fried to assess its saltiness. This allows for adjustments before committing the entire batch to the smoker.
Pastrami Too Dry or Tough?
The textural integrity of pastrami is paramount, and achieving that tender, succulent bite can be a challenge, especially when working with cuts like brisket.
Why It Happens
Dryness and toughness in pastrami are often linked to the properties of the meat itself and the cooking process:
- Lean Meat Cuts: Using cuts with a naturally low fat content or trimming too much of the fat cap can result in a drier final product. Fat acts as a natural lubricant and contributes to moisture retention during cooking.
- Overcooking: Prolonged exposure to heat without adequate moisture management will inevitably lead to moisture loss, resulting in a dry and tough texture. This is a common pitfall in smoking, where temperature and time are critical variables.
- Insufficient Resting: After cooking, allowing the meat to rest is crucial for moisture redistribution. If the meat is sliced too soon, the internal juices will escape, leaving the meat dry.
- Cooking Temperature Too High: While high heat can speed up cooking, it can also cause the meat’s proteins to seize up and expel moisture prematurely, leading to a tougher texture.
- Incorrect Slice Direction: Slicing against the grain is essential for tender pastrami. Slicing with the grain can result in long, chewy fibers that are difficult to masticate.
How to Fix It
Achieving tender and moist pastrami involves careful selection, cooking, and post-cooking handling:
- Choose the Right Cut: Opt for cuts with good marbling and a substantial fat cap, such as a well-marbled brisket (preferably a packer cut that includes both the flat and the point).
- Manage Fat Trim: While some trimming is necessary for even curing and smoke penetration, retain a portion of the fat cap (about 1/4 inch) to render during the cook and baste the meat.
- Low and Slow Cooking: Cook pastrami at a consistent, moderate temperature (typically between 225°F and 275°F) to allow the connective tissues to break down slowly, rendering the meat tender without drying it out.
- Moisture Management: Employ techniques like spritzing the meat with liquid (water, apple cider vinegar, beef broth) every hour or so during the smoking process to keep the surface moist and promote smoke adhesion. Consider wrapping the meat in butcher paper or foil (the "Texas Crutch") once it reaches a certain internal temperature to help push through the stall and retain moisture.
- Extended Resting Period: After removing the pastrami from the smoker, allow it to rest for at least 1-2 hours, loosely tented with foil, or even longer in a faux cambro (an insulated cooler). This allows the juices to redistribute throughout the meat.
- Slice Against the Grain: Identify the direction of the muscle fibers and slice perpendicular to them. This shortens the fibers, making the meat significantly more tender. Use a sharp knife or a high-quality electric slicer for best results.
Bark Too Soft?
The signature "bark" of pastrami, a flavorful crust formed by the seasoning rub and smoke, is a highly desirable element. A soft or underdeveloped bark can detract from the overall sensory experience.
Why It Happens
A soft bark is typically a result of insufficient development during the smoking process or improper application of the rub:
- Insufficient Smoke Time/Temperature: The bark forms as the rub ingredients react with the heat and smoke. If the meat is not exposed to smoke for a sufficient duration or at an appropriate temperature, the bark will not have the chance to develop its characteristic texture and color.
- Excessive Moisture During Smoking: While spritzing is beneficial for moisture, over-spritzing or cooking in overly humid conditions can prevent the rub from drying out and forming a crust.
- Rub Washed Off: Aggressive handling of the meat during the smoking process, or if the rub was not properly adhered in the first place, can lead to it being dislodged.
- Rub Composition: While less common, a rub that is too fine or contains a high proportion of sugar (which can burn rather than char) might contribute to a softer bark.
How to Fix It
Developing a robust and flavorful bark requires attention to the rub and the smoking environment:
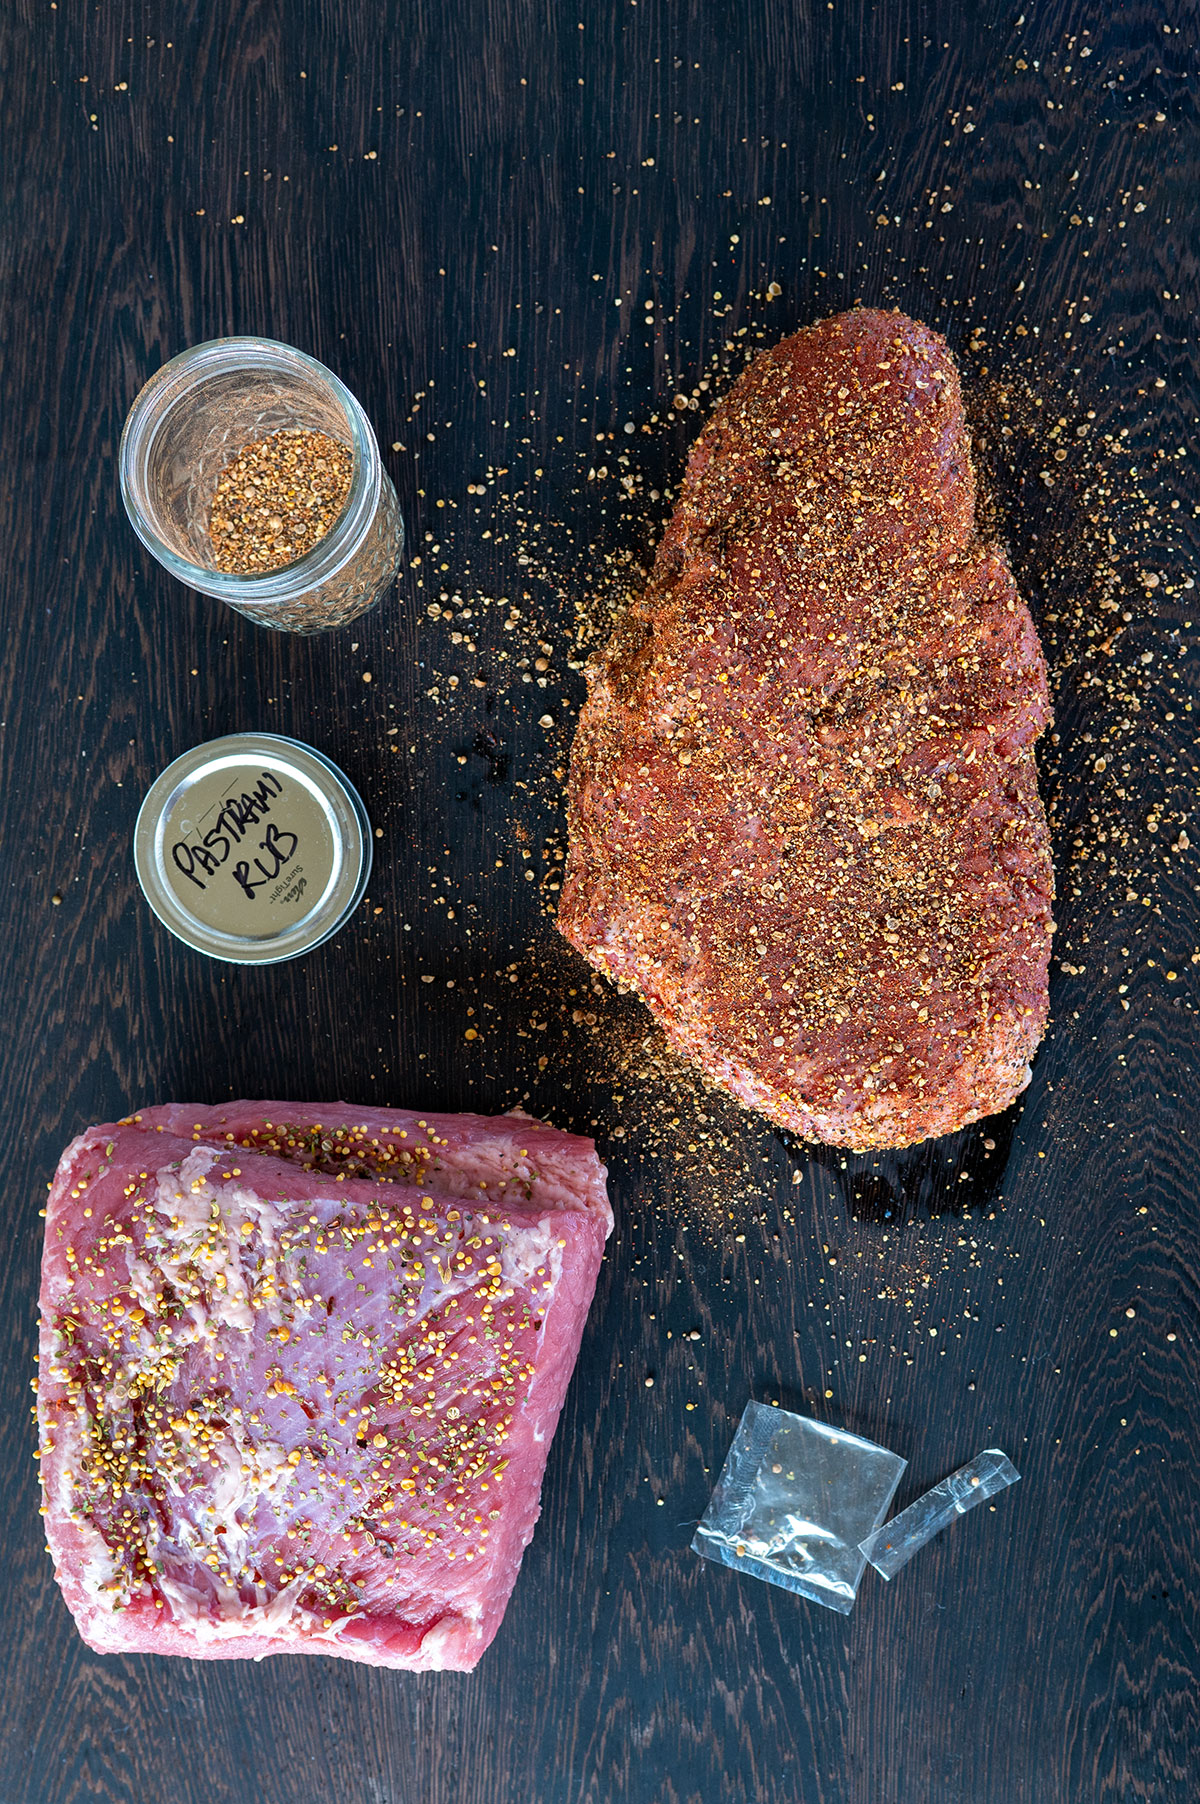
- Generous and Even Application of Rub: Apply the seasoning rub liberally and evenly to all surfaces of the meat after curing and rinsing. Ensure it adheres well by patting it into the surface.
- Sufficient Smoke Exposure: Allow the pastrami ample time on the smoker to develop the bark. This typically involves several hours of direct smoke exposure before any wrapping stages.
- Controlled Humidity: While some moisture is needed, avoid excessive spritzing, especially in the initial stages of the cook. Allow the rub to dry and form a crust.
- Higher Initial Smoking Temperature (Optional): Some pitmasters start at a slightly higher temperature (around 275°F) for the first few hours to promote bark formation before lowering it for the remainder of the cook.
- Broiling or Pan-Searing (Post-Smoke): If the bark is still not to your liking after smoking and resting, a brief period under a broiler or in a hot cast-iron skillet can help crisp it up. Exercise extreme caution to avoid burning.
Not Smoky Enough?
The defining characteristic of pastrami, distinguishing it from corned beef, is its rich, smoky aroma and flavor. A lack of smoke indicates a fundamental issue with the smoking apparatus or process.

Why It Happens
This problem is almost exclusively related to the smoker’s performance:
- Insufficient Wood/Fuel: The most obvious reason is not using enough smoking wood or charcoal to generate smoke.
- Poor Airflow: Inadequate airflow can prevent the wood from smoldering properly and producing consistent smoke. Blocked vents or a poorly designed smoker can be culprits.
- Smoker Malfunction: The smoker may not be reaching or maintaining the desired temperature, preventing the wood from smoking effectively.
- Wrong Type of Wood: While not directly preventing smoke, certain woods produce a more subtle smoke flavor than others. Using a mild wood like apple or cherry might be perceived as "not smoky enough" by those accustomed to stronger woods like hickory or mesquite.
- Too Much Meat: Overcrowding the smoker can create pockets of stagnant air, hindering smoke circulation and penetration.
How to Fix It
Improving smoke penetration involves optimizing the smoker’s performance:
- Use Adequate Smoking Material: Ensure you are using a sufficient amount of wood chunks or chips, depending on your smoker type. For longer cooks, you may need to replenish the wood source periodically.
- Optimize Airflow: Familiarize yourself with your smoker’s vent system. Ensure that the intake and exhaust vents are open appropriately to create a steady draft, allowing the fuel to smolder and produce clean, blue smoke.
- Maintain Consistent Temperature: Monitor your smoker’s temperature closely. A consistent temperature is crucial for efficient smoke production and even cooking.
- Choose Appropriate Wood: Experiment with different types of wood to find the smoke flavor you prefer. Hickory, mesquite, and oak generally provide a more robust smoke flavor, while fruitwoods offer a milder profile.
- Don’t Overcrowd: Leave adequate space between the meat and the smoker walls, as well as between different cuts of meat, to allow for proper smoke circulation.
Too Smoky?
Conversely, pastrami can sometimes absorb too much smoke, resulting in an acrid or overpowering flavor that masks the nuances of the meat and seasonings.
Why It Happens
An over-smoked pastrami typically arises from an imbalance in the smoking process:
- Excessive Smoke Generation: Burning too much wood at once, or using wood that is too green, can produce thick, white, acrid smoke, which imparts a bitter flavor.
- Prolonged Exposure to Heavy Smoke: Allowing the meat to sit in thick smoke for an extended period without adequate airflow can lead to over-absorption.
- Smoker Design Issues: Some smokers, particularly older or poorly designed models, can create a "smoky sauna" effect, where the smoke becomes trapped and overly concentrated.
- Using the Wrong Wood: Some woods, like mesquite when used excessively, can impart a very strong, potentially overwhelming smoke flavor.
How to Fix It
Mitigating excessive smoke flavor requires a focus on producing clean smoke and managing exposure:
- Produce Clean, Blue Smoke: Aim for thin, wispy, blue smoke, which indicates efficient combustion and a cleaner flavor. Avoid thick, white, acrid smoke. This often means using seasoned wood and managing airflow to prevent smoldering.
- Manage Wood Quantity: Use wood in moderation. It’s better to add more wood if needed than to start with too much.
- Ensure Good Airflow: Proper ventilation is key to allowing smoke to circulate and dissipate, preventing it from becoming too concentrated.
- Consider the Wood Type: If you consistently find your pastrami too smoky, opt for milder woods like apple, cherry, or pecan.
- Strategic Wrapping: Once the bark has developed to your liking, wrapping the meat in butcher paper or foil can help to buffer against further smoke absorption while still allowing the meat to cook through.
Slices Crumble?
Achieving those perfect, thin, deli-style slices of pastrami is a hallmark of a well-executed batch. When slices crumble, it indicates a failure in the meat’s structure or the slicing technique.
Why It Happens
Crumbling slices are usually a sign of one of two primary issues:
- Undercooking: If the meat has not been cooked long enough to break down its connective tissues and render it sufficiently tender, the muscle fibers will remain tightly bound and prone to falling apart in an uncontrolled manner when sliced.
- Overcooking/Drying Out: Paradoxically, meat that has been cooked too long and has lost too much moisture can also become brittle and crumbly, lacking the cohesive structure needed for clean slices.
- Incorrect Slicing Direction: As mentioned earlier, slicing against the grain is critical. If the meat is sliced with the grain, the long, tough muscle fibers will pull apart easily, leading to a shredded or crumbled appearance.
- Meat is Too Cold: While resting is important, allowing the meat to become completely cold and rigid can make it more difficult to slice cleanly, especially if the blade is not exceptionally sharp.
How to Fix It
Ensuring your pastrami slices beautifully requires attention to cooking, resting, and slicing:
- Cook to Proper Tenderness: Aim for an internal temperature that indicates tenderness, typically between 195°F and 205°F, but more importantly, check for probe tenderness (the meat should offer little resistance when probed with a thermometer or skewer).
- Allow Adequate Resting: Ensure the meat has rested sufficiently for juices to redistribute, but avoid letting it become completely cold and stiff. Slicing while the meat is still warm (but not piping hot) is often ideal.
- Slice Against the Grain: This is non-negotiable for clean slices. Carefully identify the direction of the muscle fibers and slice perpendicular to them.
- Use a Sharp Knife or Slicer: A dull blade will tear and shred the meat. Invest in a high-quality sharp chef’s knife, a serrated bread knife, or an electric deli slicer.
- Slice Thinly: Deli-style pastrami is known for its thinness. Thin slices will naturally hold together better than thick, chunky pieces.
Meat Isn’t Pink?
The characteristic pink hue of cured meats like pastrami is often associated with quality and proper curing. When the meat retains its natural color, it can cause concern for some.
Why It Happens
The pink color in cured meats is a result of the chemical reaction between nitrites (from curing salts) and myoglobin, the protein in meat responsible for its red color. Several factors can influence this reaction:
- Type and Amount of Curing Salt: The concentration of curing salt (such as Prague Powder #1 or #2) directly impacts the pinkness. Using too little or the wrong type of curing salt will result in less color development.
- Curing Time: The color develops gradually during the curing process. Insufficient curing time will lead to less pronounced pinkness.
- Meat Type and Cut: Different cuts and types of meat have varying levels of myoglobin. Some, like beef brisket, are naturally richer in myoglobin than others, leading to more intense pinking.
- Cooking Method: High cooking temperatures or prolonged exposure to heat can cause the myoglobin to denature and turn brown, even in cured meats.
- Rinsing and Soaking: Extensive rinsing or soaking can leach out some of the developed color.
- Natural Variation: Some meats, even when properly cured and cooked, may naturally exhibit a lighter pink or even a more reddish-brown hue due to individual animal factors and muscle composition.
How to Fix It
While achieving a vibrant pink color is desirable for many, the focus should remain on safety and flavor. The following can help:
- Use Curing Salts Correctly: Ensure you are using the correct type and amount of curing salt as specified in your recipe. Always measure by weight. Prague Powder #1 is typically used for cured and smoked meats that are cooked, while Prague Powder #2 is for dry-cured products that are aged.
- Adhere to Curing Times: Allow the meat to cure for the recommended duration to facilitate proper color development.
- Choose Appropriate Cuts: Beef brisket, particularly the point, is a good choice for its natural myoglobin content.
- Gentle Cooking: Employ low and slow cooking methods to minimize the browning of myoglobin.
- Moderate Rinsing: Rinse the meat sufficiently to remove excess salt but avoid excessively prolonged soaking if color is a primary concern.
- Understand Natural Variation: Accept that not all pastrami will have the same intense pink hue. Focus on the overall flavor, texture, and safety of the product. A lack of vibrant pink does not automatically signify an improperly cured or unsafe product, provided the correct curing salts and procedures were followed.
By understanding these common pitfalls and implementing the suggested solutions, pitmasters can elevate their pastrami game, consistently producing delicious, tender, and flavorful results that rival those found in the finest delis. The pursuit of perfect pastrami is an ongoing journey of learning and refinement, where attention to detail and a commitment to technique are paramount.