
For aspiring bakers seeking to recreate the magic of a professional bakery in their own kitchens, the quest for the perfect sugar cookie recipe often leads to a delightful discovery: achieving bakery-quality results is well within reach. This comprehensive guide explores a foolproof recipe for cut-out sugar cookies, celebrated for their ideal balance of crisp edges and tender centers. Complementing these delightful cookies is an effortlessly smooth and stable buttercream frosting, specifically designed for elegant piping and intricate decorating. This recipe aims to demystify the art of cookie decorating, transforming what might seem like an intimidating task into an accessible and rewarding culinary adventure.

The Allure of Homemade Delights
The desire to bake from scratch is experiencing a resurgence, driven by a growing appreciation for quality ingredients, personalized creations, and the therapeutic benefits of baking. In an era where pre-packaged goods are abundant, the satisfaction derived from producing something beautiful and delicious with one’s own hands is unparalleled. Sugar cookies, with their versatile nature and potential for artistic expression, stand as a quintessential example of this trend. They are a canvas for creativity, adaptable to any occasion, from festive holidays to simple afternoon treats.
The challenge for many home bakers lies not only in achieving the perfect cookie texture but also in mastering the art of frosting. Piping, in particular, can be a source of anxiety, conjuring images of smudged designs and uneven lines. However, this particular recipe is engineered to alleviate those fears, offering a straightforward approach that yields professional-looking results. By utilizing a few essential piping tips and a palette of vibrant buttercream colors, even novice decorators can elevate their cookies from simple to spectacular.
The Foundation: A Foolproof Sugar Cookie Recipe
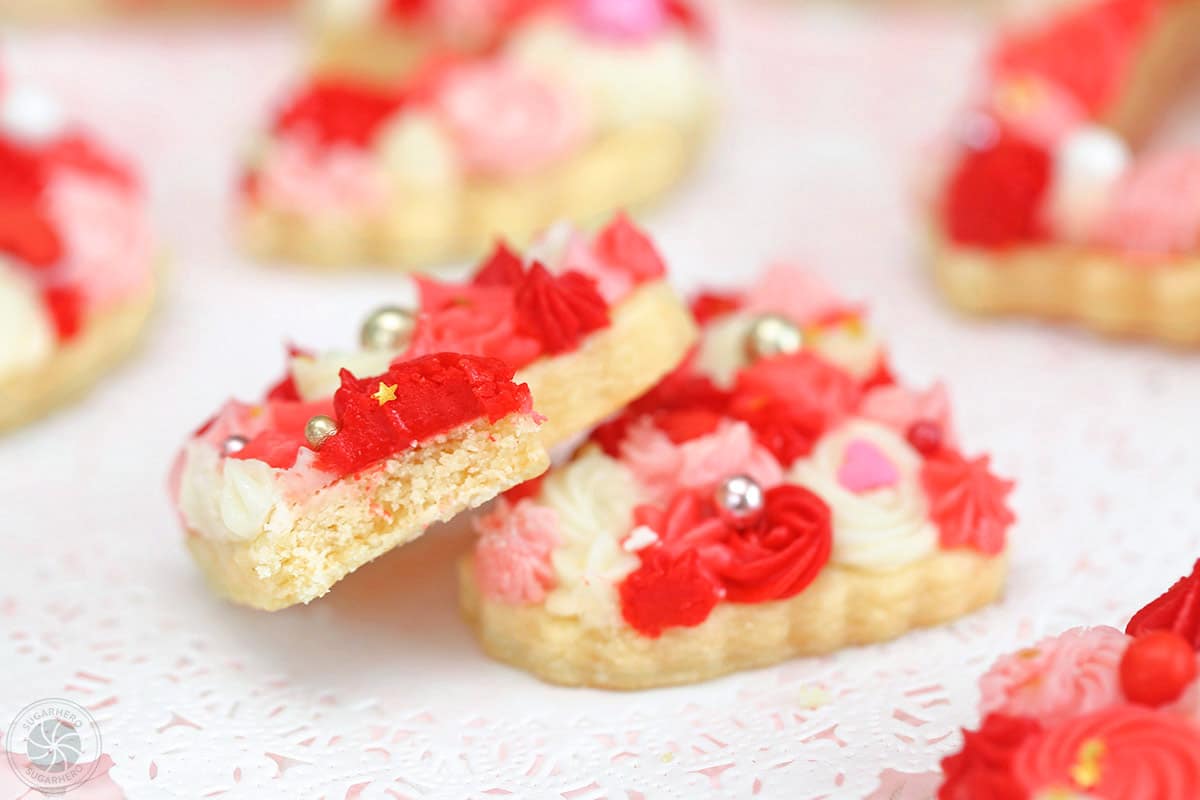
At the heart of this culinary endeavor is a robust sugar cookie dough recipe, meticulously developed to ensure consistent success. The key to these cookies lies in their textural perfection: a satisfying crispness around the perimeter that gives way to a delightfully tender interior. This delicate balance is achieved through precise ingredient ratios and a straightforward preparation method, making it an ideal starting point for bakers of all skill levels.

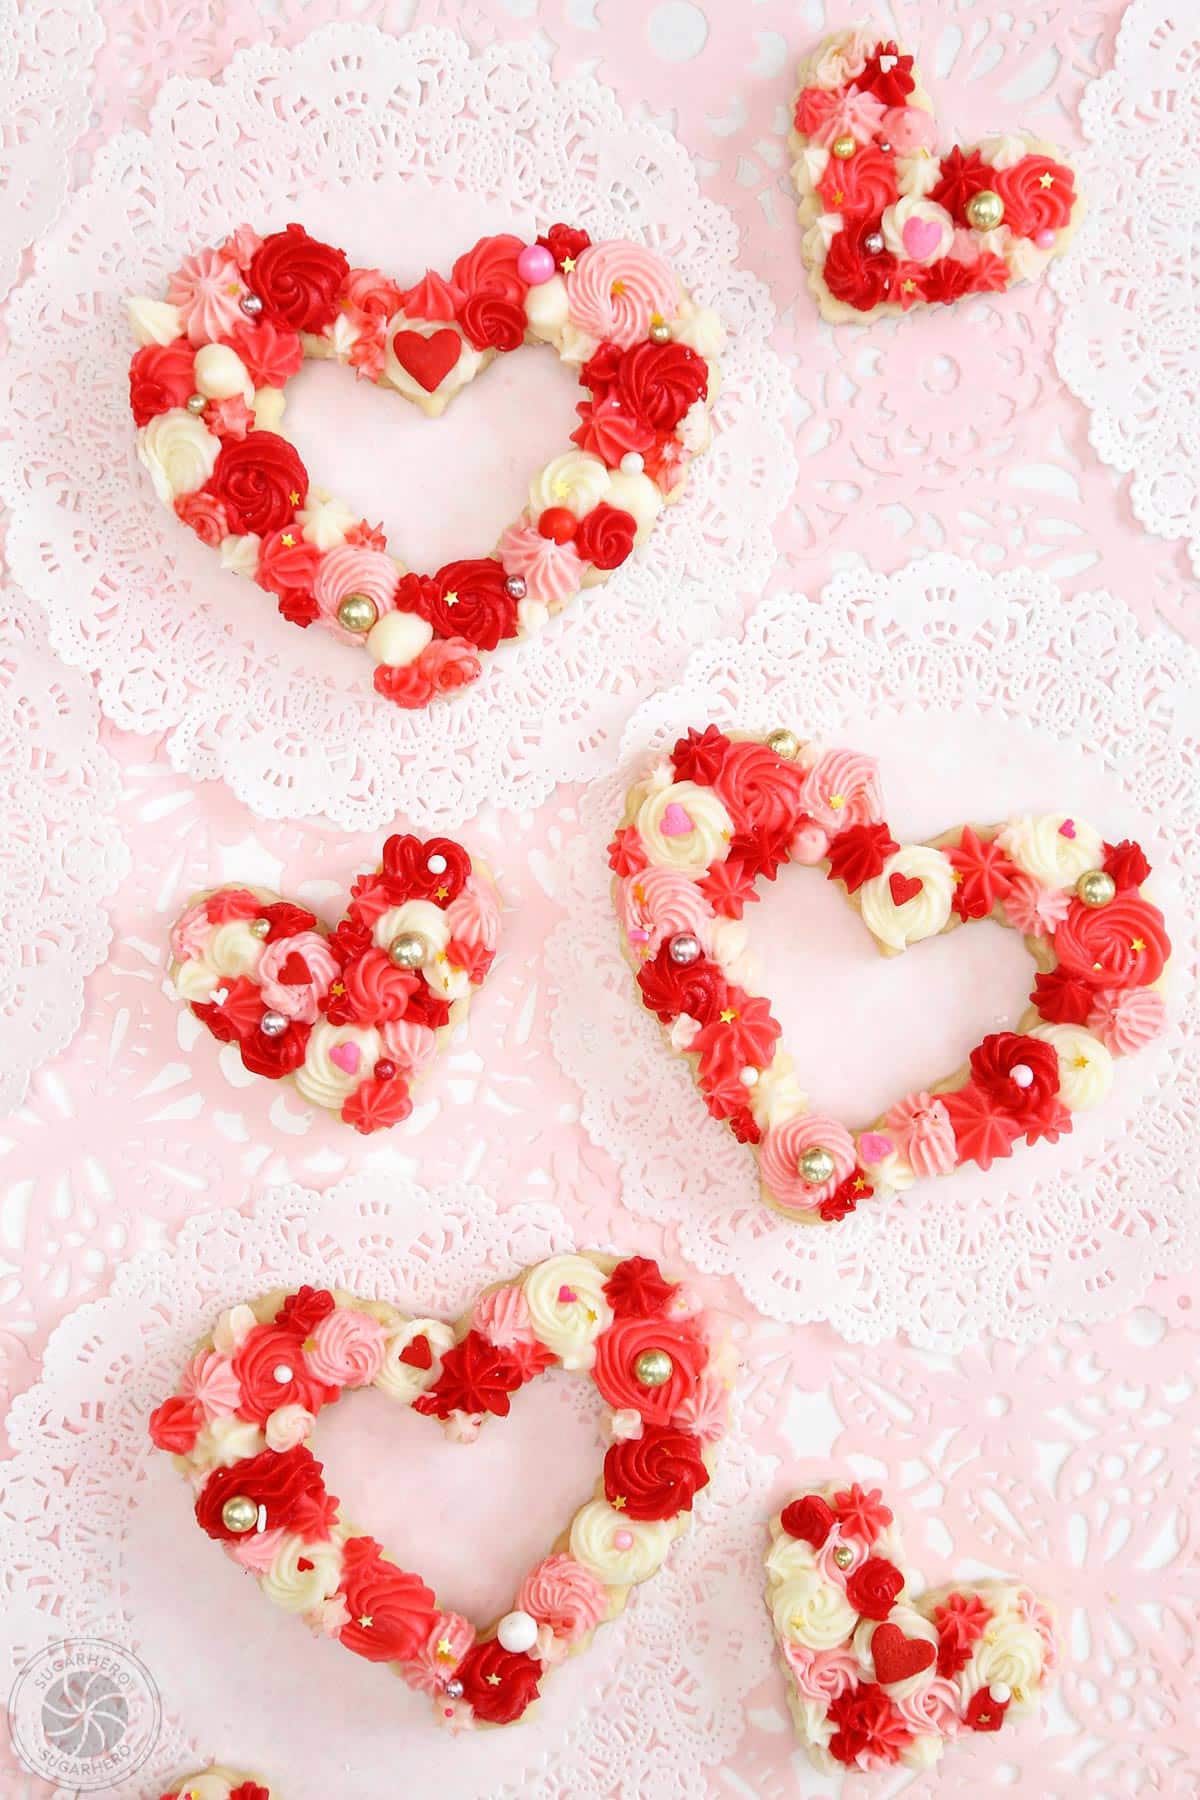
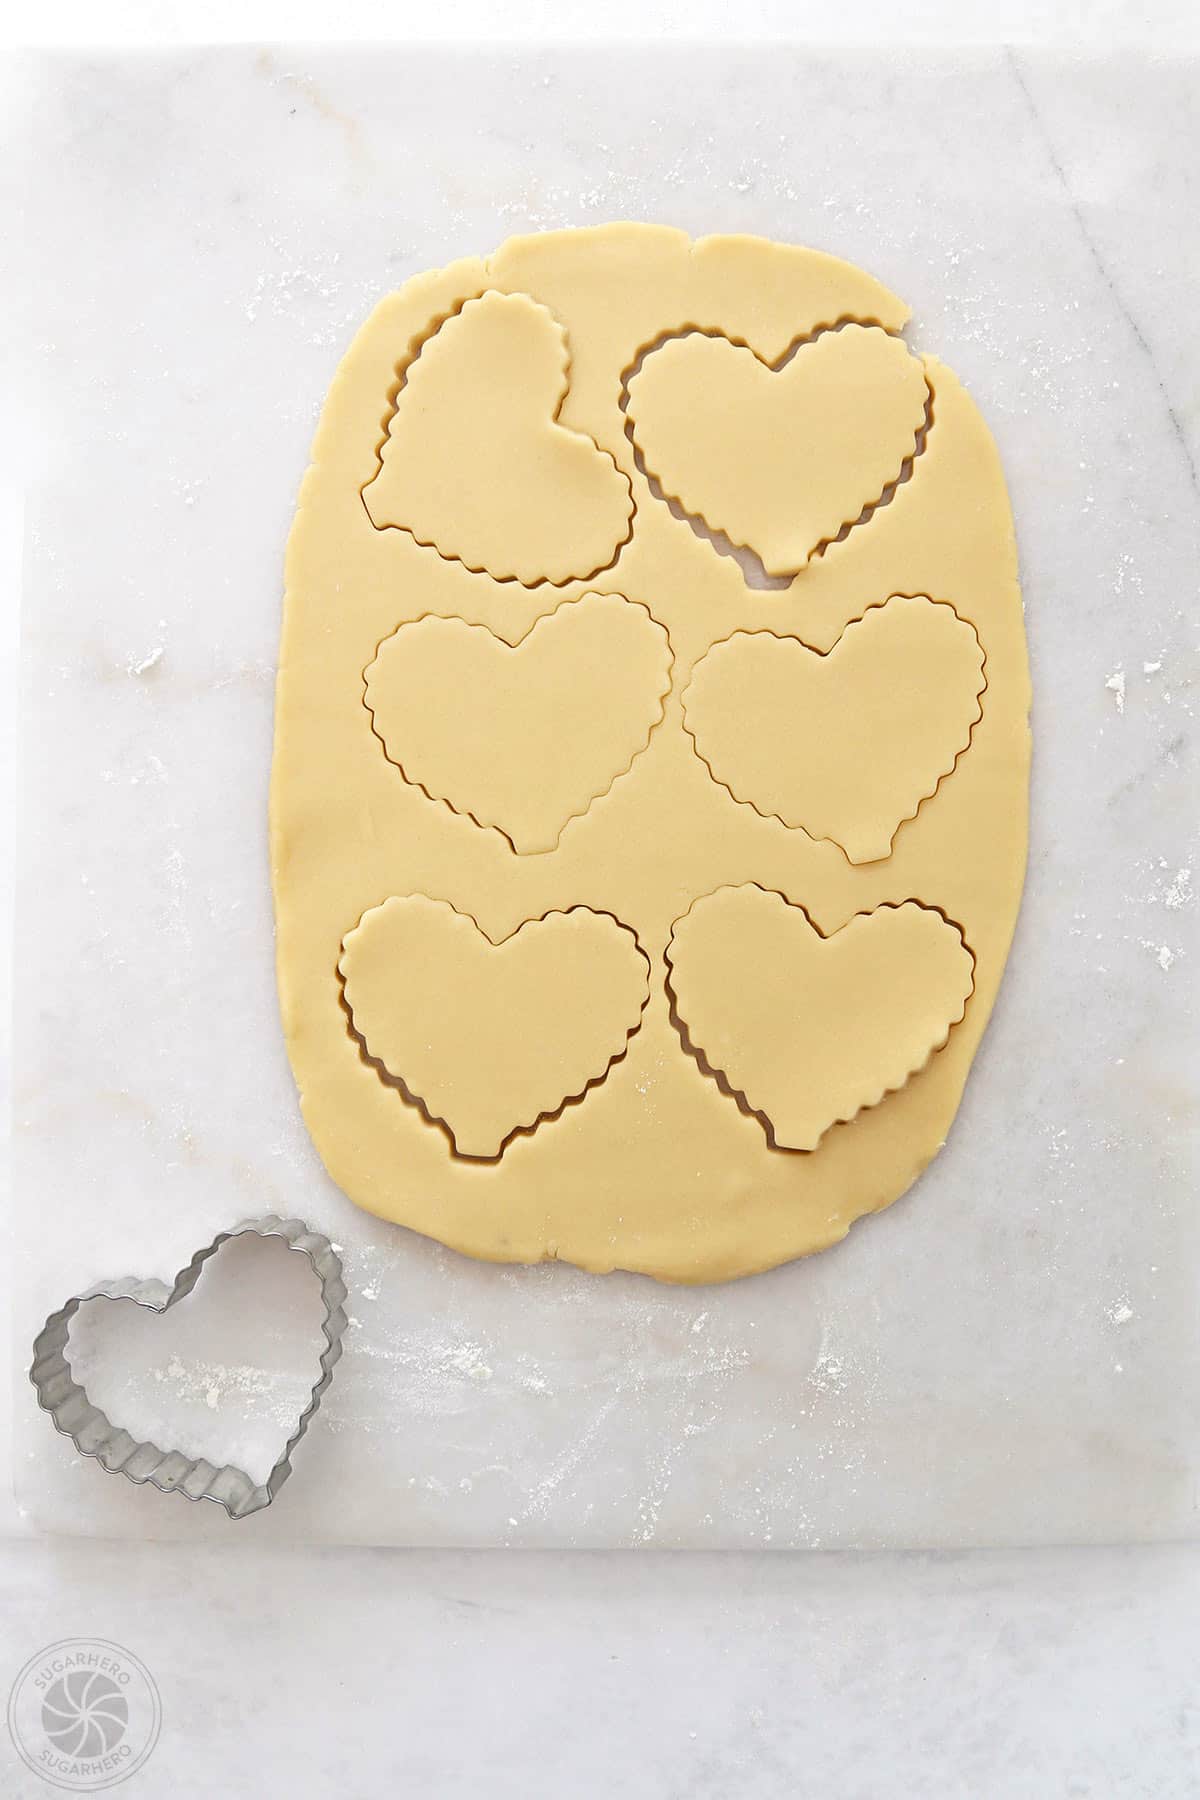
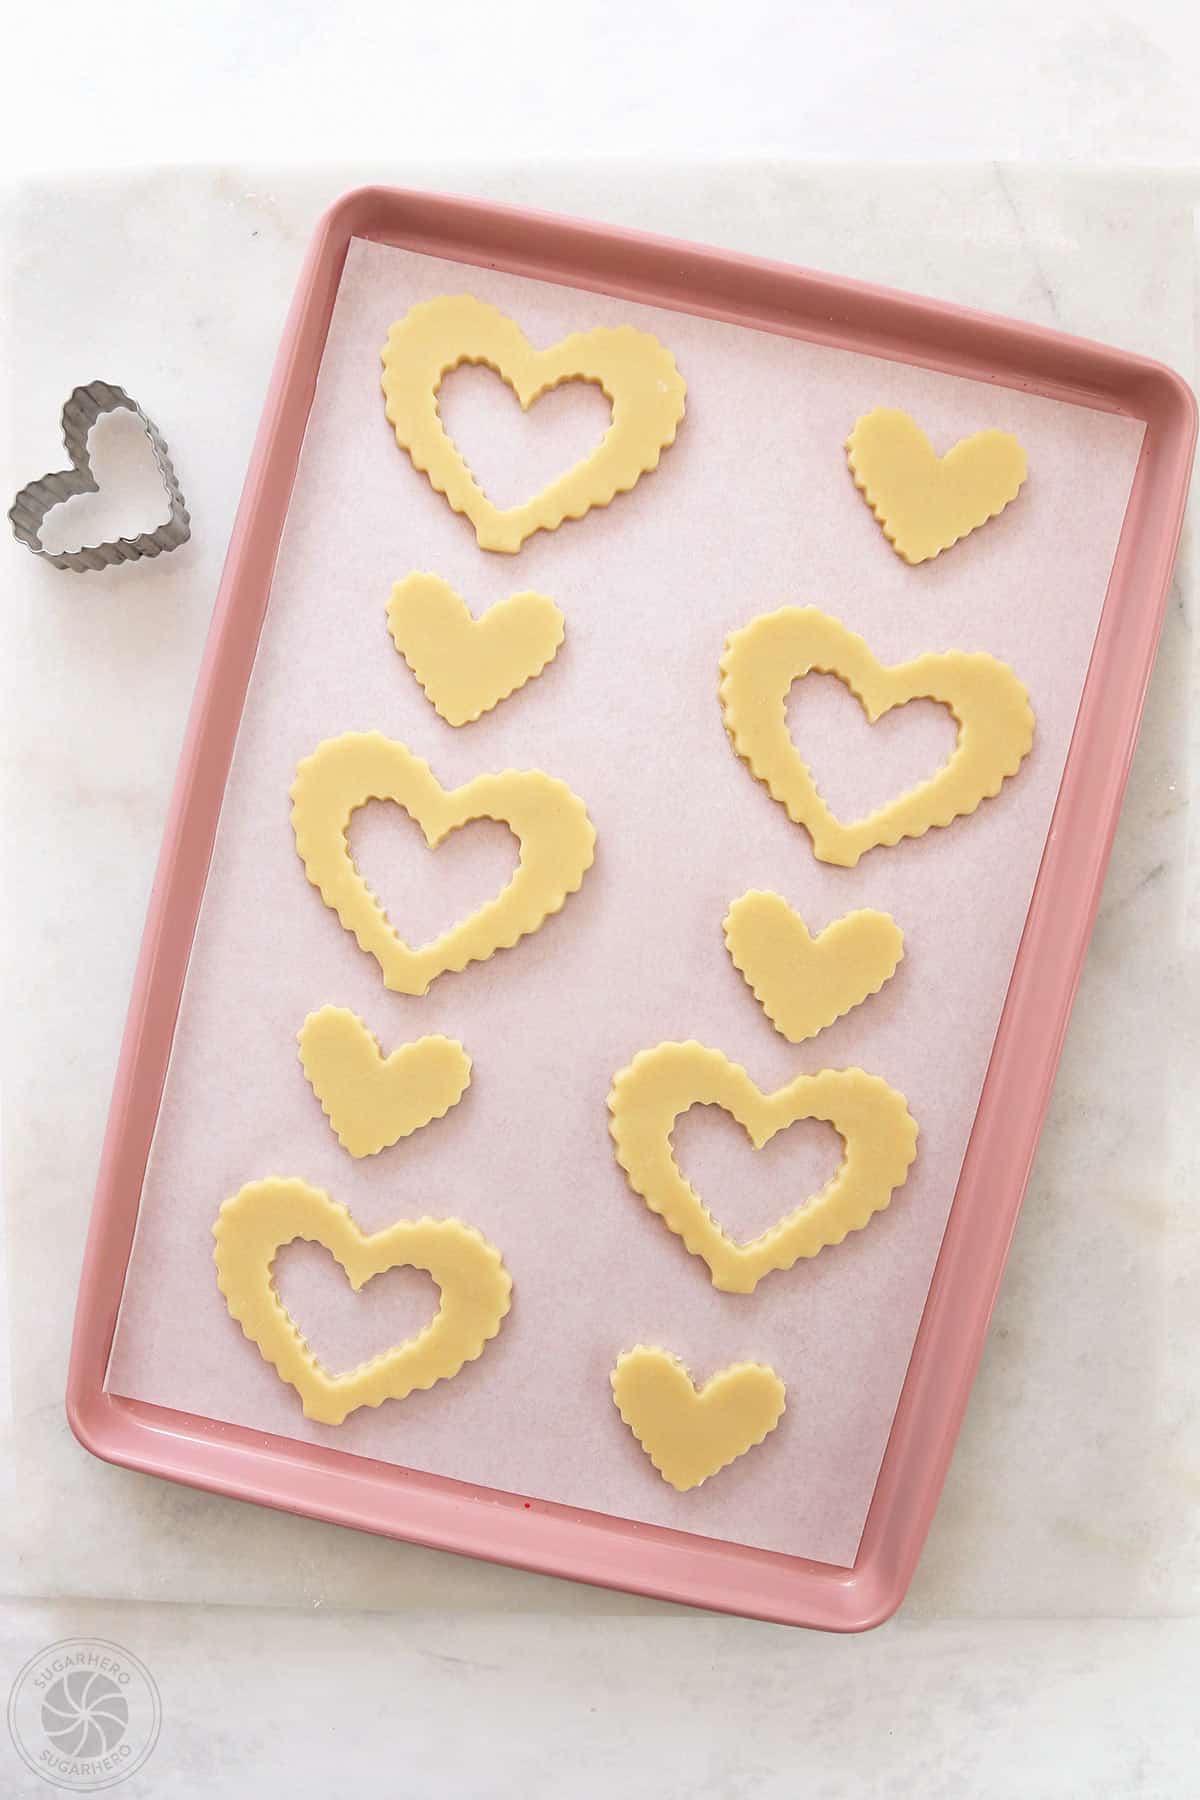
The versatility of this dough extends to its adaptability with various cookie cutters. Whether opting for classic shapes or more intricate designs, the dough holds its form beautifully during baking, minimizing spread and preserving the intended cut-out details. For those seeking a touch of added elegance, the recipe suggests using scalloped cutters to create “wreath” shapes, a simple yet impactful technique that enhances the visual appeal of the finished cookies. However, any shape can be masterfully decorated using the accompanying frosting.

The Complement: Easy and Stable Buttercream Frosting
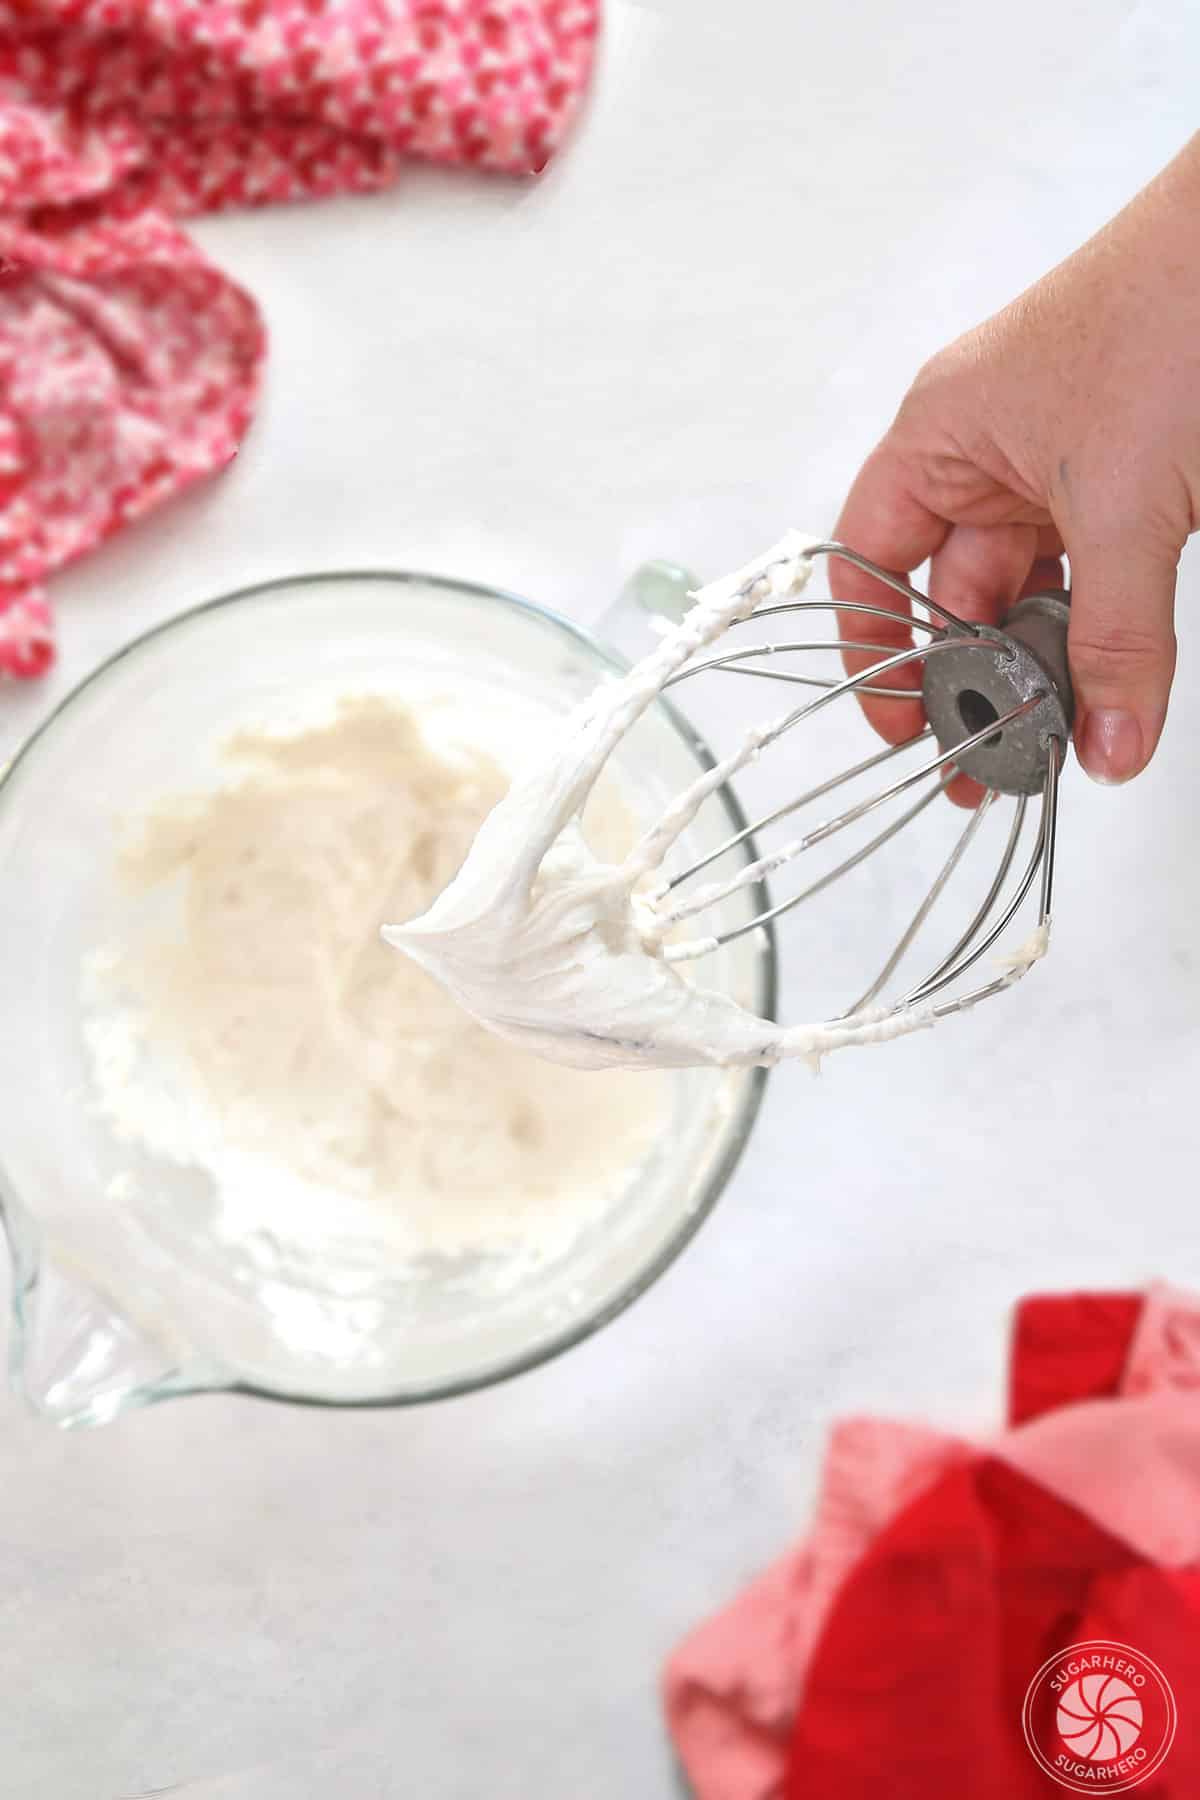
Complementing the perfectly baked sugar cookies is an equally impressive buttercream frosting. This recipe features an American-style buttercream, renowned for its simplicity and accessibility. Requiring only a handful of common ingredients and a quick whipping time of approximately five minutes, this frosting is both delicious and highly functional. Its smooth consistency and ability to hold its shape make it exceptionally well-suited for piping, allowing for precise designs and intricate details.
The secret to its decorating prowess lies in its stability. Unlike softer frostings that can become unwieldy, this buttercream maintains its structure, ensuring that piped elements remain sharp and defined. This characteristic is particularly beneficial for beginners, as it provides a forgiving medium that is less prone to collapsing or spreading.
Decoding the Decorating Magic: A Beginner-Friendly Approach
For those who find the prospect of piping frosting daunting, this recipe offers a liberating perspective. The "secret sauce" to achieving impressive decorated cookies is the strategic use of multiple colors and a variety of piping tips. The recipe encourages the use of white, dark red, and dark pink frostings, with the option to create a lighter pink by blending dark pink with white.
Each color is designated its own piping bag, fitted with a small star tip. The recipe emphasizes that precise tip numbers are not critical; any small tip with ridges along the opening will suffice. This approach simplifies the decorating process, removing the pressure of perfect execution.
The true beauty of this decorating technique lies in its inherent lack of rules. There is no single "correct" way to apply the frosting. Bakers are encouraged to embrace a sense of playful spontaneity, piping swirls, dots, and whimsical lines in various colors adjacent to one another, creating a mosaic of textures and hues across the cookie’s surface. The addition of sprinkles provides a final flourish, transforming these seemingly simple cookies into "beautifully chaotic masterpieces." A visual guide, such as a photo tutorial, is often included with such recipes to demonstrate the ease and accessibility of the decorating process.
Ingredients and Equipment: A Foundation for Success
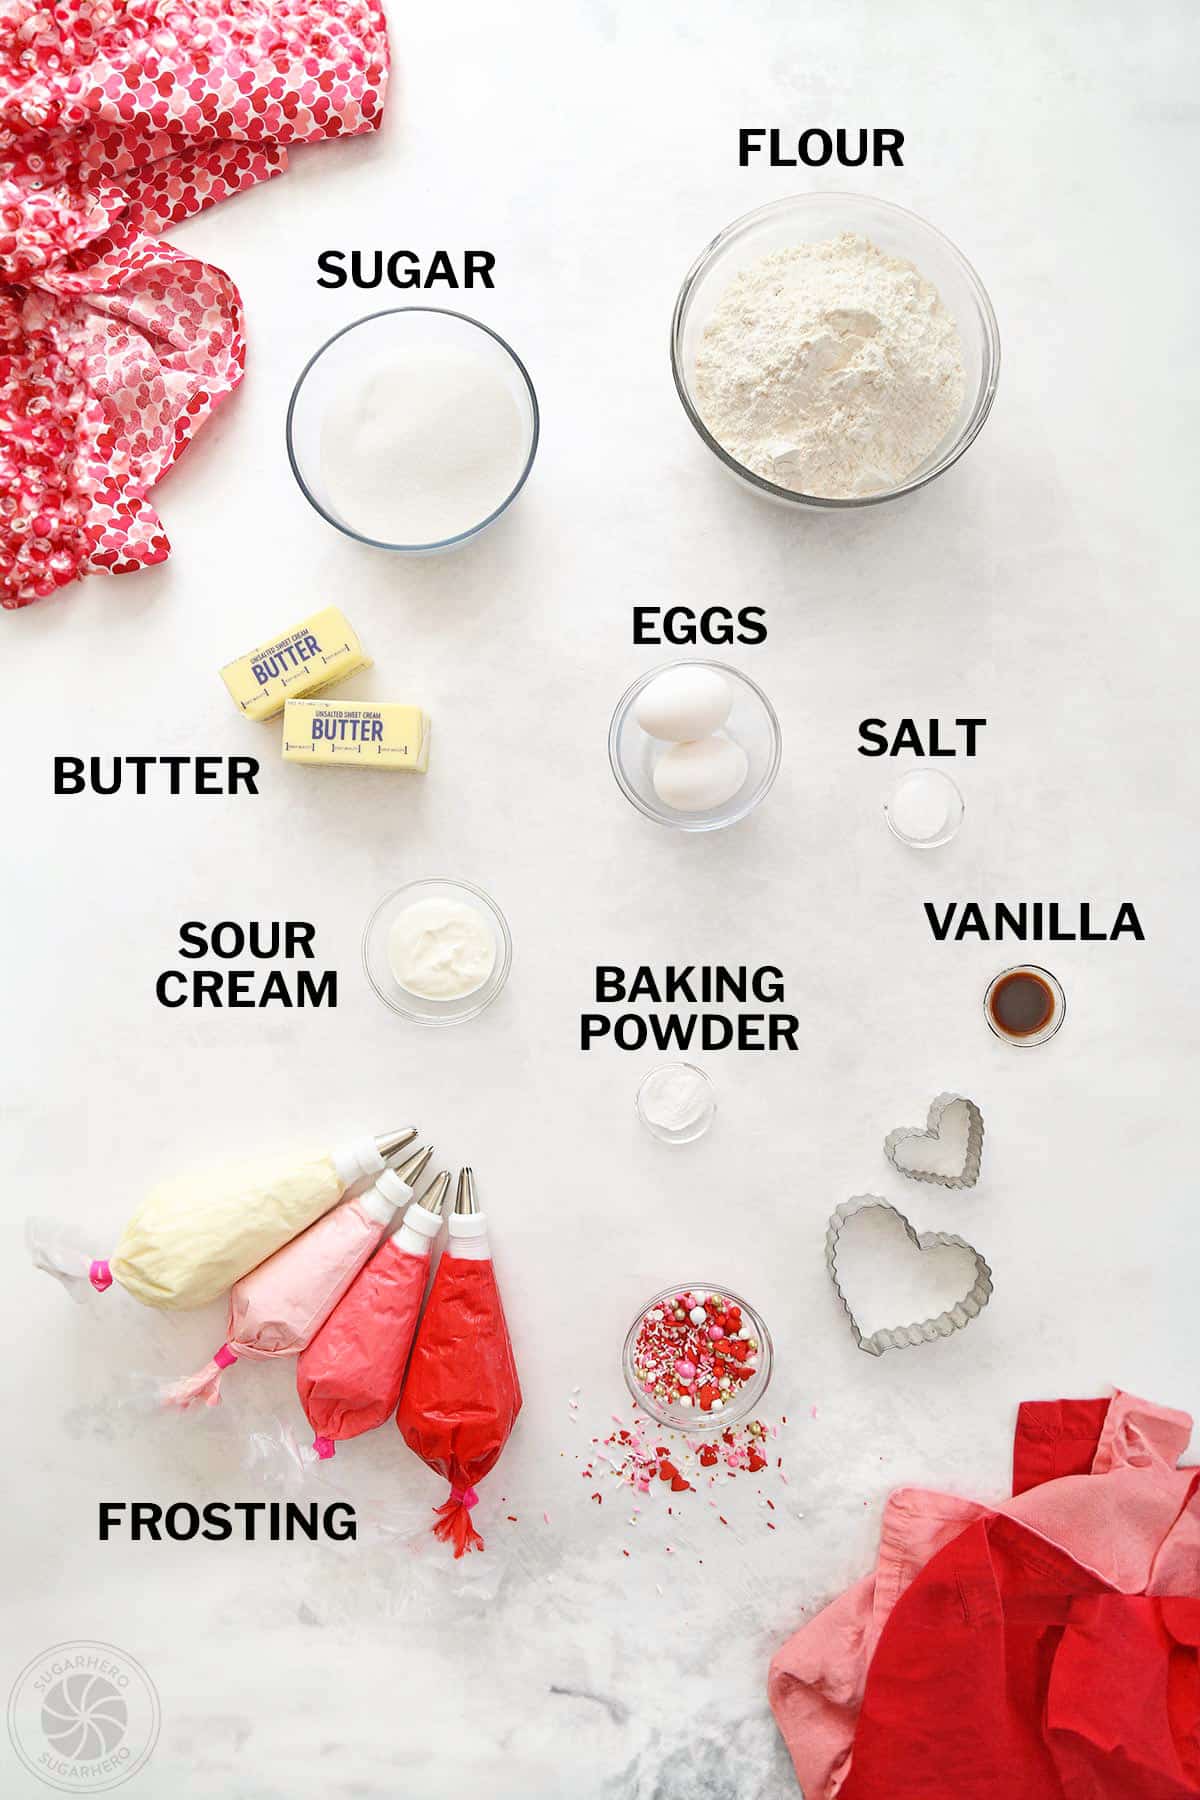
To embark on this baking journey, gathering the appropriate ingredients and equipment is essential. The recipe typically provides a detailed list, often with optional affiliate links for convenient purchasing.

For the Sugar Cookies:
- All-purpose flour
- Baking soda
- Salt
- Unsalted butter, softened
- Granulated sugar
- Egg
- Vanilla extract
- Sour cream (or heavy cream)
For the Buttercream Frosting:
- Unsalted butter, softened
- Powdered sugar (confectioners’ sugar)
- Vanilla extract
- Milk (or heavy cream)
- Salt
For Decoration:
- Food coloring (gel or liquid, in desired shades)
- Sprinkles (optional)
Essential Equipment:
- Mixing bowls
- Electric mixer (stand or hand mixer)
- Whisk
- Measuring cups and spoons (or a kitchen scale for precise measurements)
- Rubber spatula
- Plastic wrap
- Rolling pin
- Cookie cutters (various shapes and sizes)
- Baking sheets
- Parchment paper
- Piping bags
- Piping tips (small star tips recommended)
- Offset spatula (optional, for spreading frosting)
The emphasis on using weight measurements for ingredients is a common practice in professional baking, ensuring greater accuracy and consistency. However, volume measurements are typically provided as an alternative for home bakers.
The Baking Process: Step-by-Step Culinary Creation
The creation of these delightful sugar cookies involves several distinct stages, each contributing to the final masterpiece.
Crafting the Sugar Cookie Dough
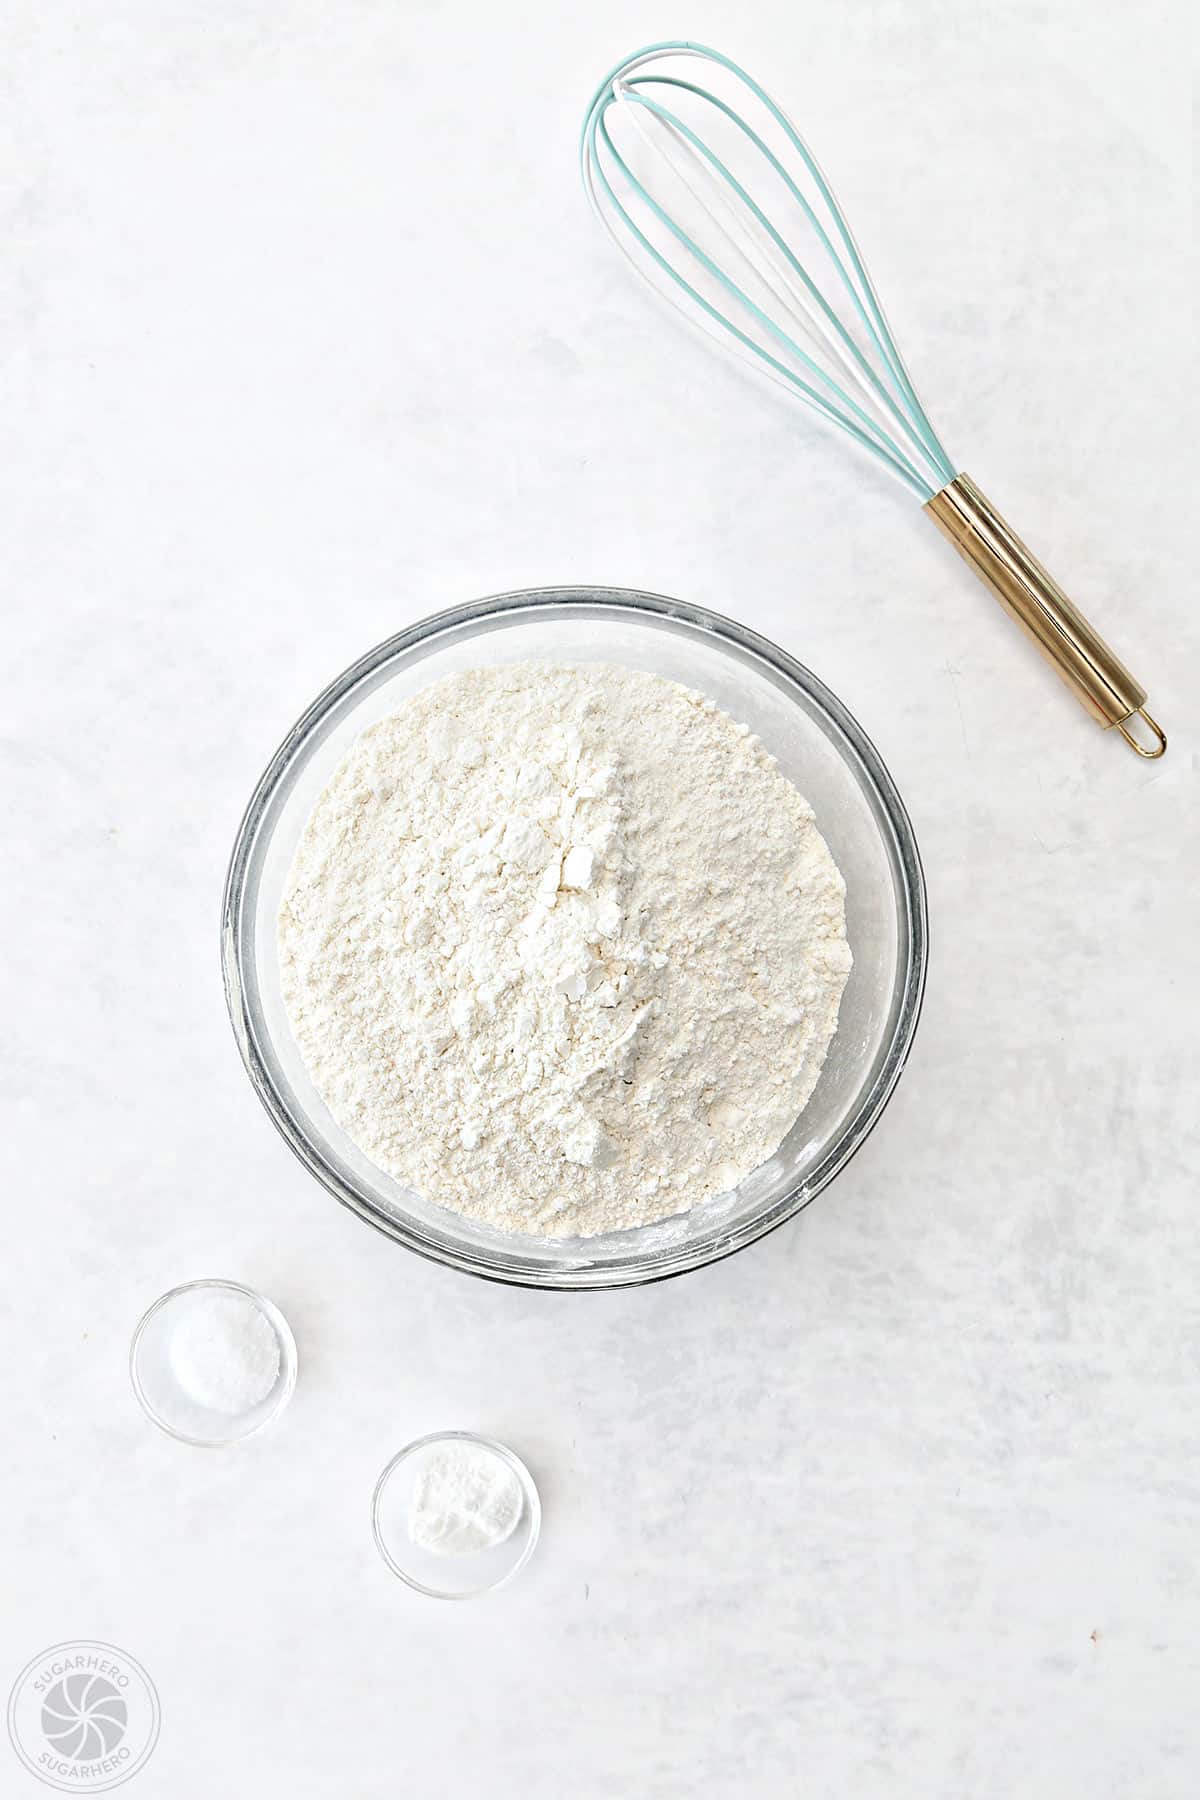
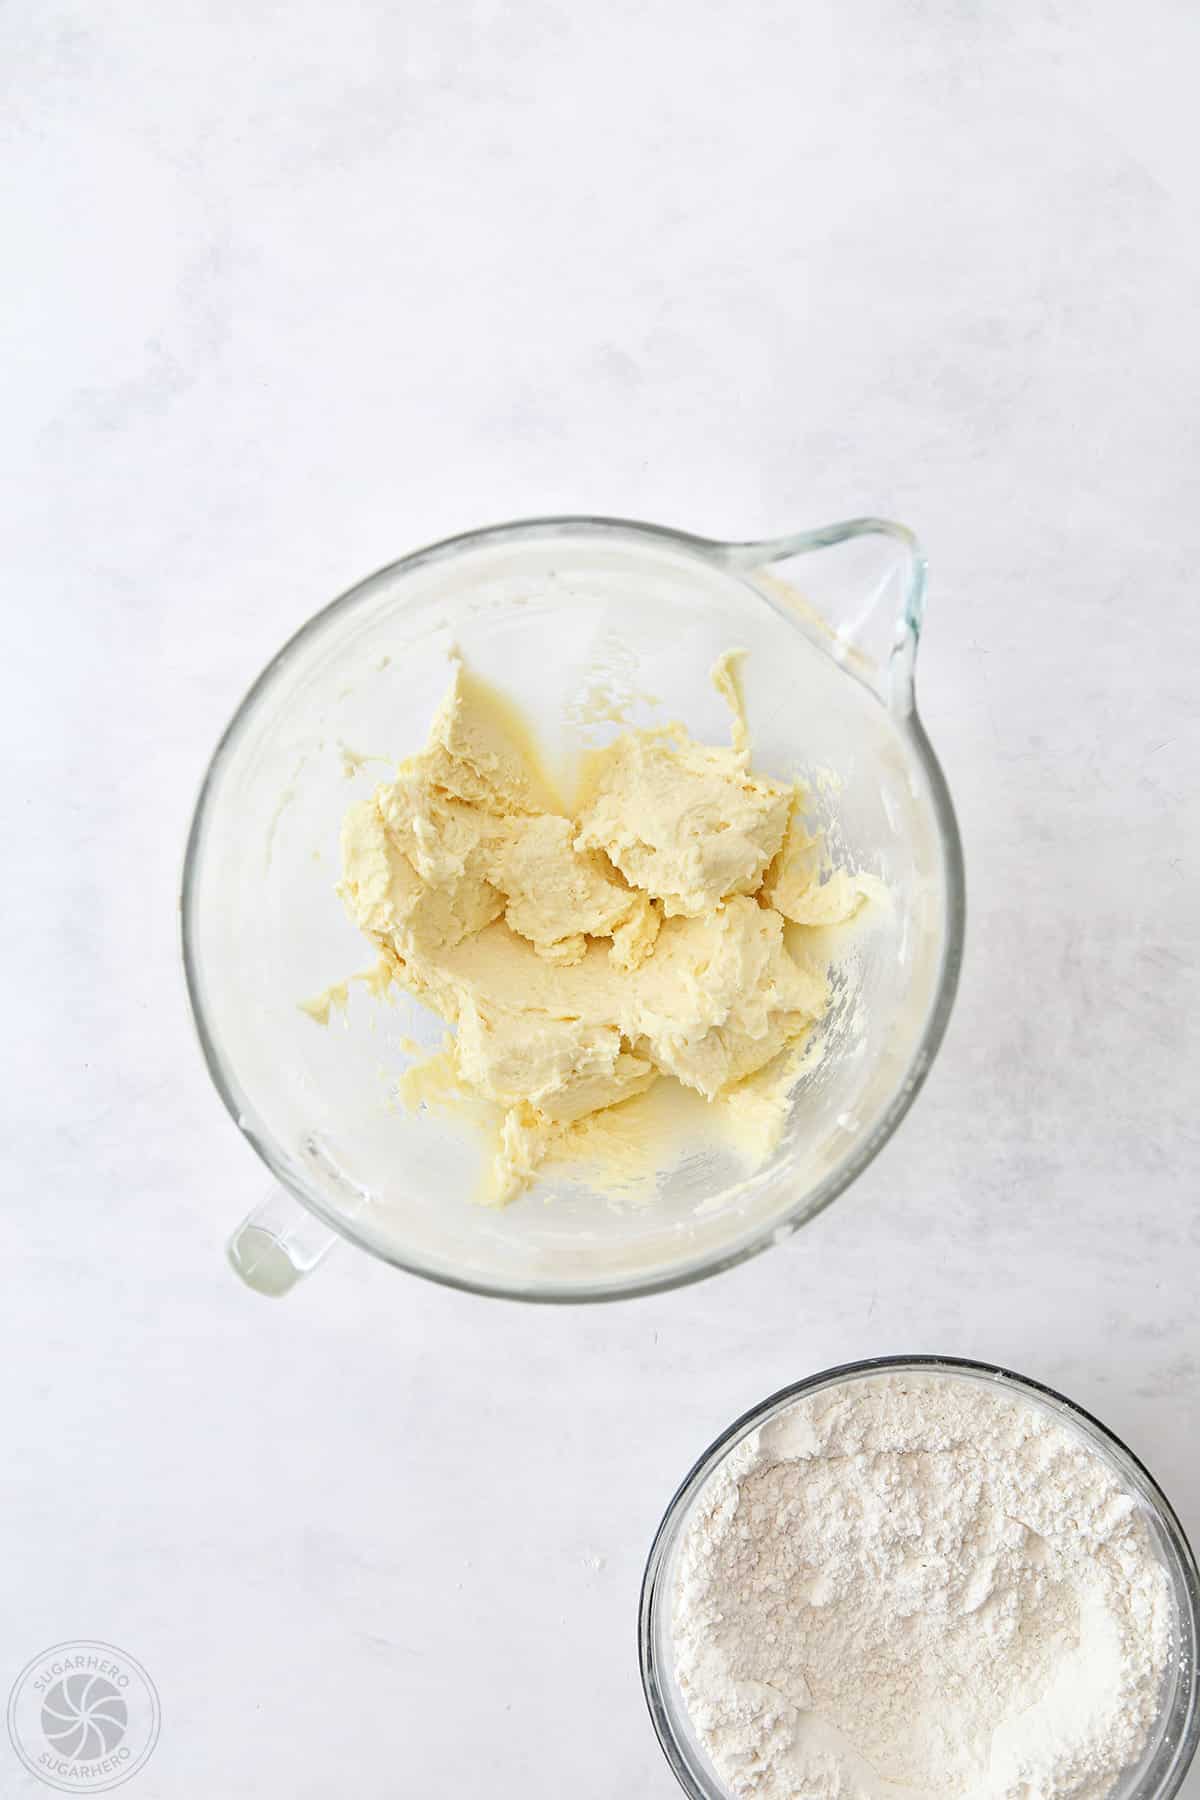
- Dry Ingredients: In a medium bowl, whisk together the flour, baking soda, and salt. This ensures even distribution of leavening agents and salt.
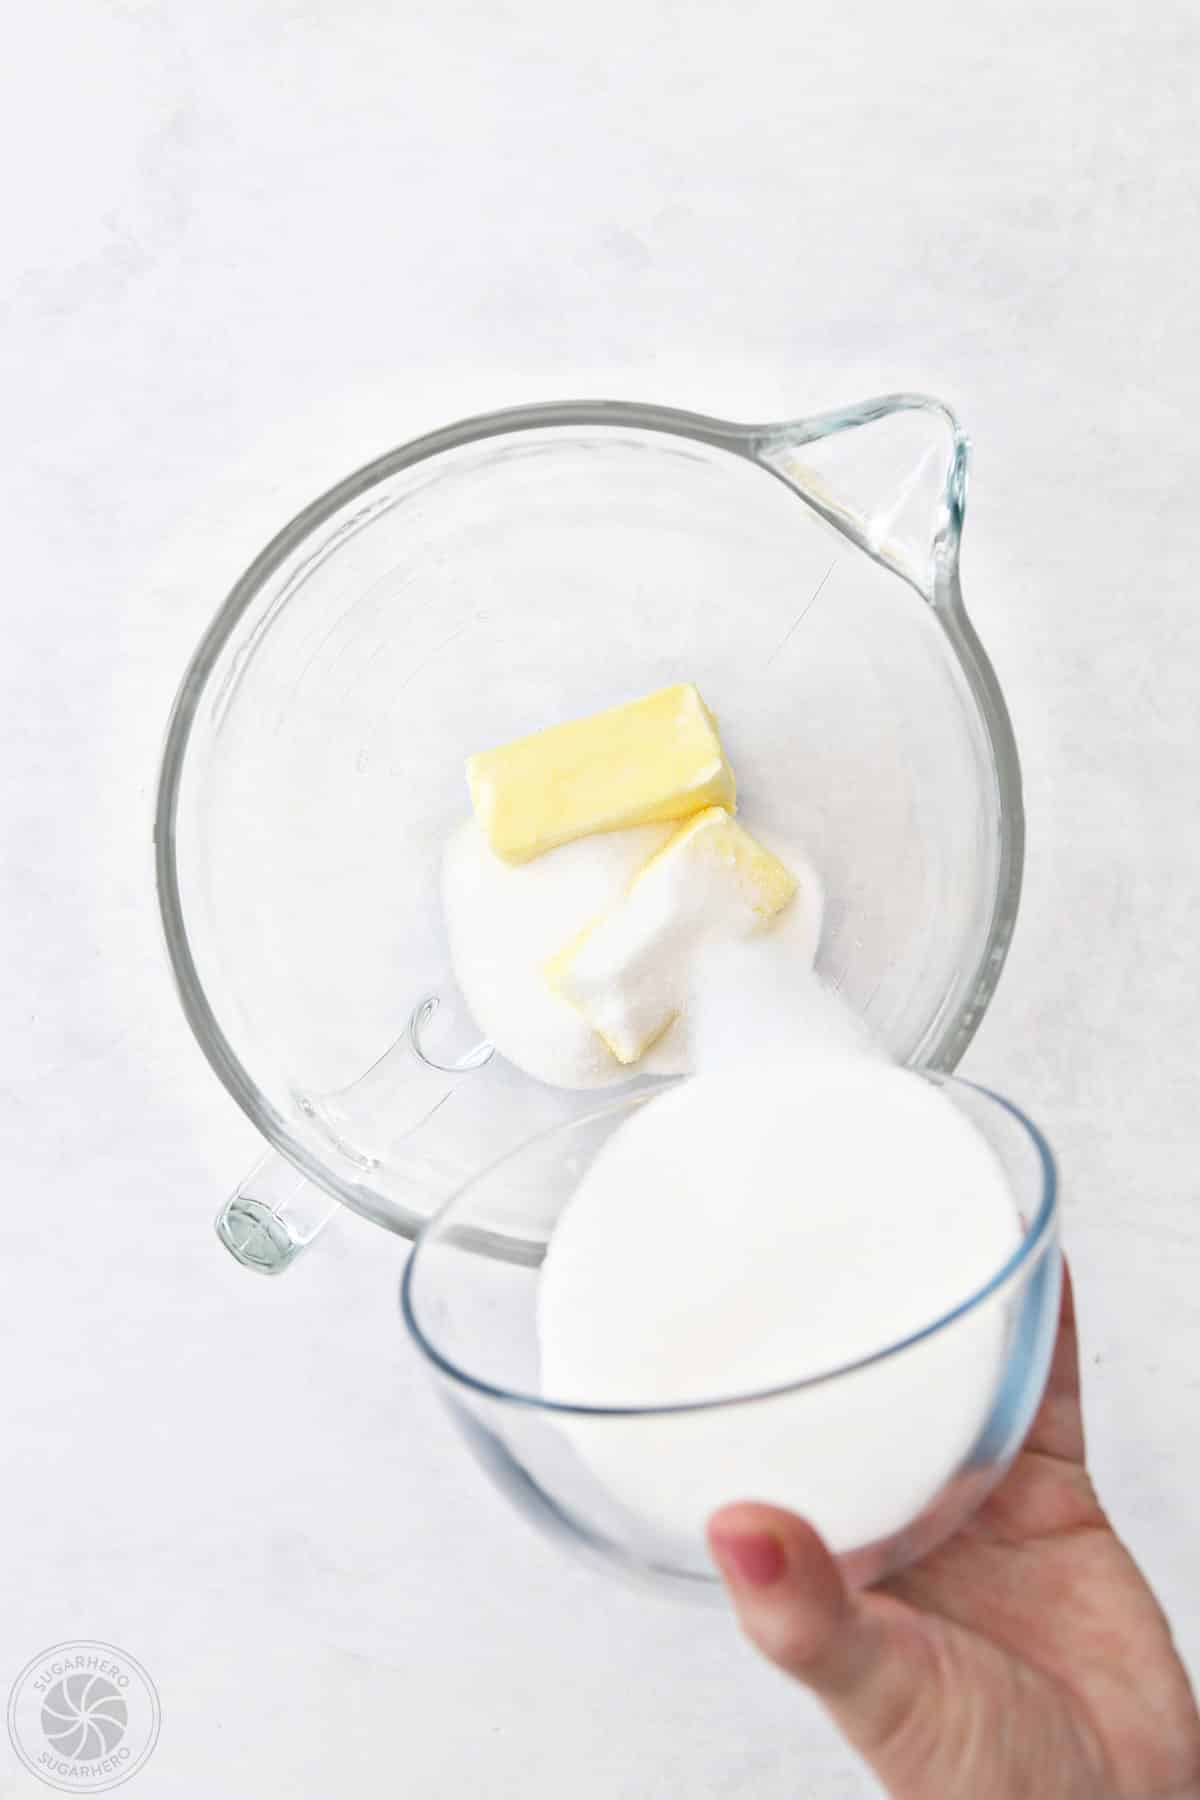
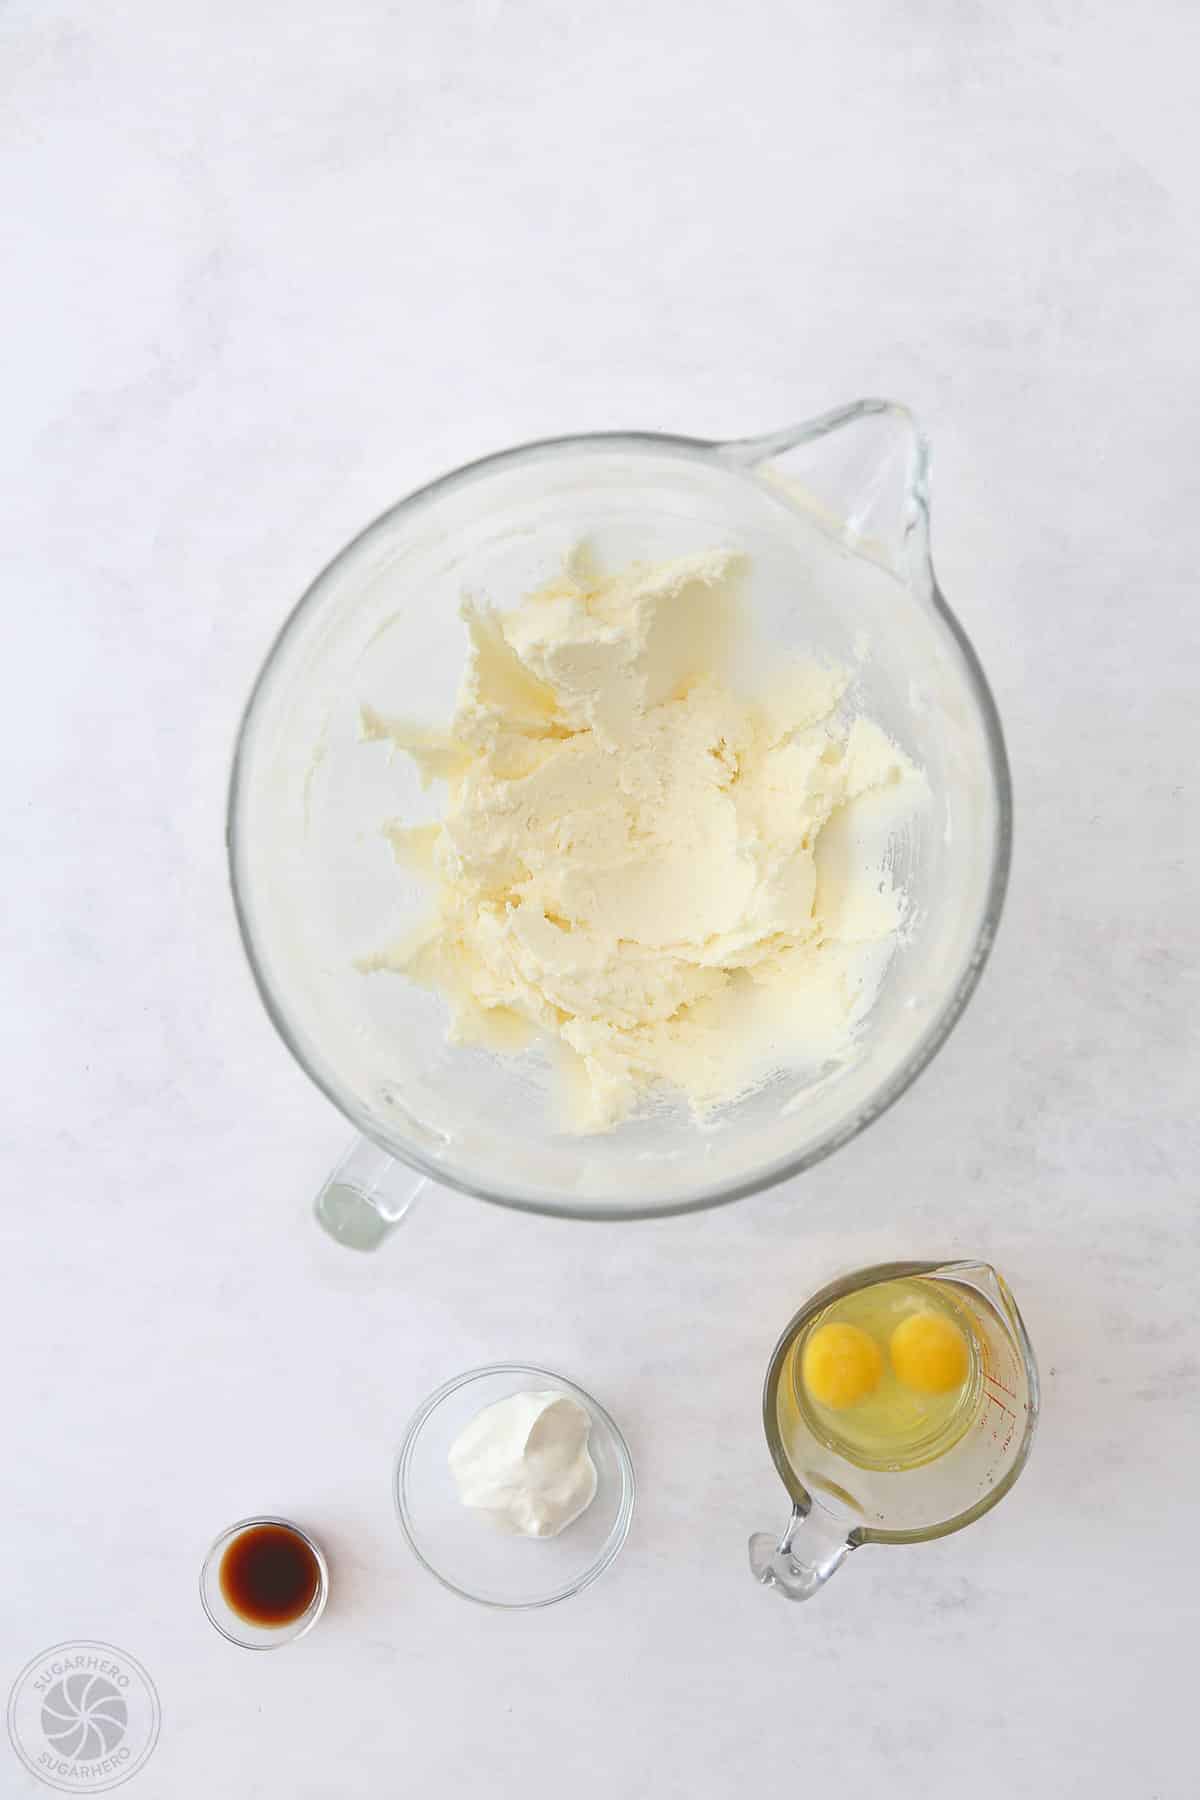
- Creaming Butter and Sugar: In a large bowl, cream the softened butter and granulated sugar together using an electric mixer until light and fluffy. This process incorporates air, which contributes to the cookie’s texture.
- Adding Wet Ingredients: Beat in the egg and vanilla extract until well combined. Then, gradually add the sour cream (or cream), mixing until just incorporated.
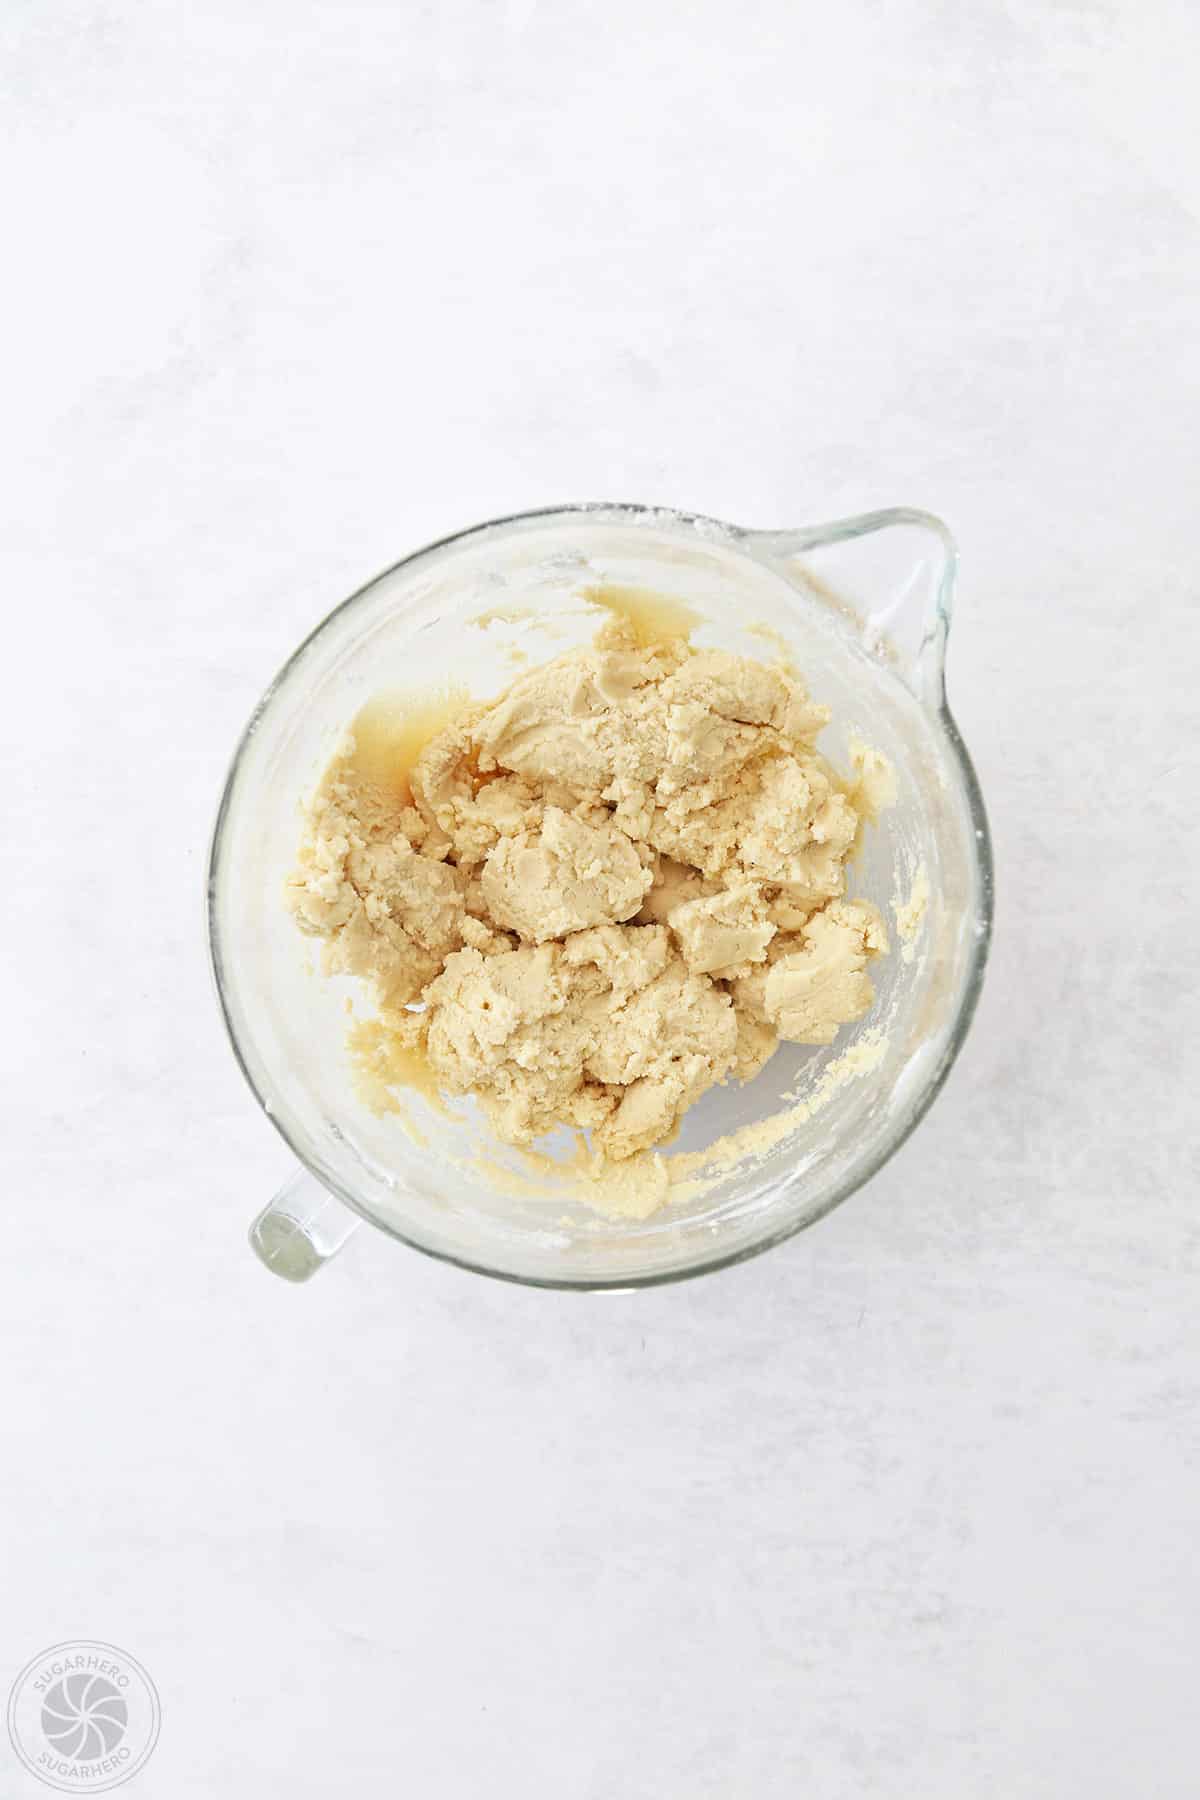
- Combining Wet and Dry: Gradually add the dry ingredients to the wet ingredients, mixing on low speed until just combined. Be careful not to overmix, as this can lead to tough cookies.
- Chilling the Dough: Divide the dough into two or more discs, wrap them tightly in plastic wrap, and refrigerate for at least two hours, or preferably overnight. Chilling is crucial for making the dough easier to handle and preventing excessive spreading during baking.
Baking the Cookies to Perfection
- Preheating and Preparation: Preheat your oven to the temperature specified in the recipe (typically around 350°F or 175°C). Line baking sheets with parchment paper.
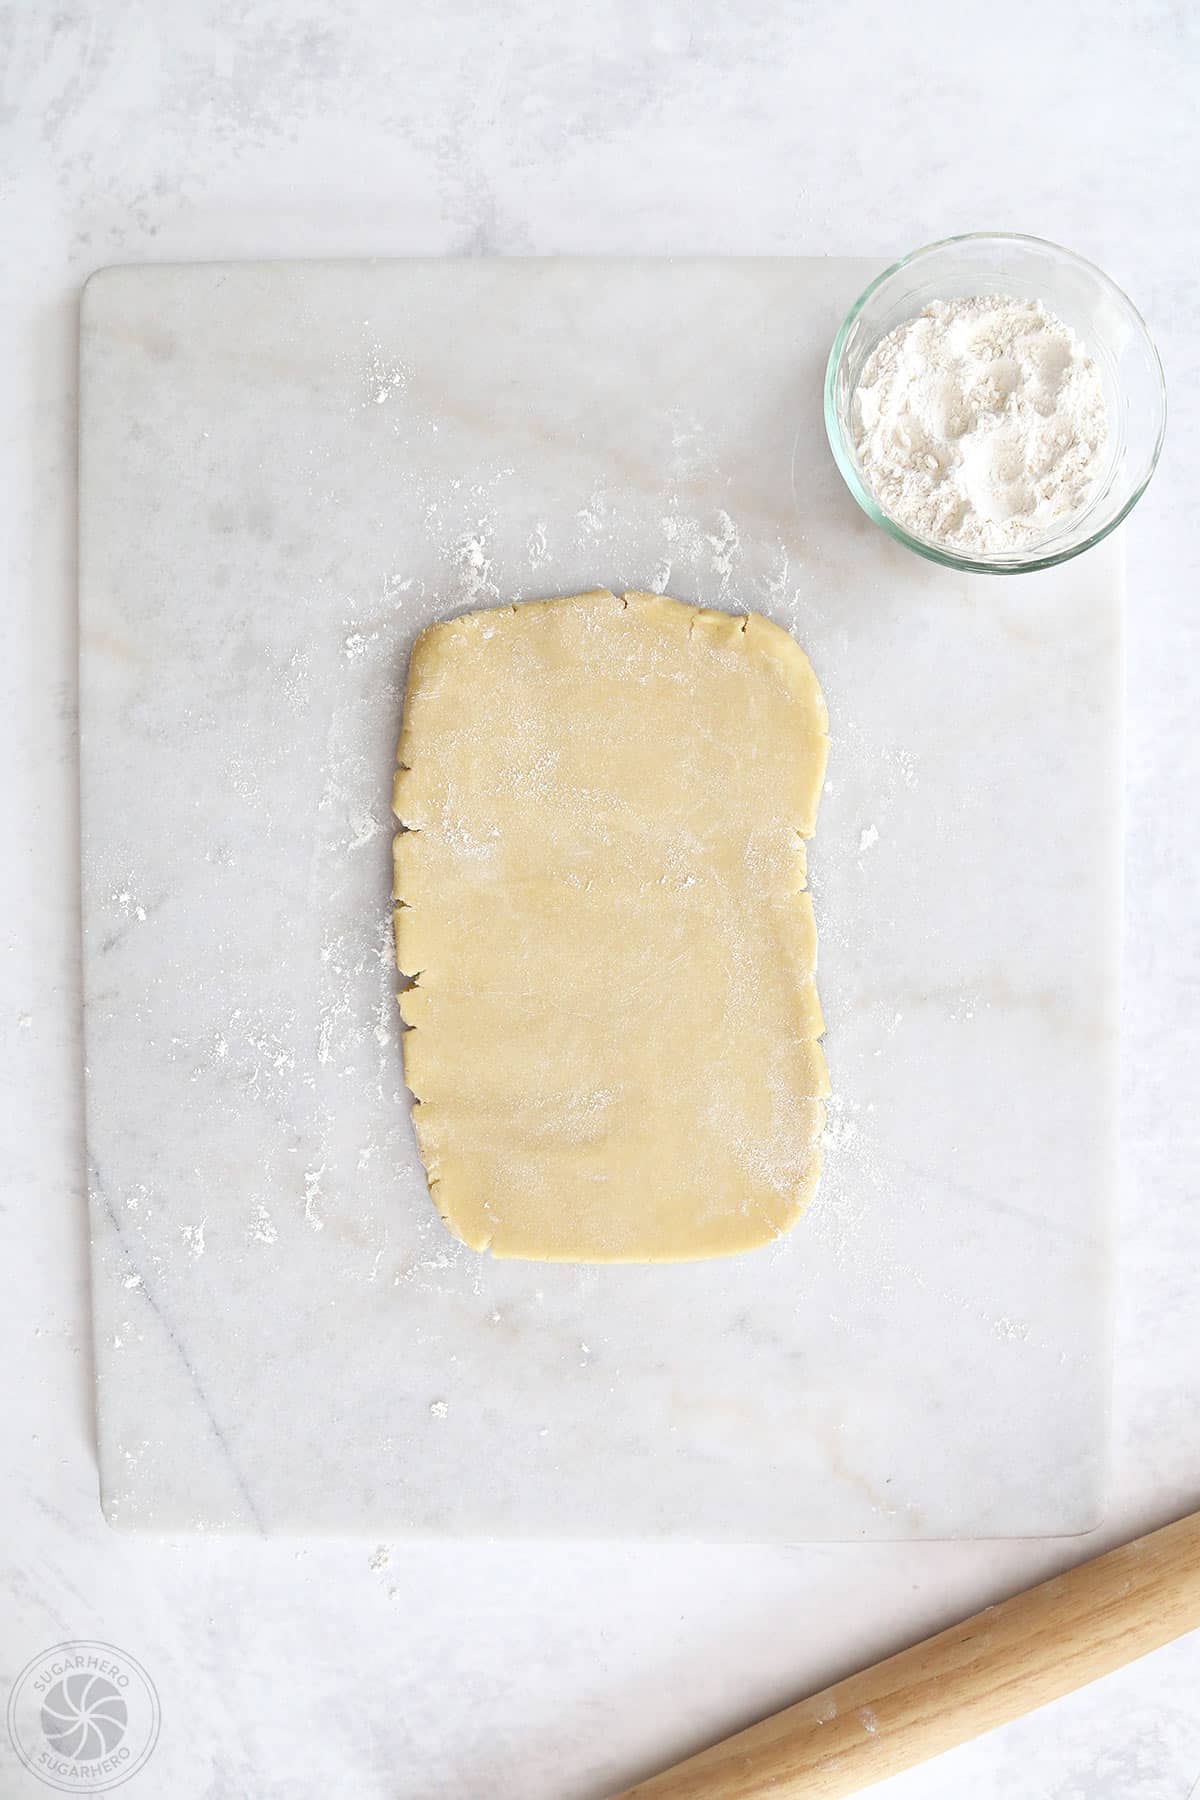
- Rolling the Dough: On a lightly floured surface, roll out one disc of chilled dough to approximately ¼-inch thickness.
- Cutting Shapes: Use your chosen cookie cutters to cut out shapes. Reroll scraps as needed, but handle them minimally to avoid warming the dough too much.
- Baking: Carefully transfer the cut-out cookies to the prepared baking sheets, leaving about an inch of space between them. Bake for 8-12 minutes, or until the edges are lightly golden brown. The exact baking time will vary depending on the size and thickness of your cookies.
- Cooling: Let the cookies cool on the baking sheets for a few minutes before transferring them to a wire rack to cool completely. Ensure they are entirely cool before frosting.
Preparing the Stable Buttercream Frosting
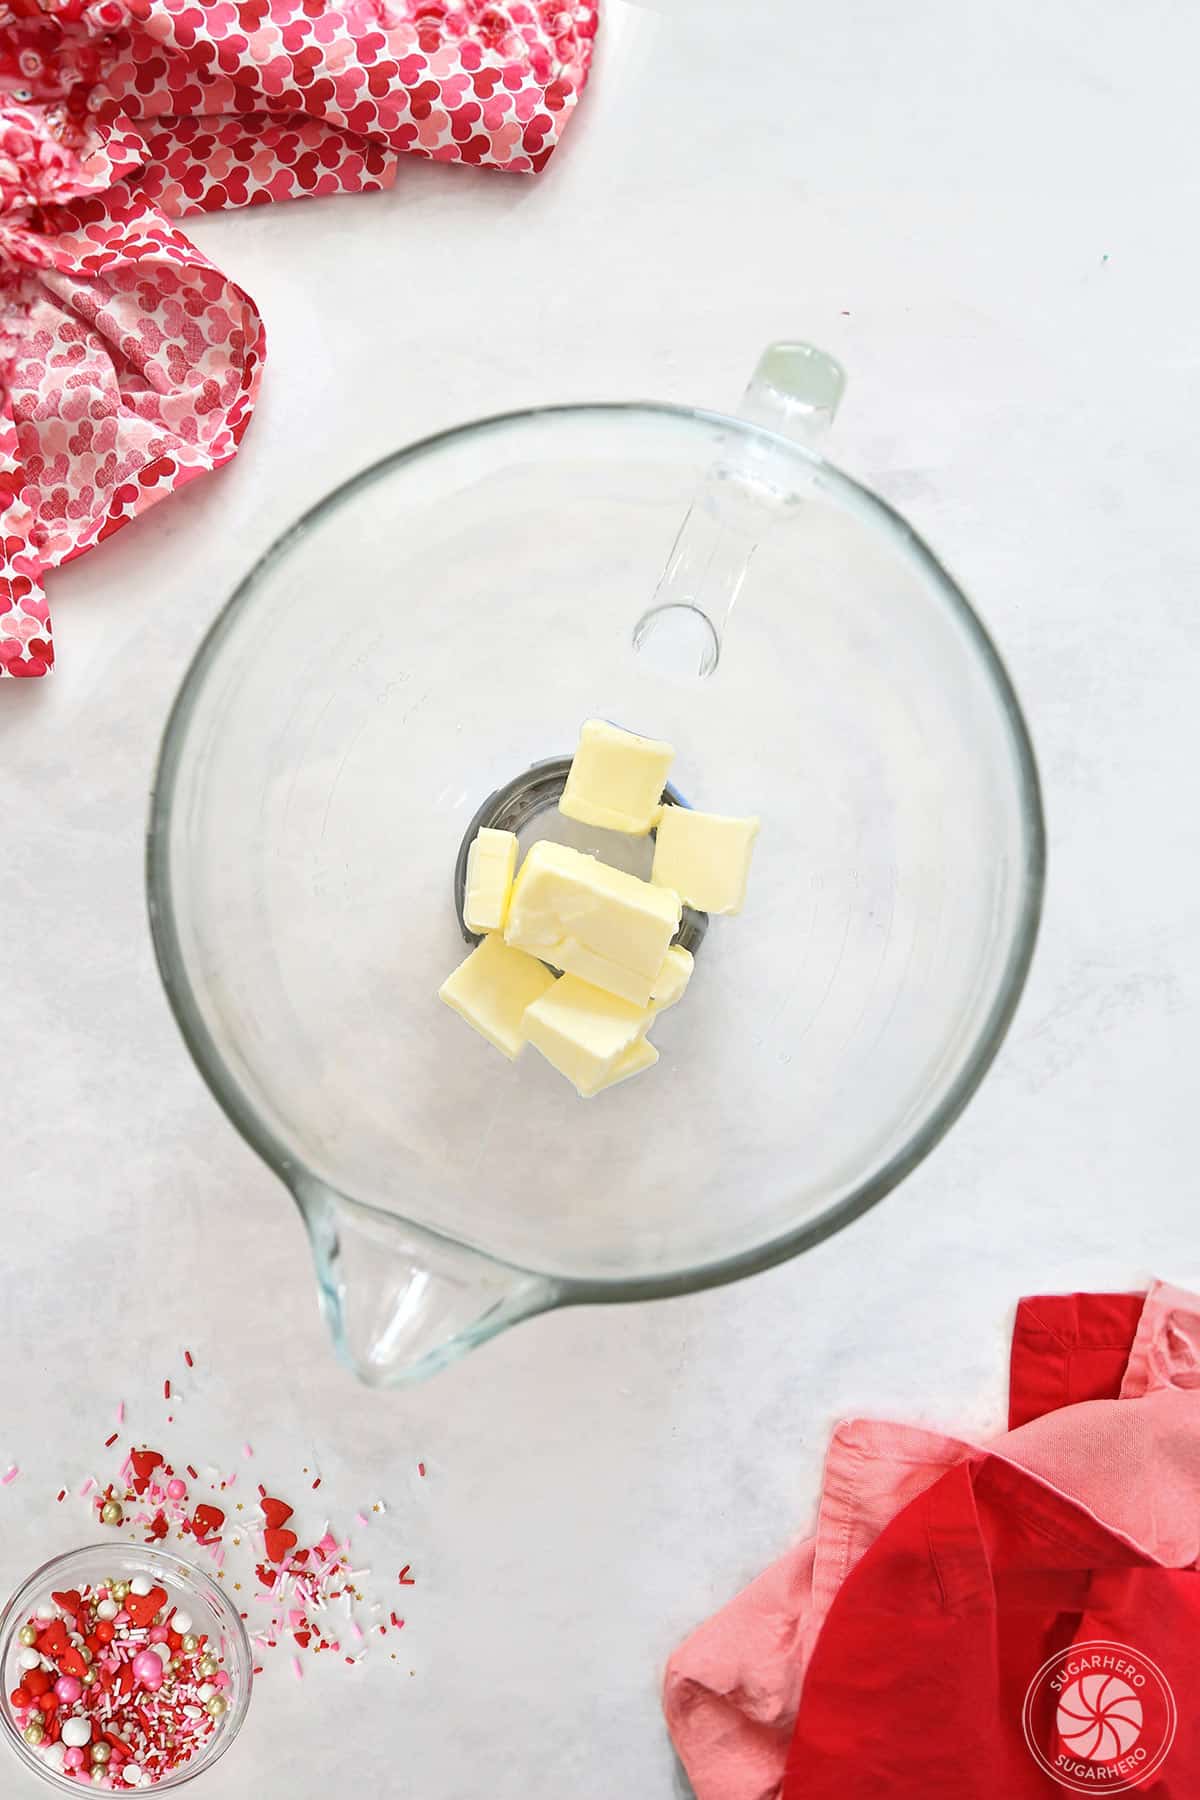
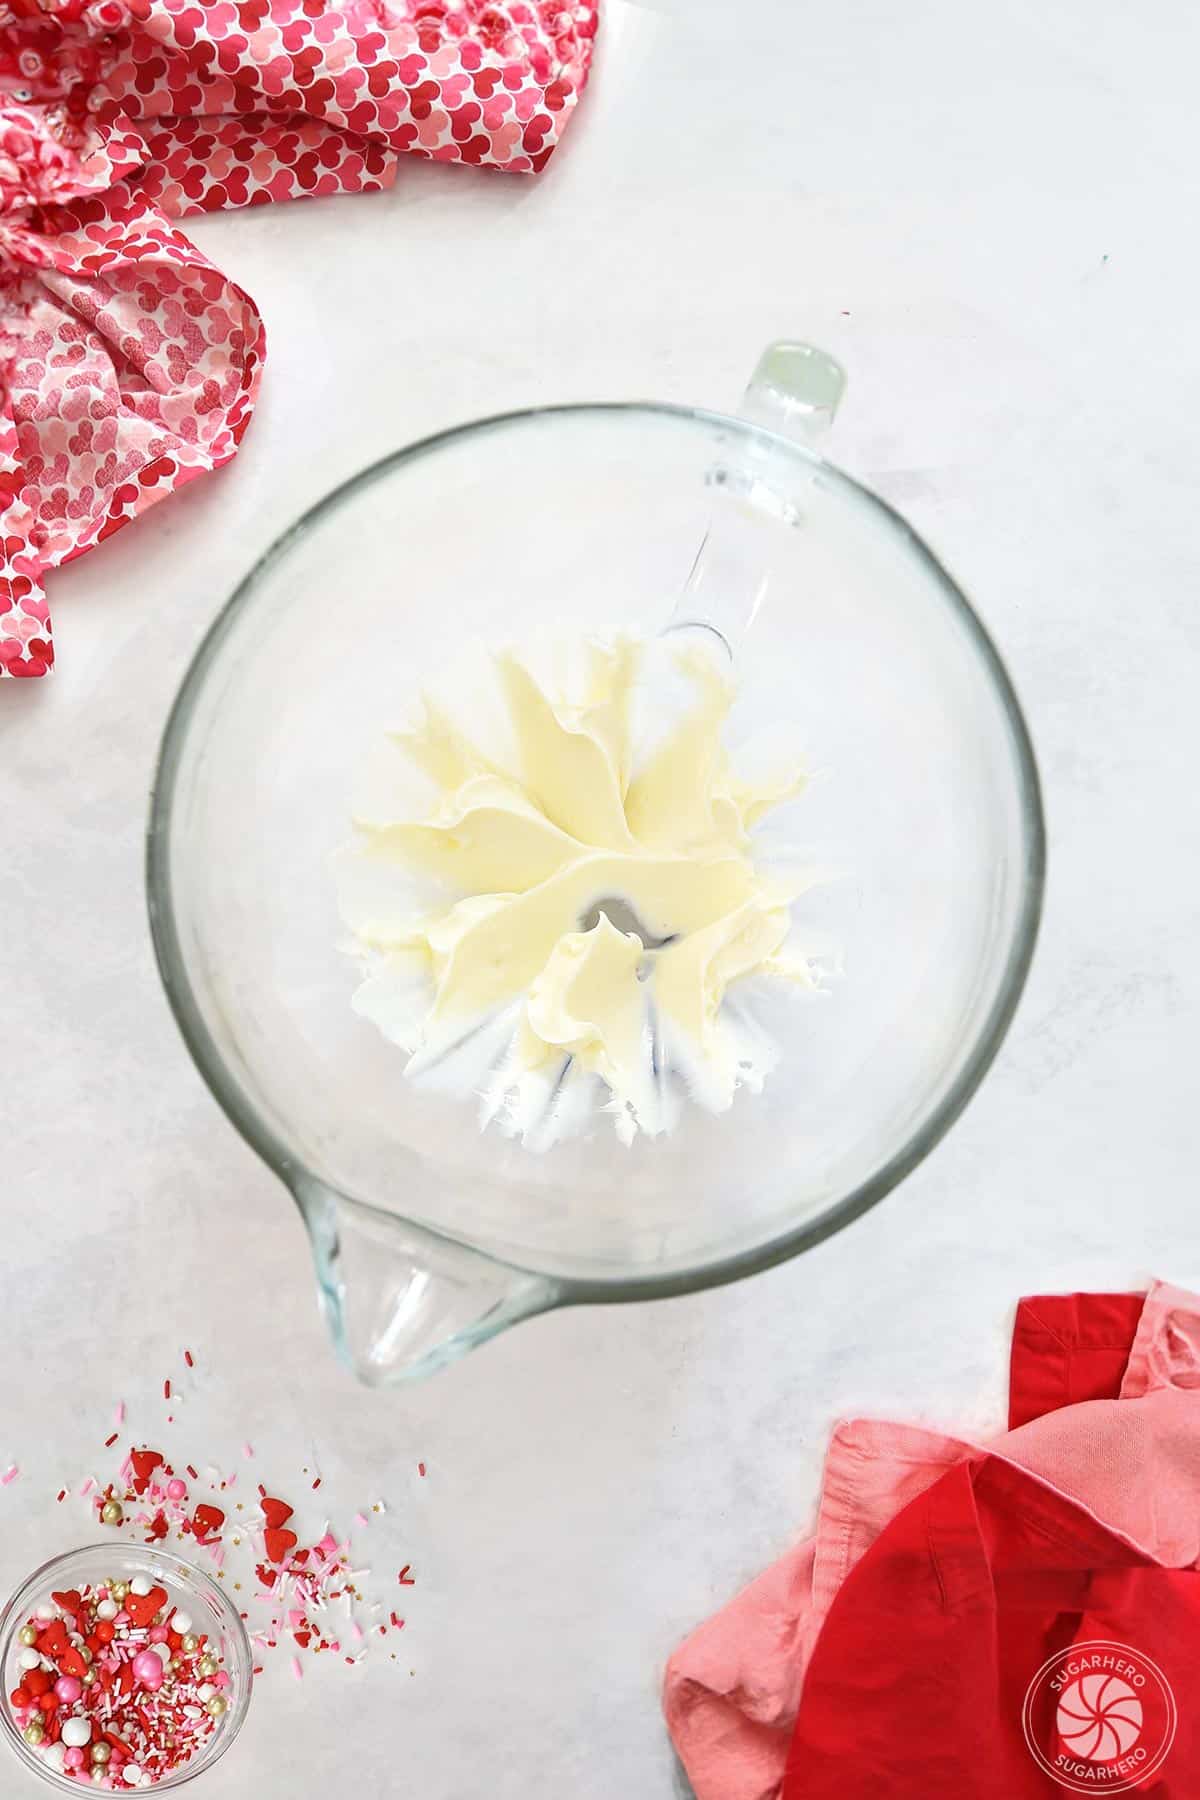
- Creaming Butter: In a large bowl, beat the softened butter with an electric mixer until light and creamy.
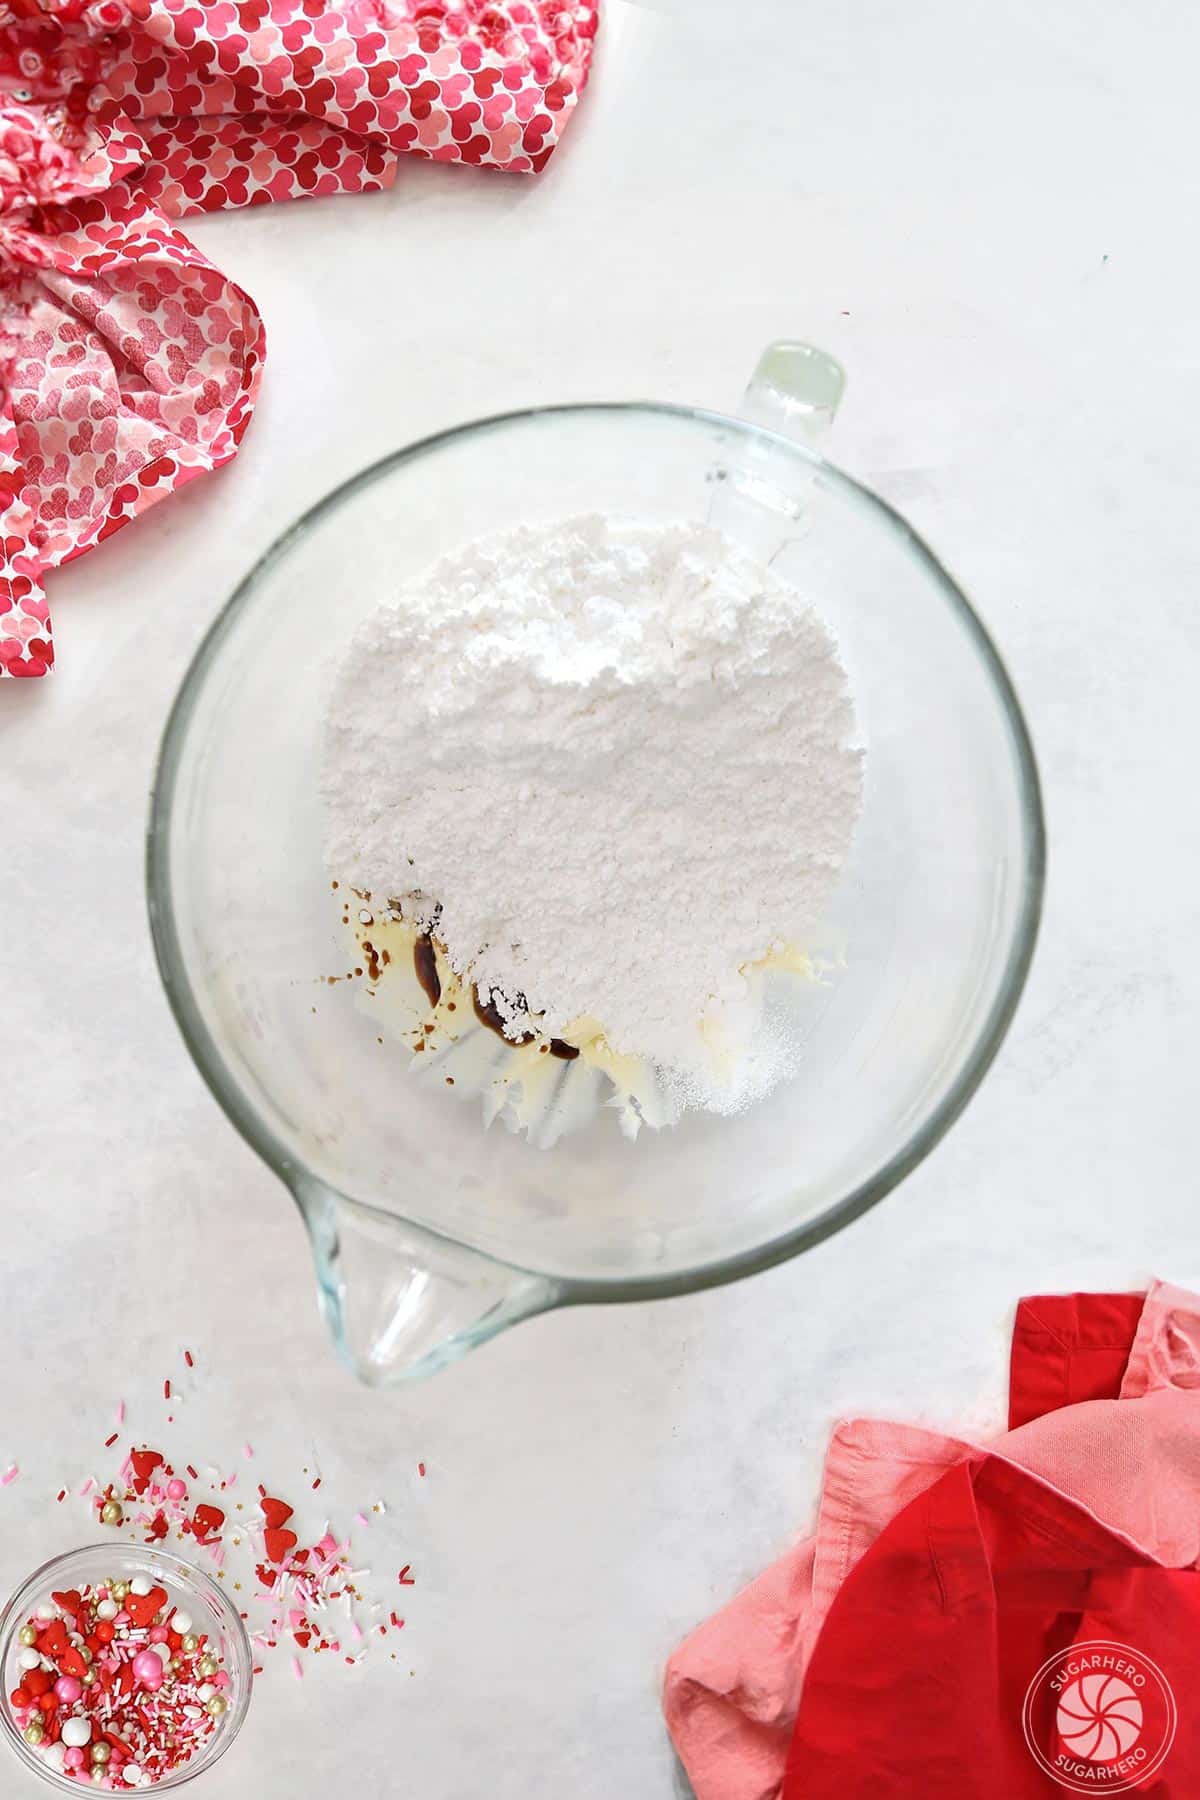
- Adding Powdered Sugar: Gradually add the powdered sugar, alternating with small amounts of milk or cream, and the vanilla extract. Mix until the frosting is smooth and has reached your desired consistency. Add salt to taste.
- Coloring the Frosting: Divide the buttercream into separate bowls and tint each portion with food coloring to achieve your desired shades.
Decorating with Flair
- Preparing Piping Bags: Fit piping bags with small star tips and fill each bag with a different color of frosting.
- Piping Techniques: Encourage a freeform approach. Pipe various designs such as swirls, dots, and zig-zags directly onto the cooled cookies. The beauty of this technique is its forgiving nature; imperfect lines and varied patterns create a charming, handcrafted look.
- Adding Sprinkles: While the frosting is still wet, liberally sprinkle your decorated cookies with your chosen sprinkles for a final decorative touch.
Tips for Cookie Success and Beyond
- Ingredient Temperature: Ensure butter and eggs are at the correct temperature as specified in the recipe for optimal dough consistency.
- Dough Chilling: Do not skip the chilling step. It is vital for easy handling and preventing cookie spread.
- Oven Temperature: Calibrate your oven for accurate temperature to ensure consistent baking results.
- Cooling Completely: Frosting warm cookies will lead to a melted mess. Patience is key.
- Frosting Consistency: If the buttercream is too stiff, add a tiny bit more milk or cream. If too soft, add more powdered sugar.
- Food Coloring: Gel food coloring provides more vibrant colors with less liquid, preventing the frosting from becoming too thin.
- Storage: Store decorated cookies in an airtight container at room temperature for up to a week.
Broader Implications and Culinary Trends
The popularity of recipes like this highlights a broader trend in home baking: the desire for accessible, yet impressive, results. As social media platforms continue to showcase beautifully decorated baked goods, home bakers are increasingly motivated to replicate these creations. Recipes that break down complex techniques into manageable steps, like the piping method described here, are invaluable in empowering individuals to explore their creativity in the kitchen.
Furthermore, the emphasis on using quality ingredients and taking the time to bake from scratch reflects a growing conscious consumerism, where individuals are more mindful of what they consume and the processes involved in food production. The ability to produce cookies that rival those from high-end bakeries not only provides personal satisfaction but also offers a cost-effective alternative for enjoying artisanal treats. This recipe serves as a testament to the fact that with the right guidance and a willingness to experiment, the art of baking and decorating is an achievable and immensely enjoyable pursuit for everyone.