This flatbread recipe, a deceptively simple creation requiring just five ingredients and no yeast, is the culmination of a culinary journey marked by persistence and a willingness to learn from every misstep. What began as a quest for a quick, homemade bread evolved into a detailed exploration of dough consistency, cooking temperatures, and the subtle nuances that transform a basic recipe into a kitchen triumph. The author’s candid account of initial failures—ranging from crumbly and tough doughs to scorched discs that resembled charcoal briquettes more than bread—serves as a valuable guide, offering practical solutions to common pitfalls, ensuring that aspiring bakers can achieve a soft, chewy, and perfectly blistered flatbread on their very first attempt.
Understanding the Humble Flatbread
At its core, flatbread is a testament to culinary simplicity. As the name suggests, it is derived from a dough that is either unleavened or very lightly leavened, rolled thin, and cooked rapidly on a hot surface, eschewing the traditional oven baking process. This method eliminates the often time-consuming steps of yeast proofing and waiting for dough to rise. The recipe in question leverages self-rising flour for lift and Greek yogurt for a tender, pillowy texture, enabling a complete preparation from mixing to cooking in approximately 30 minutes. The cooking method, while adaptable to a stovetop cast iron skillet or griddle, is demonstrated on a comal, a traditional flat cooking surface often used over open flames, hinting at a connection to rustic and outdoor cooking traditions.
The Anatomy of a Culinary Setback: Lessons Learned from the Kitchen
The path to perfecting this five-ingredient flatbread was anything but linear. The author’s initial attempts were fraught with common baking errors that many home cooks encounter. A key challenge was achieving the correct dough consistency. Early batches resulted in dough that was either too crumbly to form a cohesive ball, too tough and resistant to shaping, or excessively thick, leading to uneven cooking and a texture more akin to a pancake than a delicate flatbread. Scorched flatbreads were also a frequent outcome, a clear indicator of improper heat management during the cooking process.

These failures were not merely frustrating; they provided critical insights. The author meticulously documented these issues, understanding that each setback offered a lesson. The article aims to distill this learning experience, guiding readers through the specific problems encountered and the precise adjustments made to overcome them. This transparent approach demystifies the process, transforming potential kitchen disasters into educational opportunities.
Deconstructing the Dough: The Importance of Precision and Hydration
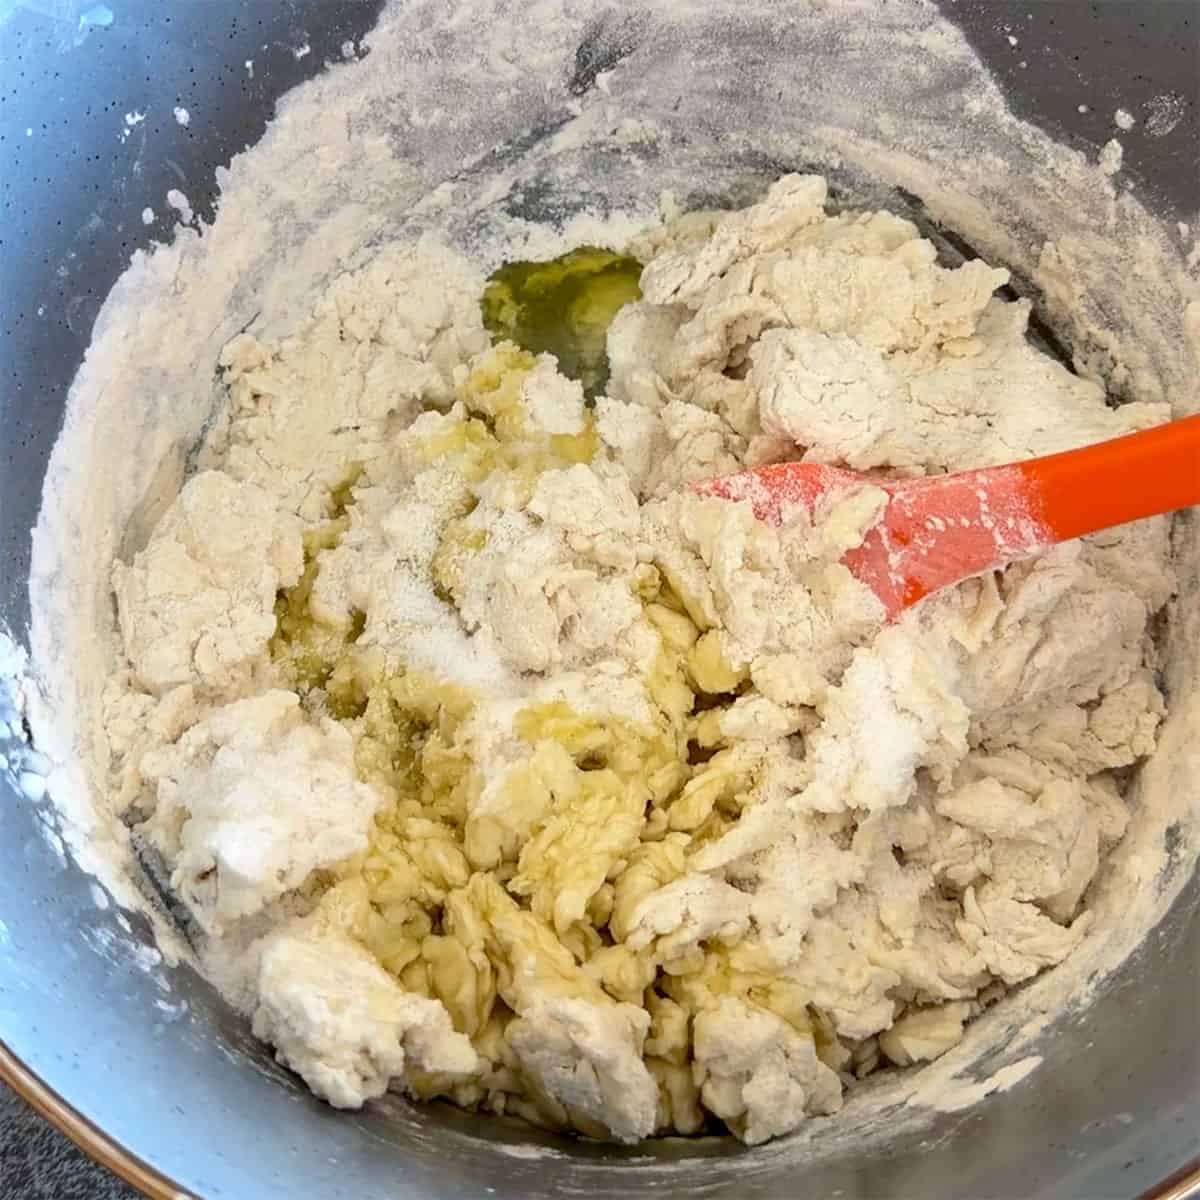
A significant portion of the author’s struggle revolved around the dough’s hydration and structure. The use of self-rising flour, while convenient, can be a source of inconsistency if not handled with care. A recurring problem was dough that was too dry and crumbly, refusing to bind together. This was directly linked to variations in the flour’s density, which can change based on how it settles in the bag and how it’s measured. The author emphasizes the critical importance of weighing ingredients, particularly flour, for consistent results. A “cup” of flour, when measured by volume, can vary significantly in weight, leading to imbalances in the wet-to-dry ingredient ratio. For this recipe, the author discovered that the weight of the self-rising flour should ideally match the combined weight of the Greek yogurt and milk. This precise measurement ensures the correct hydration level, a fundamental factor in achieving a smooth, pliable dough.

Furthermore, the type of Greek yogurt used played a role. When the yogurt was particularly thick, it contributed to a dough that remained stiff and difficult to work with. The author’s solution, borrowed from experience with biscuit making, was to slightly thin the Greek yogurt with milk. This simple adjustment ensures the dough has the appropriate moisture content, allowing it to develop a smooth, elastic texture during kneading.
The Art of Kneading: Developing Texture and Tenderness
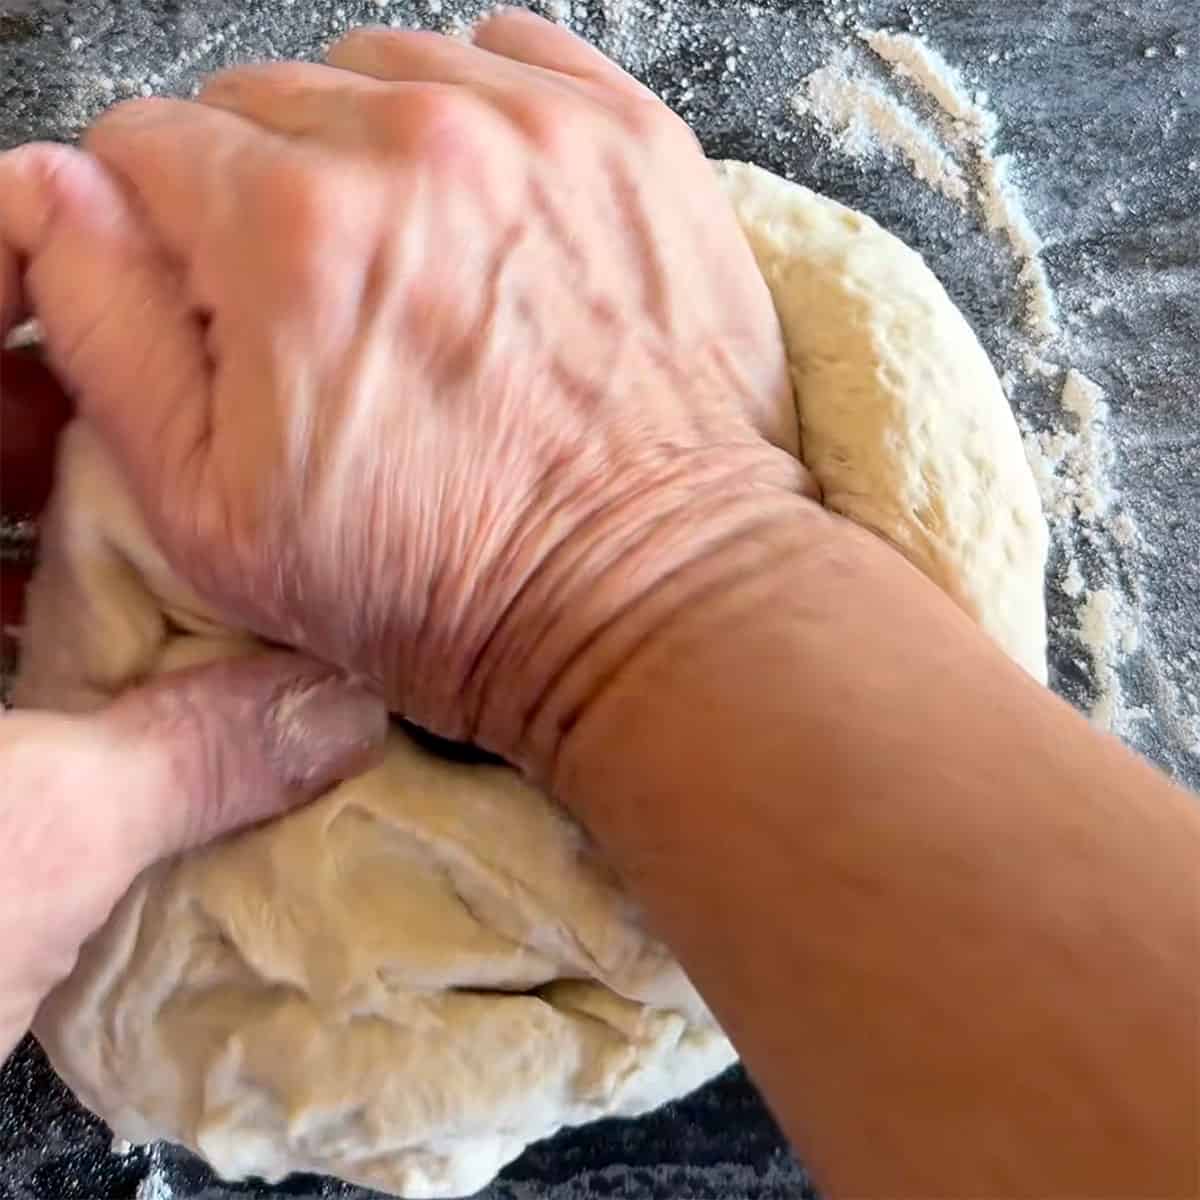
The kneading process was another area where the author learned invaluable lessons. Rushing this step, or not kneading long enough, resulted in tough, chewy flatbread. Conversely, over-kneading can also lead to undesirable textures. The recipe recommends kneading for approximately five minutes on a lightly floured surface, or until the dough becomes smooth and no longer tacky. This duration is crucial for developing the gluten network within the dough. Gluten provides structure and elasticity, but it needs time to develop properly. When adequately developed through sufficient kneading, the gluten strands allow the dough to be stretched thinly without tearing and contribute to the characteristic chewy texture of good flatbread. The author’s advice to knead until the dough is smooth and no longer tacky serves as a tangible indicator of successful gluten development.
The Critical Rest: Allowing the Dough to Relax
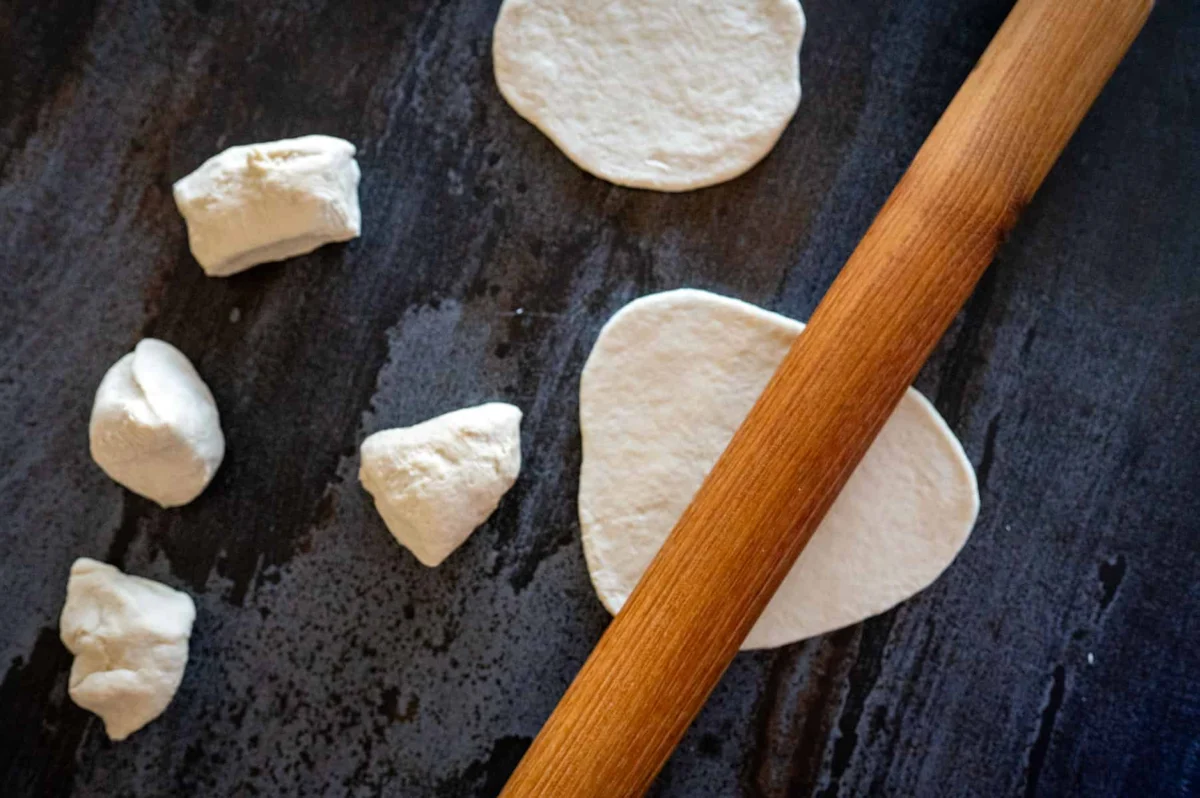
A seemingly minor step, the resting period, proved to be a significant factor in the author’s success. Initially, impatience led to skipping or shortening this crucial phase. The consequence was dough that resisted rolling, springing back stubbornly, and ultimately resulting in thick, unevenly cooked flatbreads. The recommendation is to let the dough rest, covered, for 10 minutes after kneading. This period allows the gluten, which has been tightened during kneading, to relax. This relaxation is essential for making the dough pliable and easy to roll out thinly, a hallmark of authentic flatbread. Without this rest, the dough remains too elastic, making it difficult to achieve the desired thinness.
Mastering the Heat: The Key to Perfect Cooking
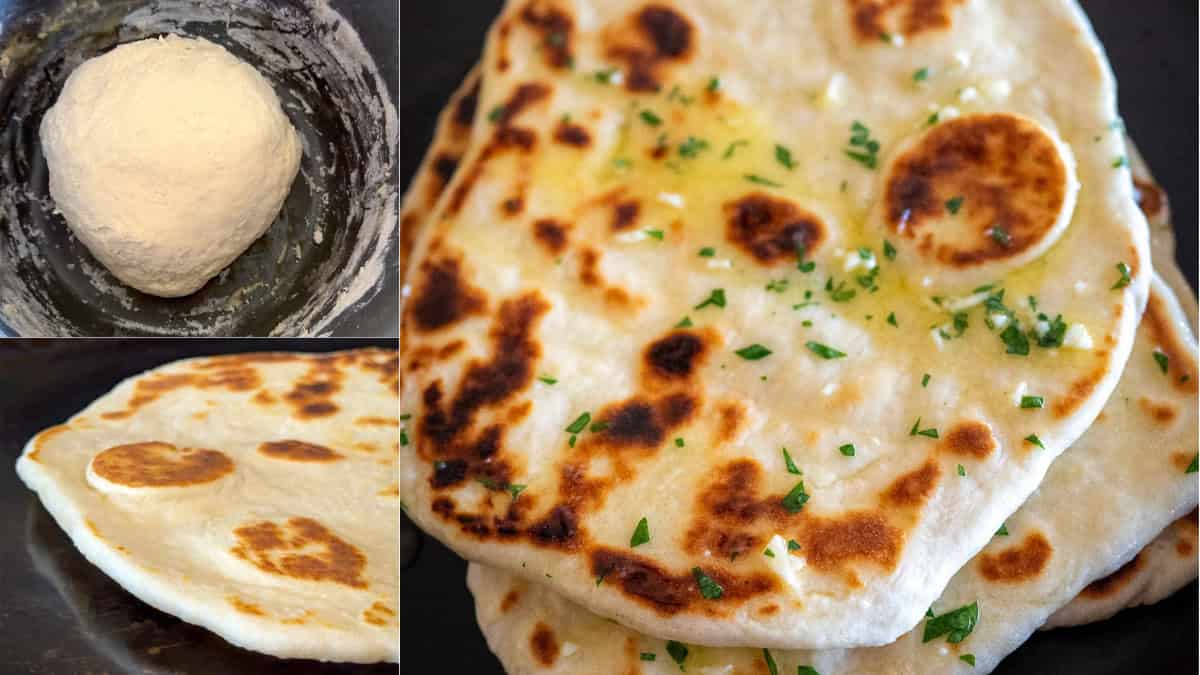
The cooking temperature of the skillet or comal emerged as a critical variable. The author recounts burning numerous flatbreads due to excessive heat, often a result of guessing the temperature rather than measuring it. This led to the adoption of an infrared thermometer, a tool that allows for precise temperature control. The target range of 350-375°F (175-190°C) is presented as ideal for achieving a balance of quick cooking and proper browning without burning. This temperature ensures that the flatbread cooks through evenly, developing golden-brown spots and desirable blisters on its surface, while remaining soft and chewy on the inside. The article explicitly states that no oil is required in the pan, as the dough itself contains sufficient fat and the correct temperature will prevent sticking.

The Visual Cues of Success: Recognizing Optimal Flatbread
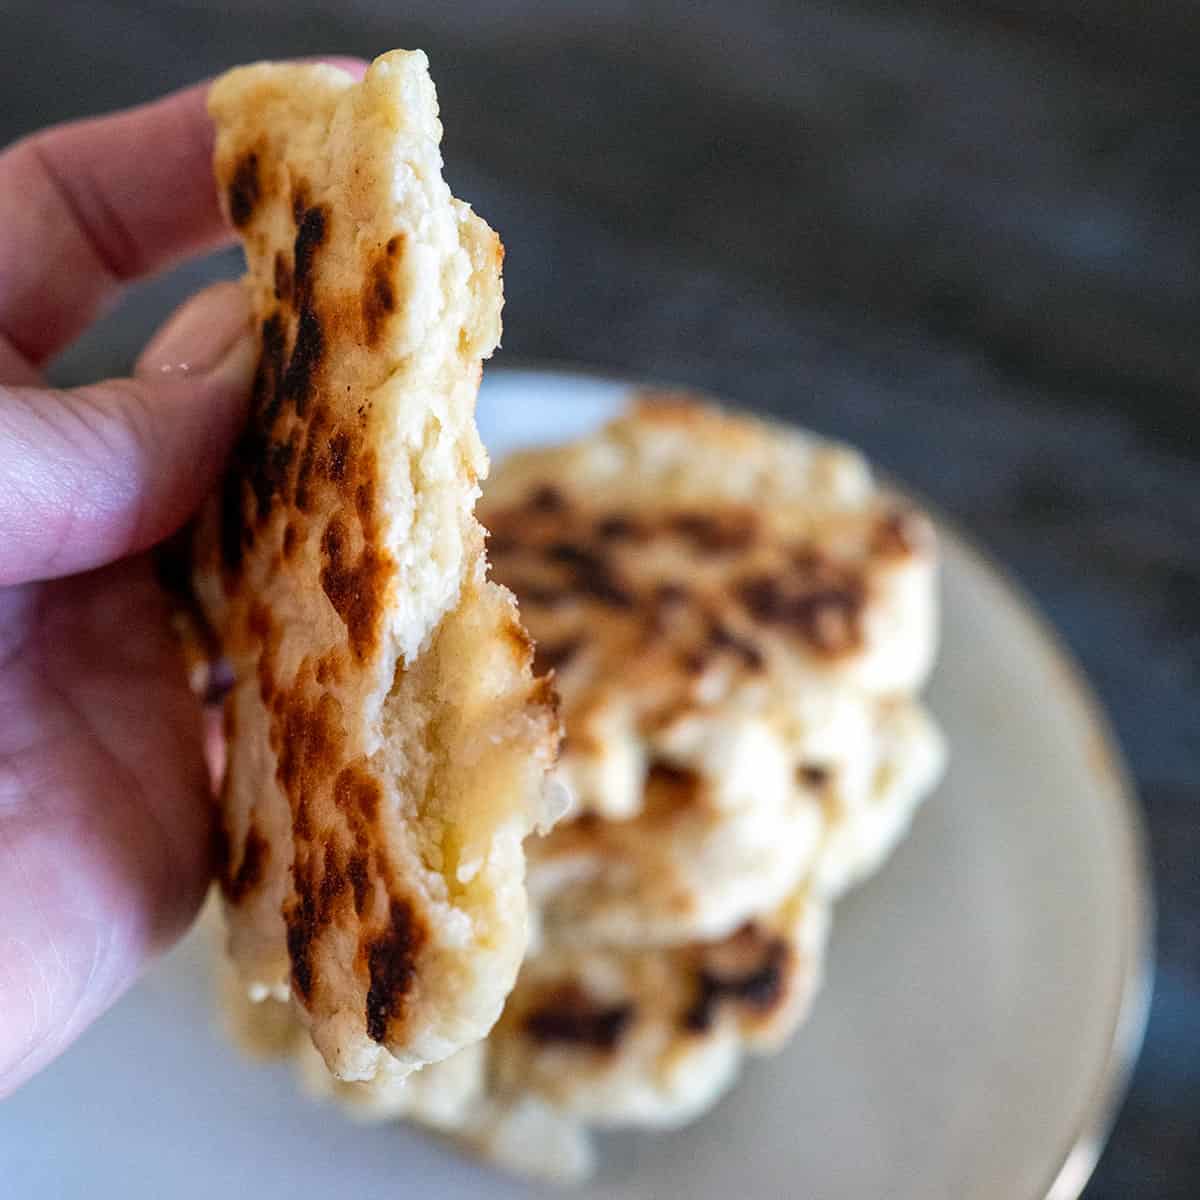
The article provides strong visual cues to help home cooks identify the signs of a well-made flatbread versus a failed attempt. Images showcase dough that is too thick and resembles pancakes, contrasting them with perfectly rolled-out dough that is thin and ready for the pan. Similarly, the visual of a perfectly cooked flatbread, with its characteristic bubbles and golden-brown blisters, serves as an aspirational benchmark. The author’s description of the cooking process—waiting for bubbles to form and the bottom to achieve a golden hue before flipping—offers a clear checklist for monitoring progress on the hot surface.
Elevating the Experience: The Garlic Herb Butter Finish
While the core recipe relies on five simple ingredients, the author suggests an optional, yet highly recommended, finishing touch: a garlic herb butter brushed over the warm flatbreads as they come off the heat. This simple mixture of melted butter, olive oil, minced garlic, fresh parsley, and a pinch of salt adds a layer of flavor and aroma that significantly enhances the overall appeal of the flatbread. This step, though optional, transforms a basic staple into a more indulgent culinary experience, showcasing how simple additions can elevate even the most straightforward recipes.
Versatility and Application: Beyond a Side Dish
The versatility of this no-yeast flatbread extends beyond its role as a simple side. The author suggests serving it warm alongside dips, grilled meats, or as a base for wraps filled with vegetables, lunch meats, and cheese. Its sturdy yet pliable texture makes it an ideal vehicle for scooping up dips like hummus or a rich campfire brie dip. Furthermore, the article points out its potential as a quick and easy pizza crust, demonstrating its adaptability in various culinary contexts.
Storage and Preservation: Extending Enjoyment
For those who may have leftover flatbread, the article provides practical storage instructions. At room temperature, the flatbread can be stored in an airtight container for up to two days. For longer preservation, refrigeration is recommended for up to five days. Reheating in a dry skillet for a brief period per side is suggested to restore its soft texture. The option of freezing is also presented, with instructions for layering with parchment paper to prevent sticking and storing in a freezer bag for up to two months. Thawing at room temperature and then warming in a skillet ensures the flatbread can be enjoyed at a later date.
Frequently Asked Questions: Addressing Common Concerns
The article concludes with a helpful FAQ section, addressing common questions that home cooks might have. These include inquiries about the necessity of a comal (clarifying that a cast iron skillet or griddle is a suitable alternative), the reasons behind tough flatbread (linking it to insufficient kneading or improperly thinned yogurt), the possibility of making the dough ahead of time (confirming that it can be refrigerated for up to 24 hours), and the use of alternative flours like all-purpose (noting the need for added leavening agents like baking powder or soda). This section further reinforces the practical advice provided throughout the article, aiming to preemptively solve potential problems for the reader.
The journey to mastering this simple flatbread recipe highlights a universal truth in cooking: patience, attention to detail, and a willingness to learn from mistakes are the most potent ingredients. By meticulously detailing the challenges and their solutions, this article empowers home cooks to bypass the common pitfalls and achieve consistently delicious results, celebrating the rewarding simplicity of homemade flatbread.