Making these creepy-cute Skull Cupcakes is easier than you think. Learn how to create a simple skull design out of buttercream for Halloween – complete with a photo tutorial. Bone-appetit!
The arrival of autumn heralds the season of spooky festivities, and for many, this includes a penchant for creative and thematic culinary delights. Halloween, in particular, offers a unique canvas for bakers to express their artistry, transforming simple desserts into eerie yet delightful creations. Among the most anticipated treats are those that capture the spirit of the season with both visual appeal and delicious taste. This year, the focus is on a surprisingly accessible yet impactful dessert: the Skull Cupcake. Designed to be both charmingly spooky and remarkably simple to execute, these cupcakes offer a perfect solution for Halloween parties, classroom celebrations, or even just a fun weekend baking project.
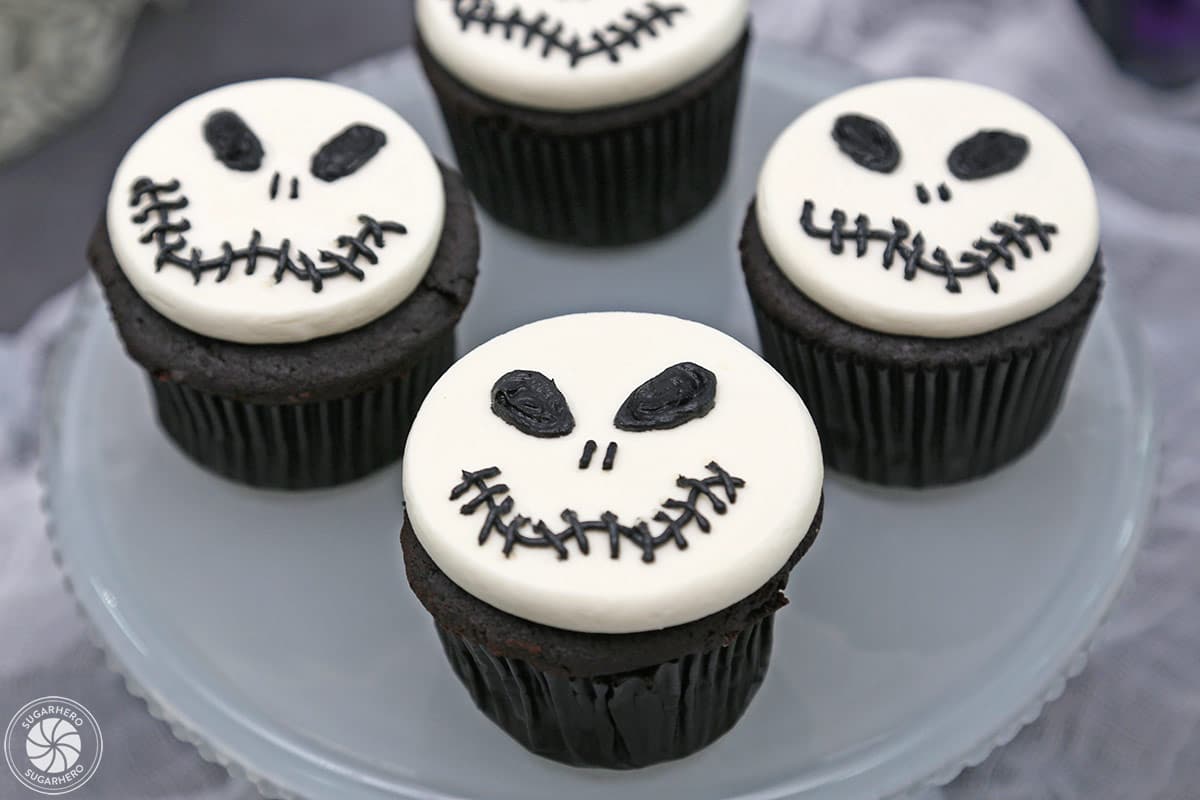
The appeal of the Skull Cupcake lies in its straightforward yet effective design, which draws inspiration from iconic Halloween imagery. Eschewing overly complicated techniques, this recipe focuses on utilizing fundamental piping skills with buttercream to craft a recognizable skull motif. This approach democratizes elaborate-looking dessert decoration, making it achievable for bakers of all skill levels. The article aims to demystify the process, providing a clear photographic guide to ensure that anyone can replicate the effect. The underlying philosophy is that creating a memorable Halloween treat doesn’t necessitate advanced pastry skills, but rather a willingness to engage with simple, time-tested decorating methods.
The origin of Halloween treats can be traced back to ancient Celtic traditions surrounding the festival of Samhain, a precursor to modern Halloween. During Samhain, it was believed that the veil between the living world and the spirit world thinned, allowing spirits to return to Earth. Feasts were held to honor the dead and appease spirits, often featuring seasonal foods like apples, nuts, and baked goods. Over centuries, these traditions evolved, incorporating influences from various cultures and culminating in the diverse array of Halloween confections enjoyed today. Skull imagery, in particular, has a long-standing association with themes of mortality and the afterlife, making it a fitting symbol for Halloween.
Ingredients and Equipment: The Foundation of Your Spooky Creations
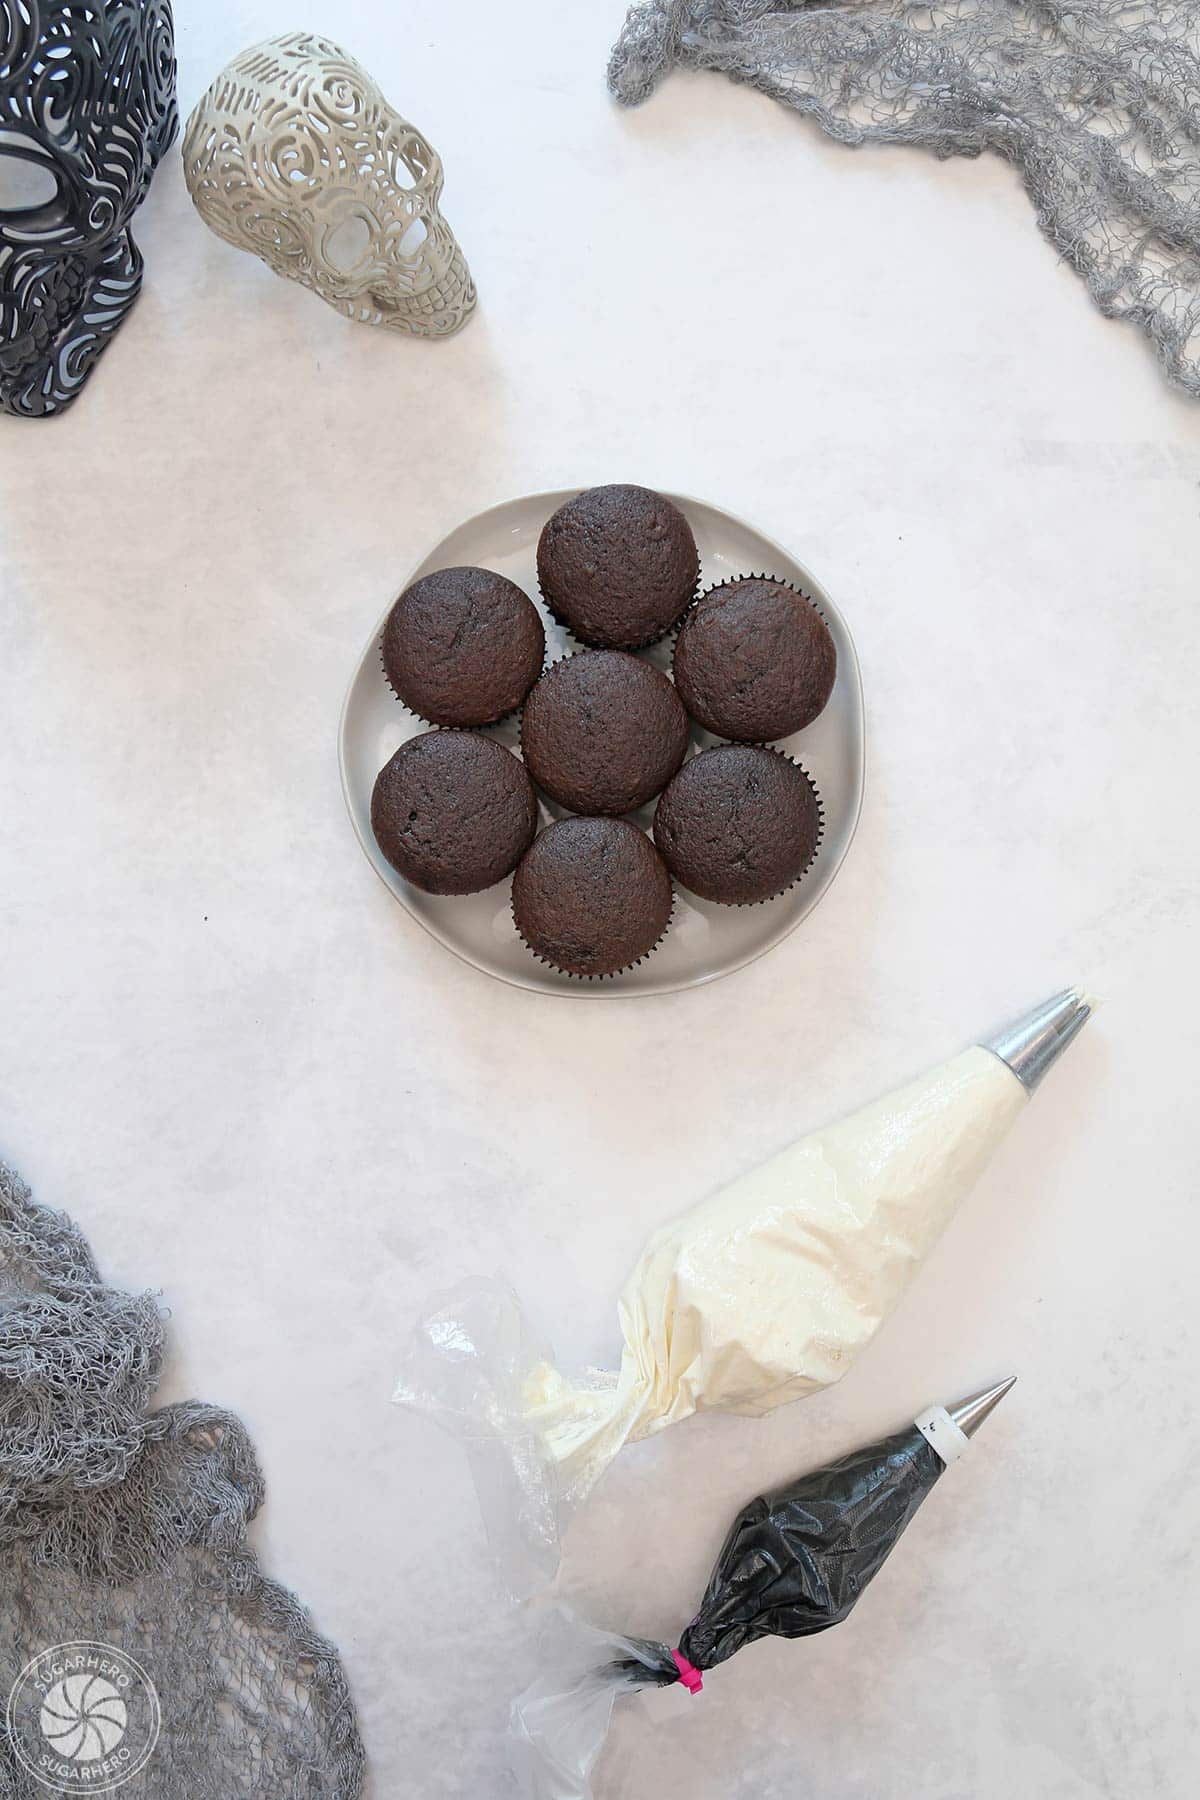
To embark on the journey of creating these Skull Cupcakes, a curated selection of ingredients and essential equipment is required. The beauty of this recipe lies in its minimalist approach, emphasizing readily available items and straightforward techniques.
For the cupcakes themselves, the foundation can be as simple or as elaborate as desired. For those seeking expediency, a high-quality cake mix serves as an excellent shortcut, ensuring consistent results and saving valuable preparation time. Alternatively, for bakers who prefer the artisanal touch, a wide array of homemade cupcake recipes can be explored. These might range from classic vanilla and rich chocolate to more adventurous flavor profiles that complement the festive theme. The key is to select a recipe that yields a tender crumb and a structure that can support the weight of the buttercream decorations.
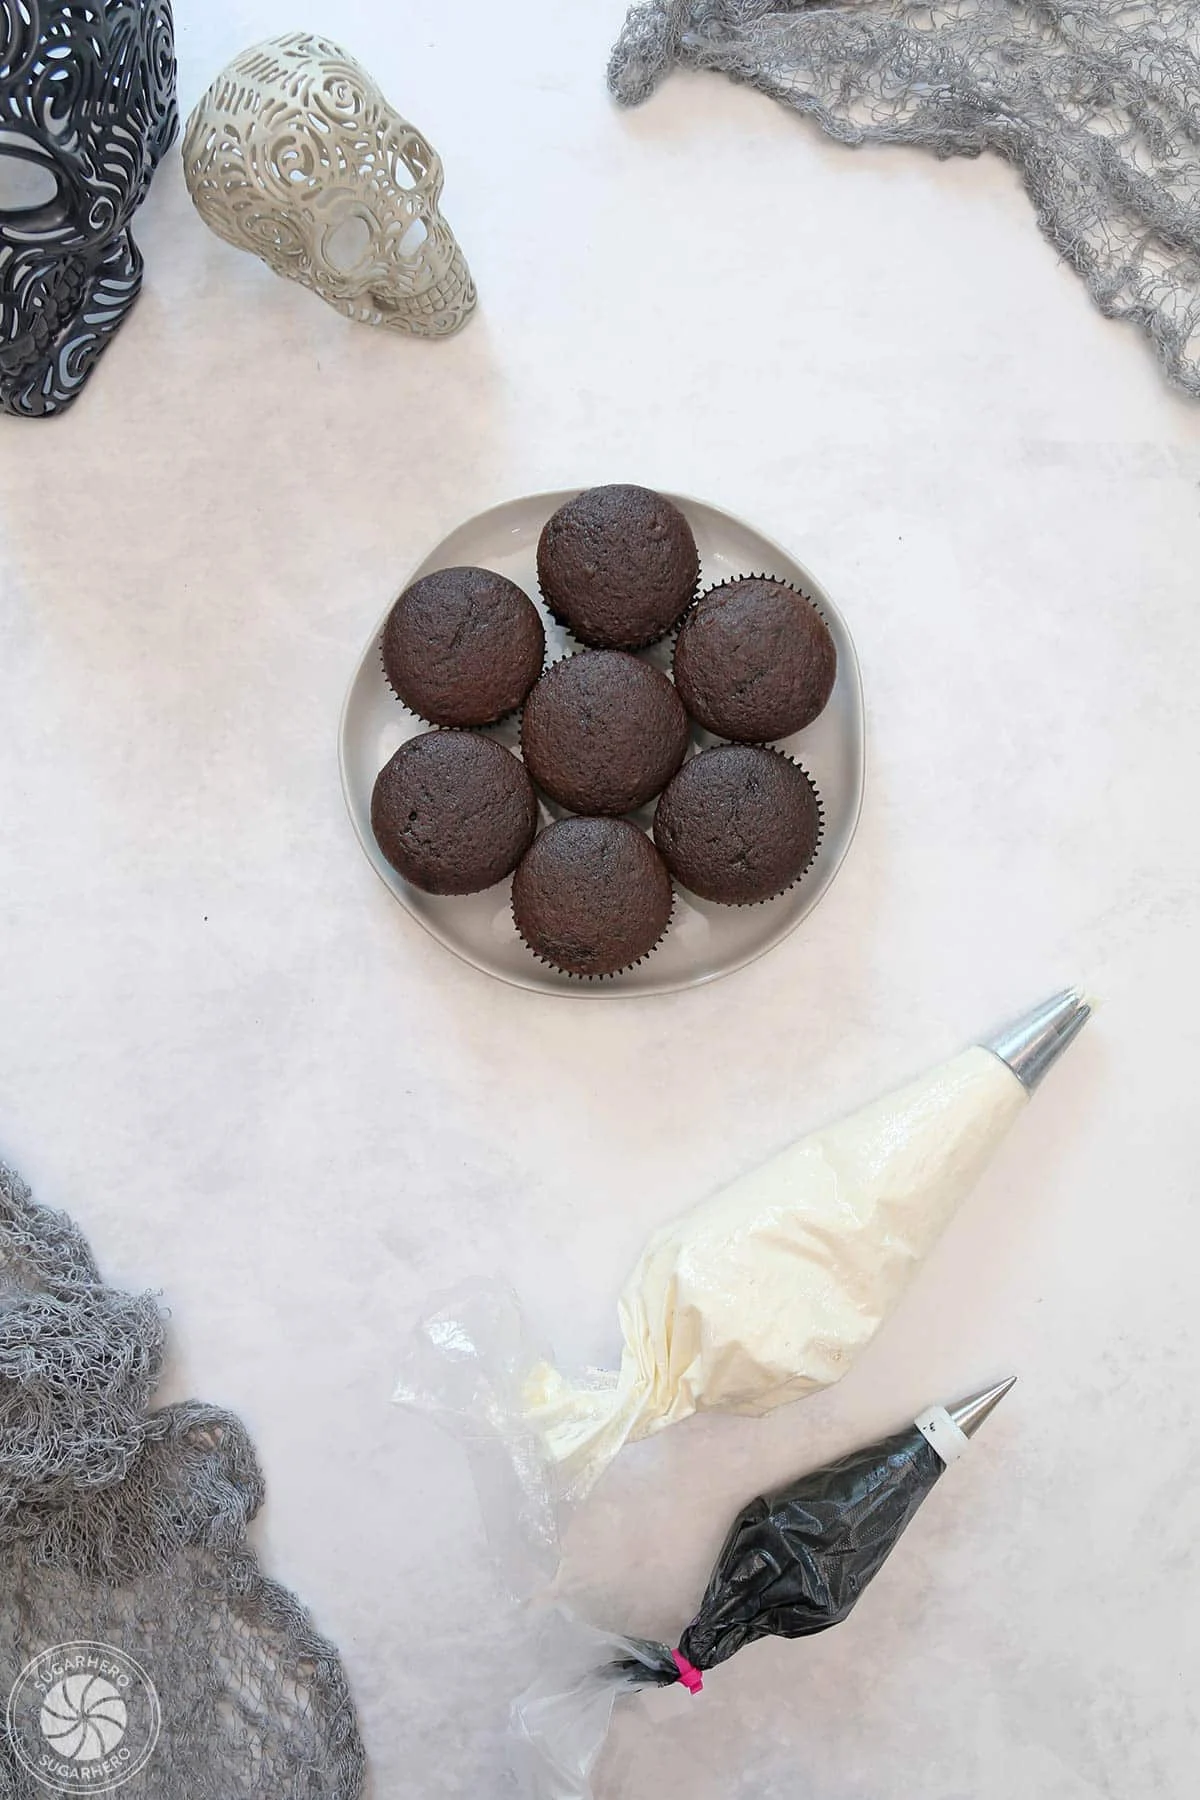
The heart of the Skull Cupcake’s visual appeal lies in its buttercream frosting. The recipe calls for two distinct colors: a base color for the main frosting and a contrasting color for the skull’s facial features. White or a light ivory is often chosen as the base, providing a neutral canvas that makes the darker features stand out. For the skull’s eyes, nose, and mouth, a deep, striking black is typically employed. Achieving a true, vibrant black frosting can sometimes be a challenge, as many food colorings can result in a muddy or grayish hue. This recipe offers a valuable tip: allowing the black frosting to rest for at least 24 hours before use significantly deepens its color, transforming it into a rich, opaque black. This preparatory step is crucial for achieving a professional-looking finish.
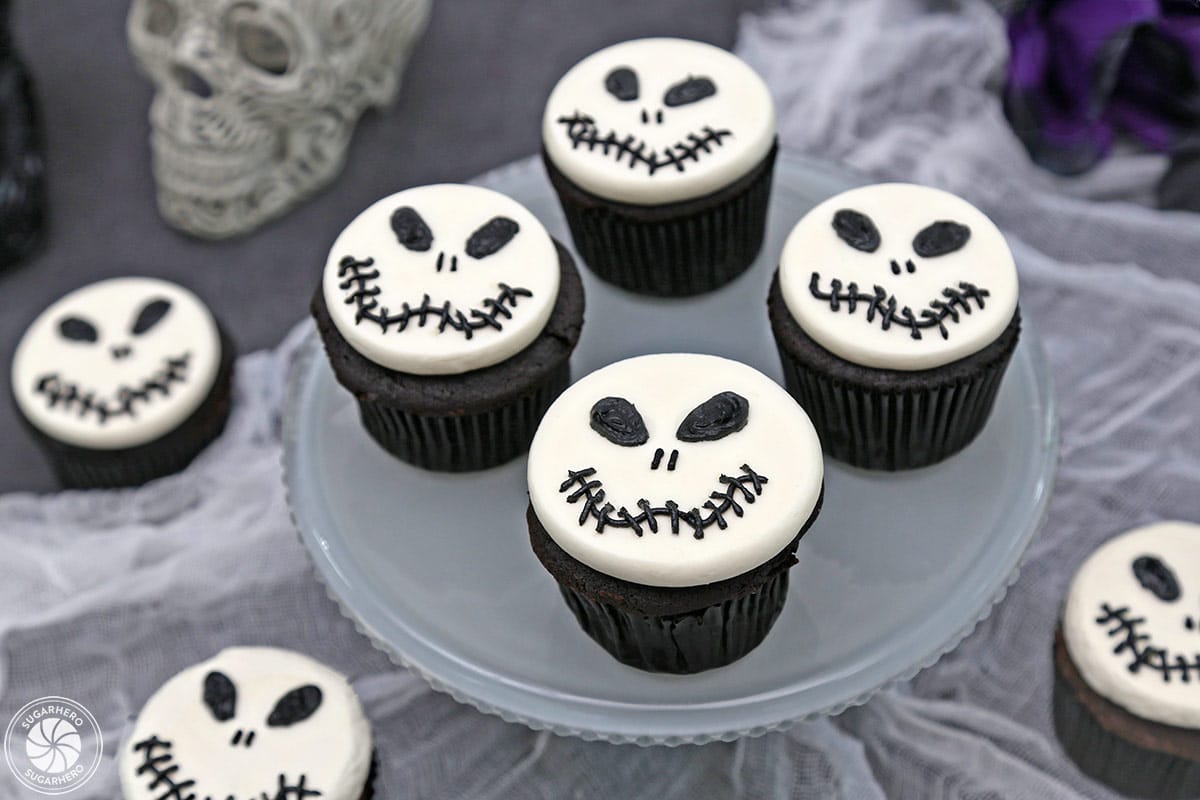
The necessary equipment is equally accessible:
- Cupcakes: Either homemade or from a favorite cake mix.
- Buttercream Frosting: A stable and smooth buttercream recipe is ideal. This recipe likely uses a standard American buttercream base.
- Food Coloring: High-quality gel or powdered food coloring is recommended, particularly for achieving an intense black. Liquid food coloring is generally less concentrated and can dilute the frosting’s consistency.
- Piping Bags: These are essential for precise application of the frosting.
- Piping Tips: A round tip, such as a Wilton #12 or a similar size, is typically used for creating the facial features, while a larger open tip might be used for frosting the cupcakes themselves, or a spatula for a more rustic finish.
- Offset Spatula: Useful for smoothing frosting if not using piping bags for the base layer.
- Parchment Paper or Wax Paper: For lining baking sheets to prevent sticking.
- Optional: A kitchen scale for precise ingredient measurements, a stand mixer or hand mixer for efficient frosting preparation.
The Art of the Skull: A Step-by-Step Visual Guide
The process of transforming ordinary cupcakes into eerie skull masterpieces is broken down into manageable steps, each illuminated by accompanying visuals to ensure clarity.
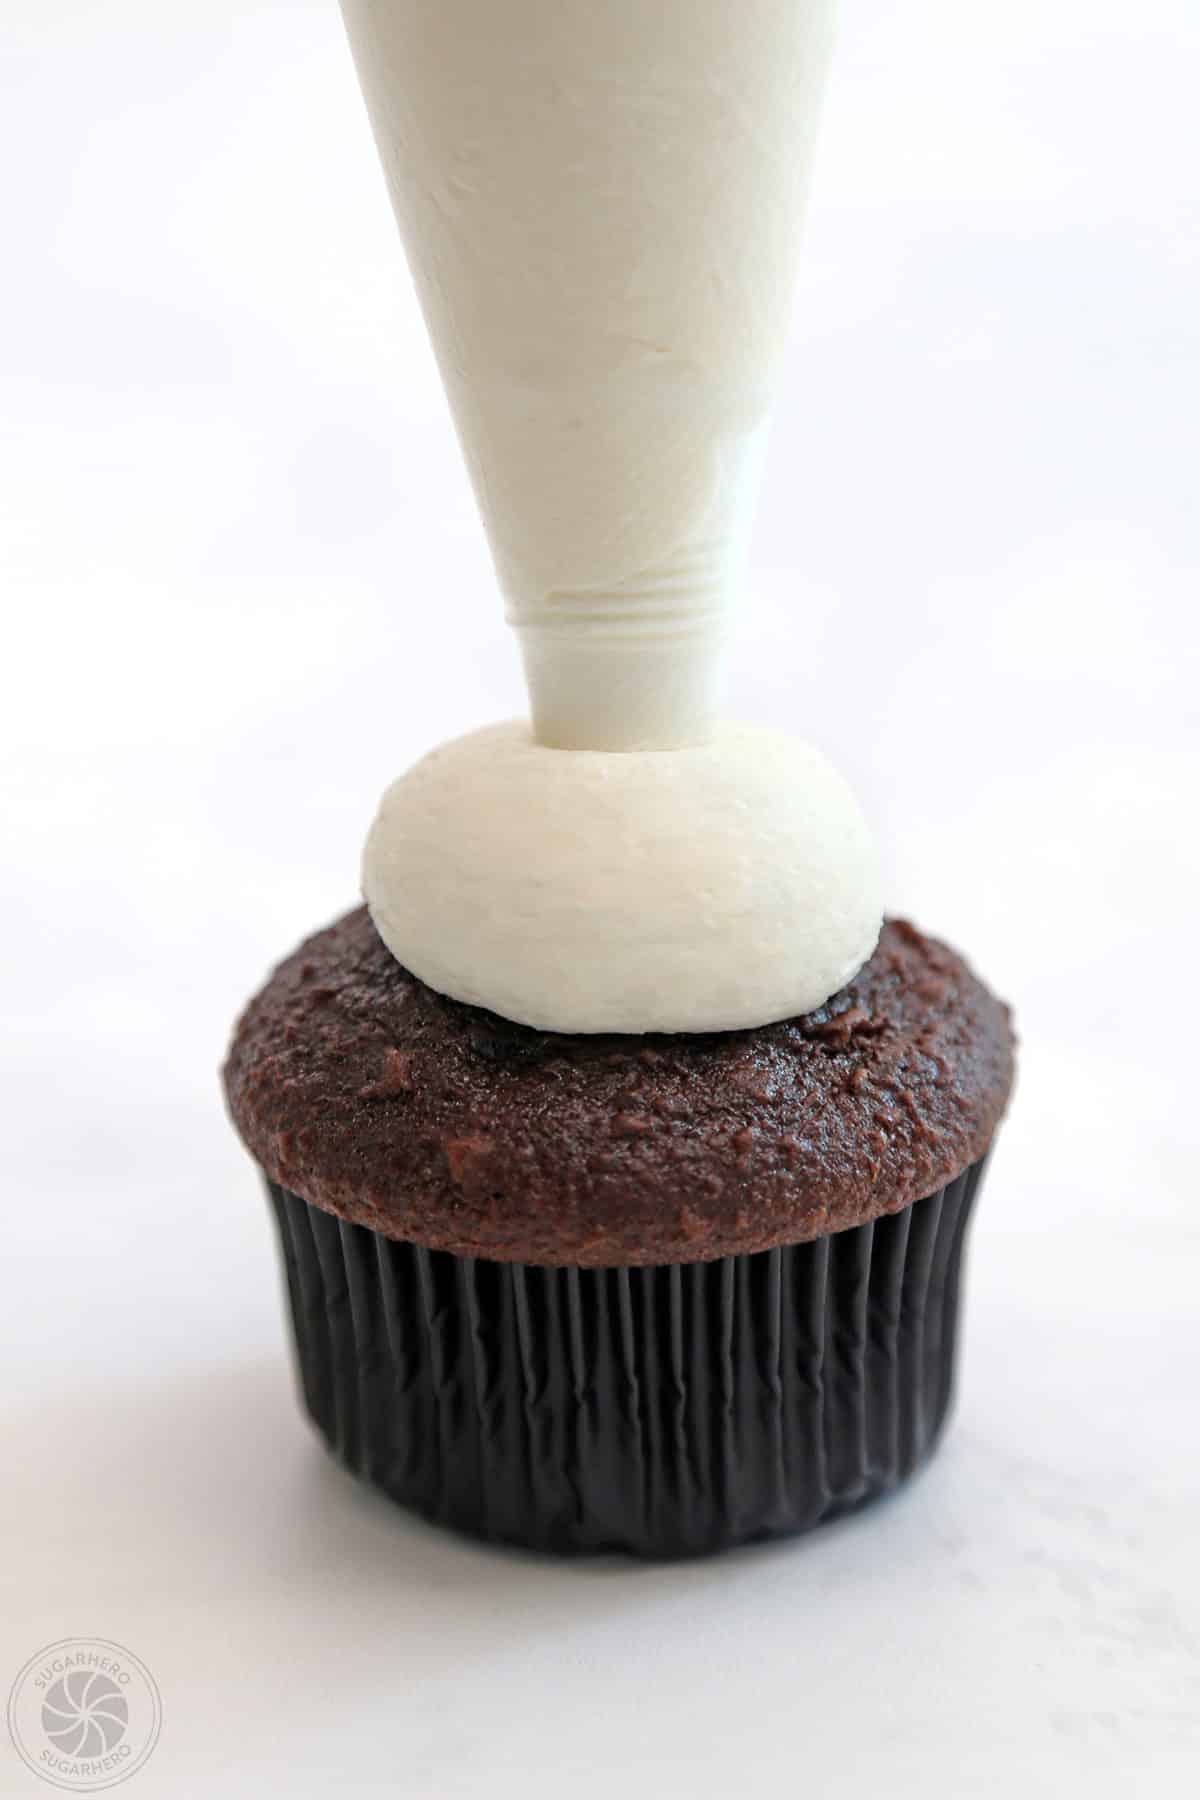
Step 1: Frosting the Cupcakes
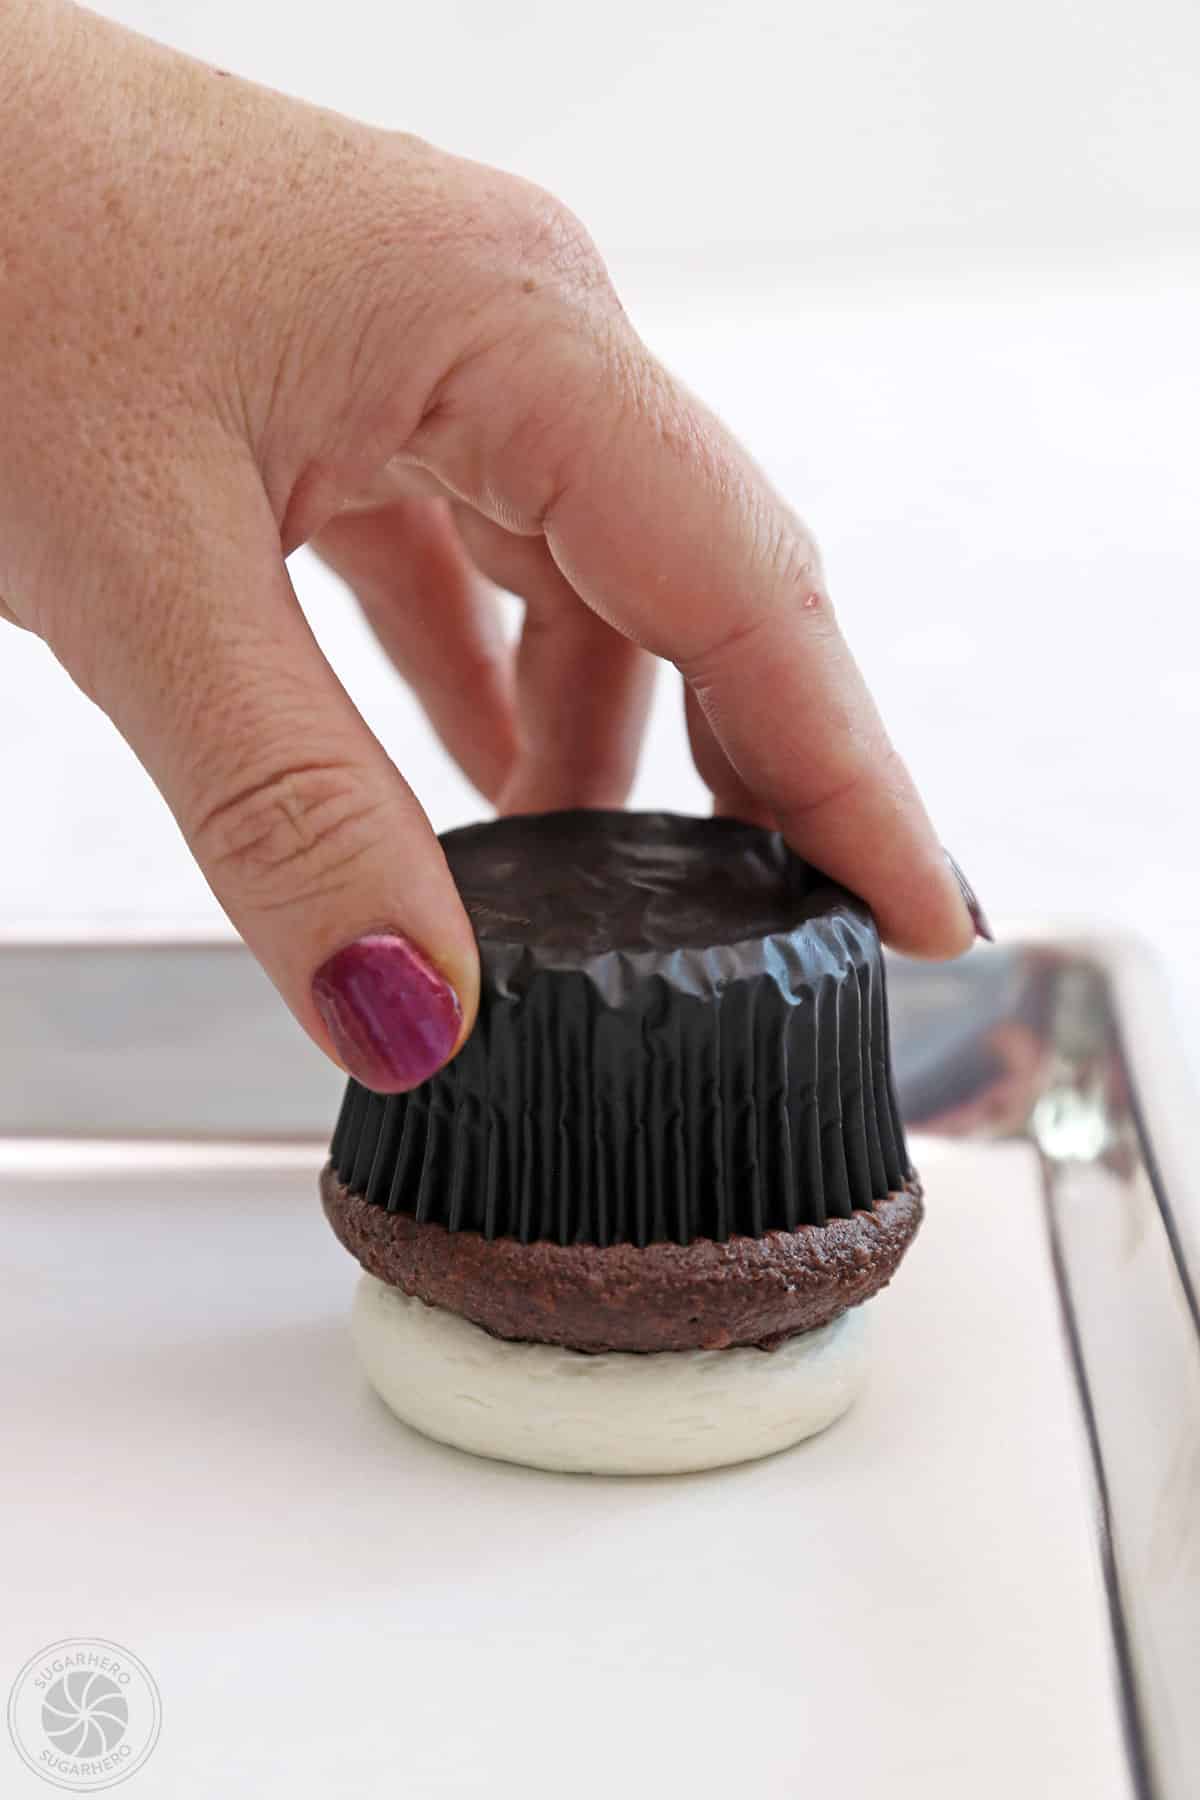
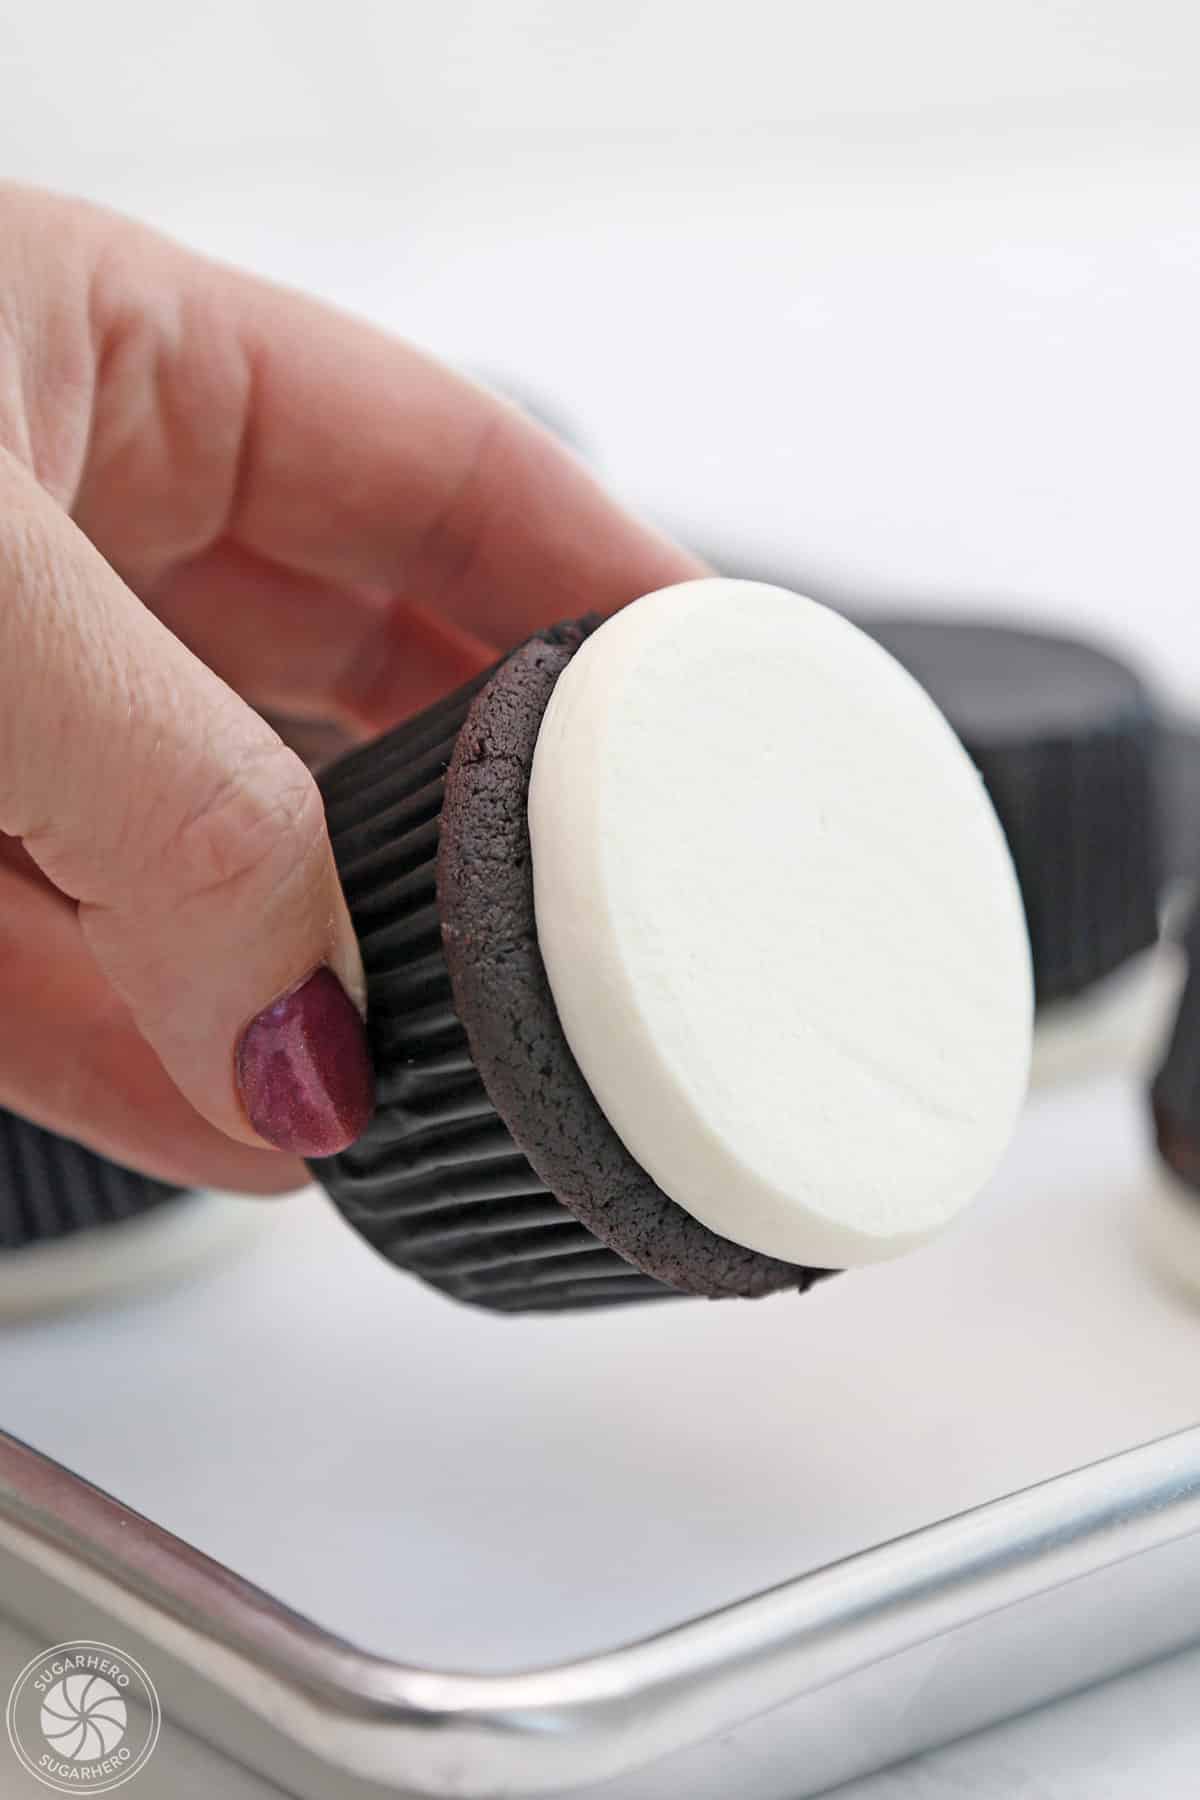
Begin by preparing your cupcakes. Once baked and completely cooled, the first layer of decoration involves applying the base frosting. This can be achieved by either piping a generous swirl of frosting onto the top of each cupcake or by using an offset spatula to spread a smooth, even layer. The goal is to create a uniform surface that will serve as the canvas for the skull design. For those aiming for a particularly smooth finish, gently inverting the frosted cupcake onto a parchment-lined baking sheet can help flatten the frosting to a perfectly level plane. This technique ensures that the subsequent details are applied to a stable and even surface.
Step 2: Creating the Skull’s Features
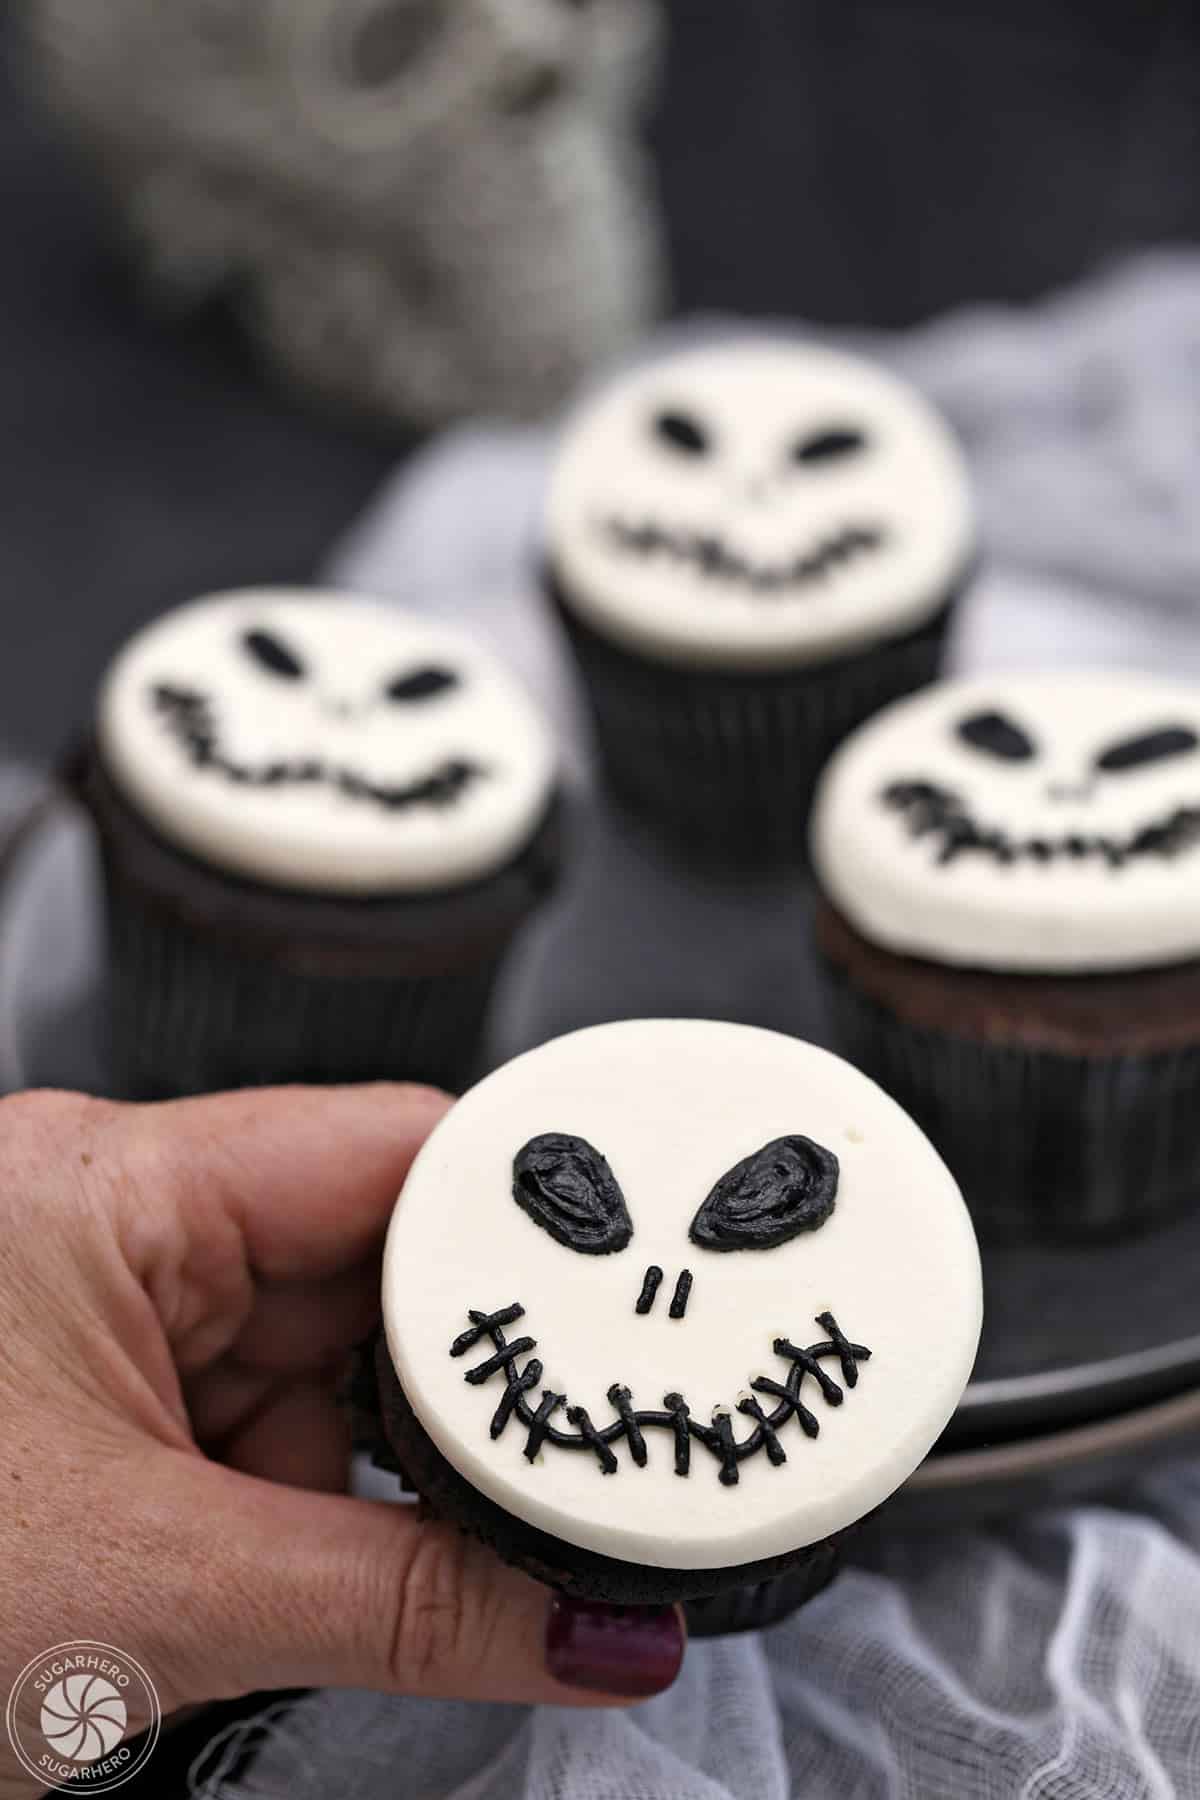
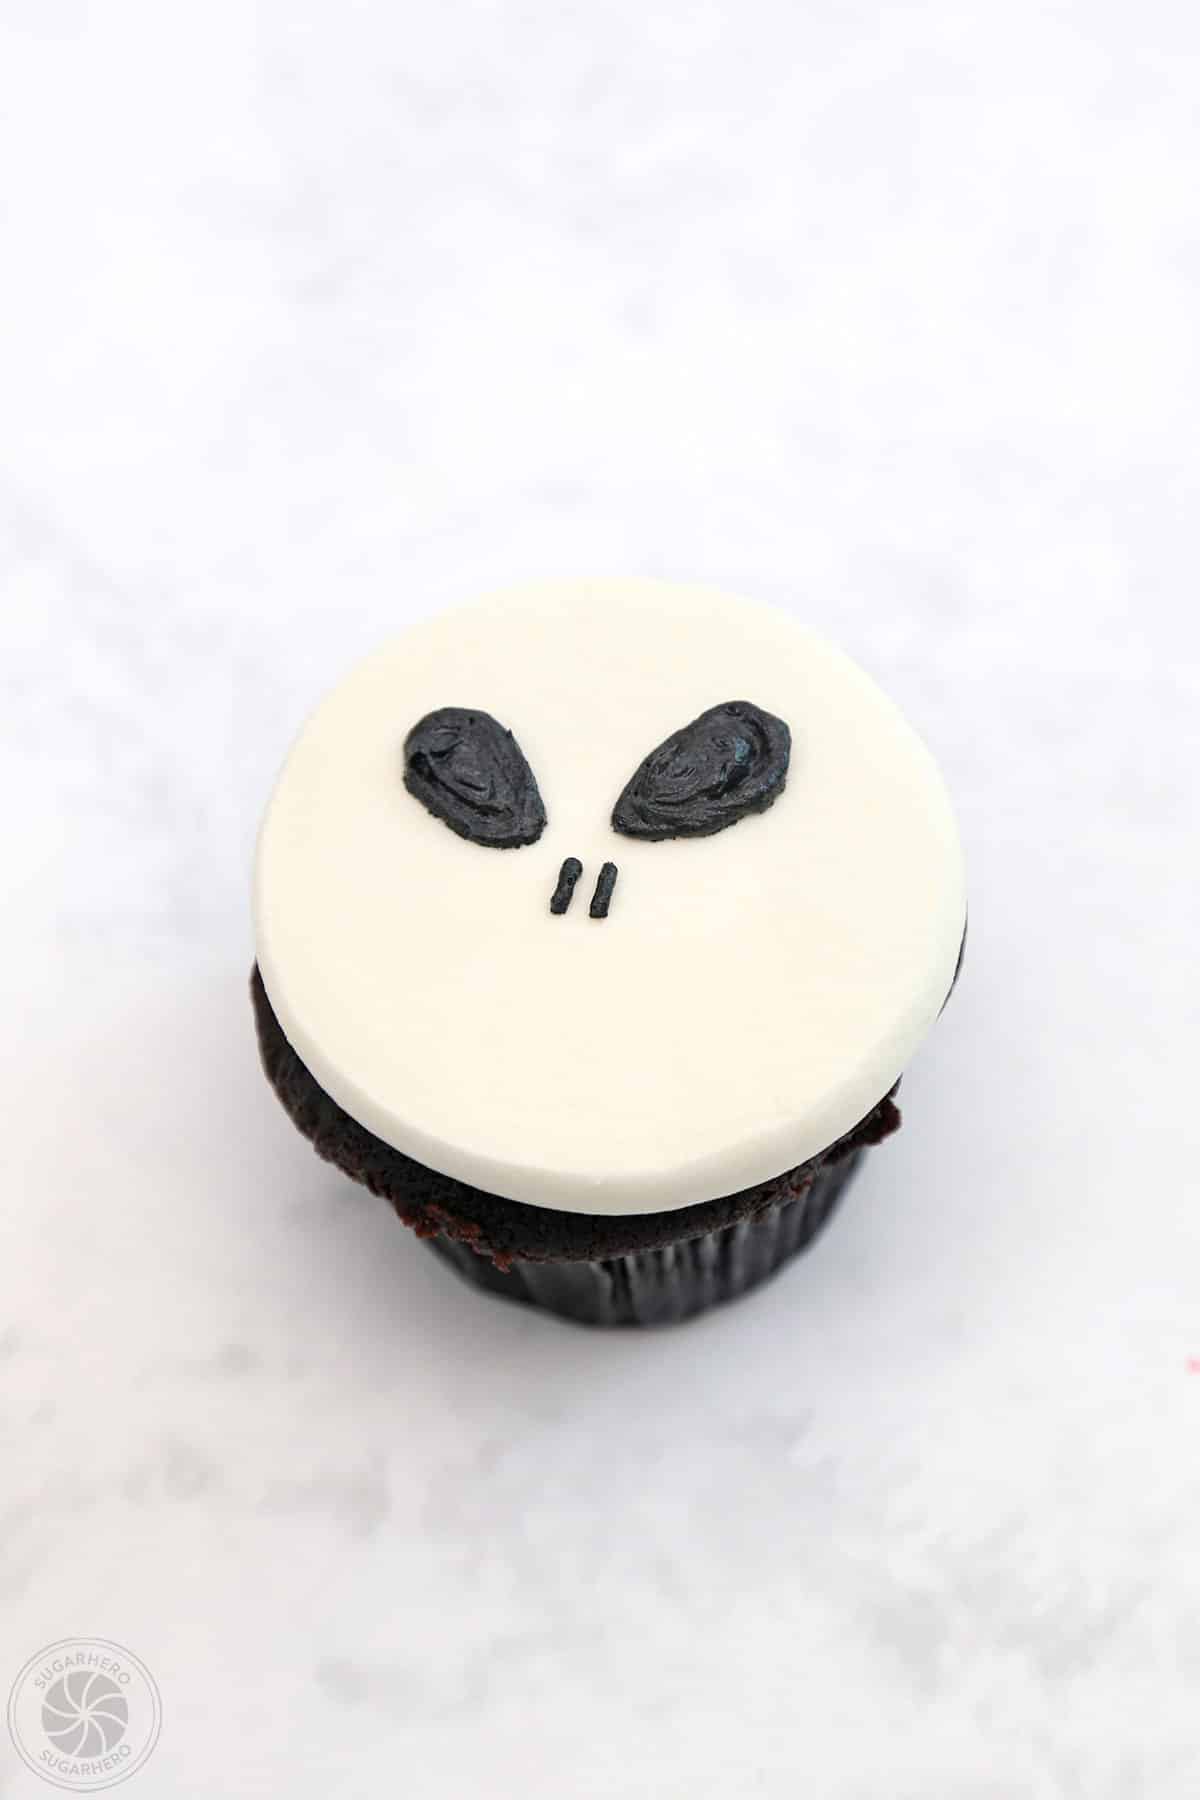
With the base frosting in place, attention turns to the intricate details of the skull. This is where the contrasting colored frosting, typically black, comes into play. Using a piping bag fitted with a small, round tip, the iconic elements of a skull are carefully piped onto the frosted surface.
- Eyes: Two circular or slightly almond-shaped voids are piped where the eye sockets would be. The size and placement can be adjusted to convey different expressions, from vacant stares to slightly more menacing gazes.
- Nose: A small, inverted triangle or a rounded U-shape is piped in the center, just below the eyes, to represent the nasal cavity.
- Mouth: A simple line, often with small vertical dashes to suggest teeth, is piped below the nose. This can be a straight line for a neutral expression or a slightly curved line to imply a grimace.
The precision of the piping is key here. Taking a moment to plan the placement and size of each feature can prevent errors and ensure a balanced, recognizable skull. The provided photo tutorial offers visual cues for appropriate sizing and spacing, allowing bakers to replicate the intended aesthetic.
Step 3: Refining the Design (Optional)
For those seeking to add an extra layer of detail or customization, there are several optional enhancements. A thin line of frosting could be added around the edges of the eyes or nose to give them more definition. Some bakers might opt to add subtle shading or highlights, though the minimalist approach of this recipe often prioritizes a clean, graphic look. The goal is to achieve a balance between spooky and sophisticated.
Tips for Achieving True Black Frosting
The quest for a perfect, deep black frosting is a common challenge for many bakers. Liquid food colorings, while readily available, often require excessive amounts to achieve a dark hue, which can negatively impact the frosting’s texture and flavor. This recipe offers a comprehensive approach to overcoming this hurdle:
- High-Quality Coloring: Opt for gel or powdered food colorings. These are significantly more concentrated and will yield a richer color with less product. Brands like Americolor Ultra Black are specifically formulated for intense coloration.
- The Power of Time: The most crucial tip is to allow the black frosting to "cure" or rest. By preparing the black frosting at least 24 hours in advance and storing it in an airtight container with plastic wrap pressed directly onto the surface, the color molecules have time to meld and deepen, resulting in a more vibrant and opaque black.
- Black Cocoa Powder: For an added boost of darkness and a hint of chocolate flavor, consider incorporating 2-3 tablespoons of black cocoa powder into the frosting mixture. This reduces the reliance on food coloring and contributes to a more complex flavor profile.
- Allowing Frosting to Come to Room Temperature: After resting (and potentially refrigerating), it’s essential to let the frosting return to room temperature before use. A brief whipping on medium speed will restore its light, creamy texture.
Make-Ahead Strategies and Storage
The practicality of this recipe is further enhanced by its make-ahead potential. Both the cupcakes and the frosting can be prepared in advance, offering flexibility for busy hosts.
- Frosting Preparation: The buttercream frosting, once made and colored, can be stored in an airtight container in the refrigerator for up to a week. To prevent a crust from forming, press a layer of plastic wrap directly onto the surface of the frosting before sealing the container. When ready to use, allow the frosting to reach room temperature, then whip it on medium speed until it regains its desired consistency.
- Cupcake Storage: Baked and fully cooled cupcakes can be frozen in airtight containers for several weeks. It is advisable to allow them to defrost in their container on the countertop to prevent condensation from affecting their texture.
Once decorated, the Skull Cupcakes can be stored at room temperature in an airtight container for 2-3 days. For longer storage, they can be refrigerated for up to a week. It is recommended to bring refrigerated cupcakes back to room temperature before serving to ensure optimal taste and texture.
Broader Implications and Event Significance
The popularity of themed desserts like Skull Cupcakes underscores a broader cultural trend towards experiential celebrations. In an era where social media plays a significant role in sharing and promoting events, visually striking and thematically relevant food items have become crucial elements in creating memorable occasions. The ease with which these cupcakes can be made also democratizes participation in festive traditions. They empower individuals, regardless of their culinary expertise, to contribute to the spirit of Halloween, fostering a sense of community and shared enjoyment.
Furthermore, the rise of accessible DIY baking tutorials and readily available decorating supplies has made intricate dessert designs more attainable than ever before. This accessibility not only encourages creativity but also promotes the enjoyment of baking as a leisure activity. The Skull Cupcake, with its simple yet effective design, serves as an excellent entry point for individuals looking to explore the world of cake decorating and impress their guests with their own homemade creations.
Conclusion: A Delightfully Spooky Addition to Halloween Festivities
The Skull Cupcakes offer a perfect blend of spooky charm and culinary simplicity, making them an ideal addition to any Halloween celebration. With a clear understanding of the ingredients, equipment, and step-by-step decorating process, even novice bakers can achieve impressive results. The tips for achieving true black frosting and the make-ahead strategies further enhance the recipe’s practicality, ensuring that these delightfully eerie treats can be enjoyed with ease and confidence. As the season of ghouls and goblins approaches, these Skull Cupcakes are poised to become a beloved and memorable centerpiece for any festive gathering.