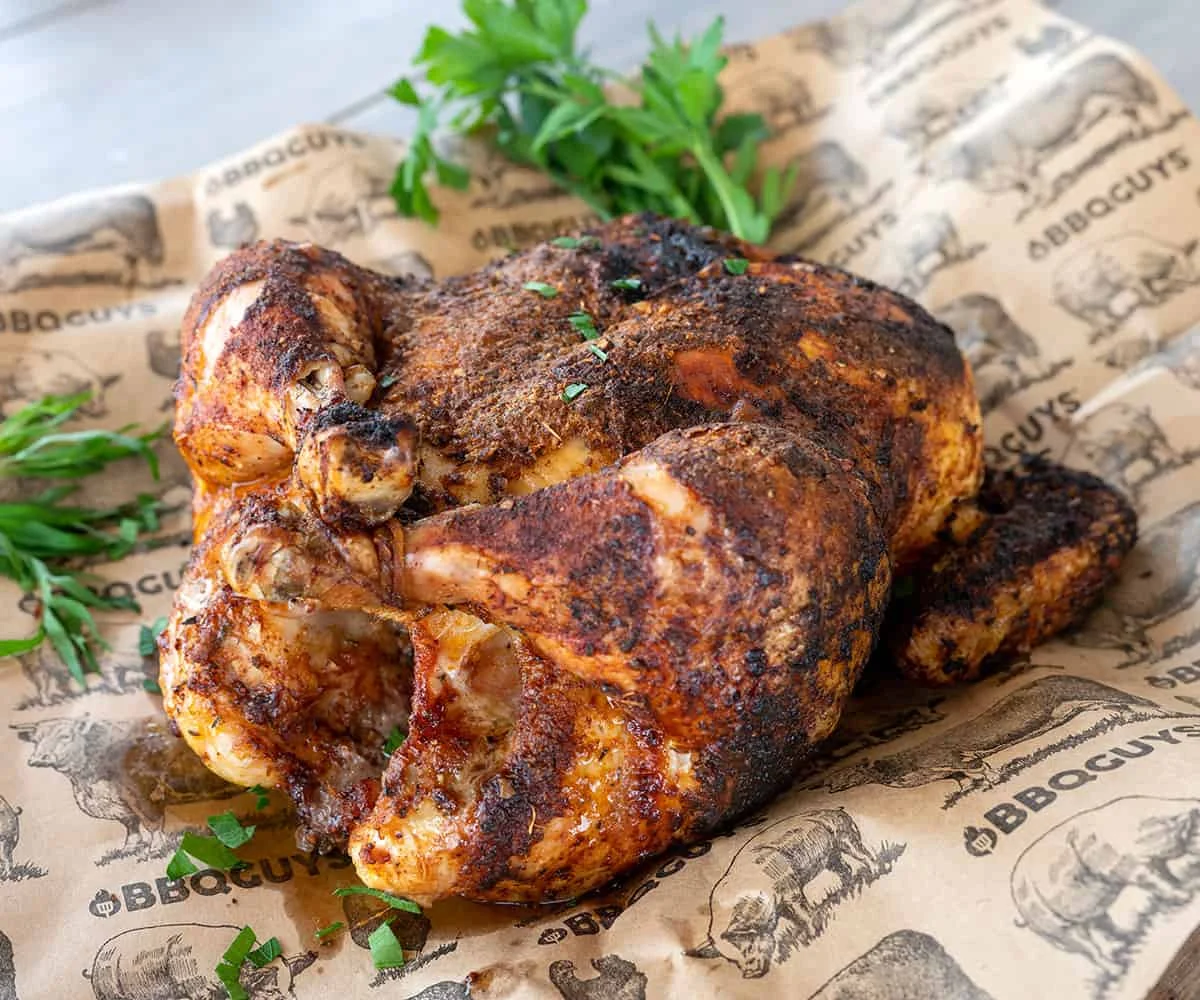
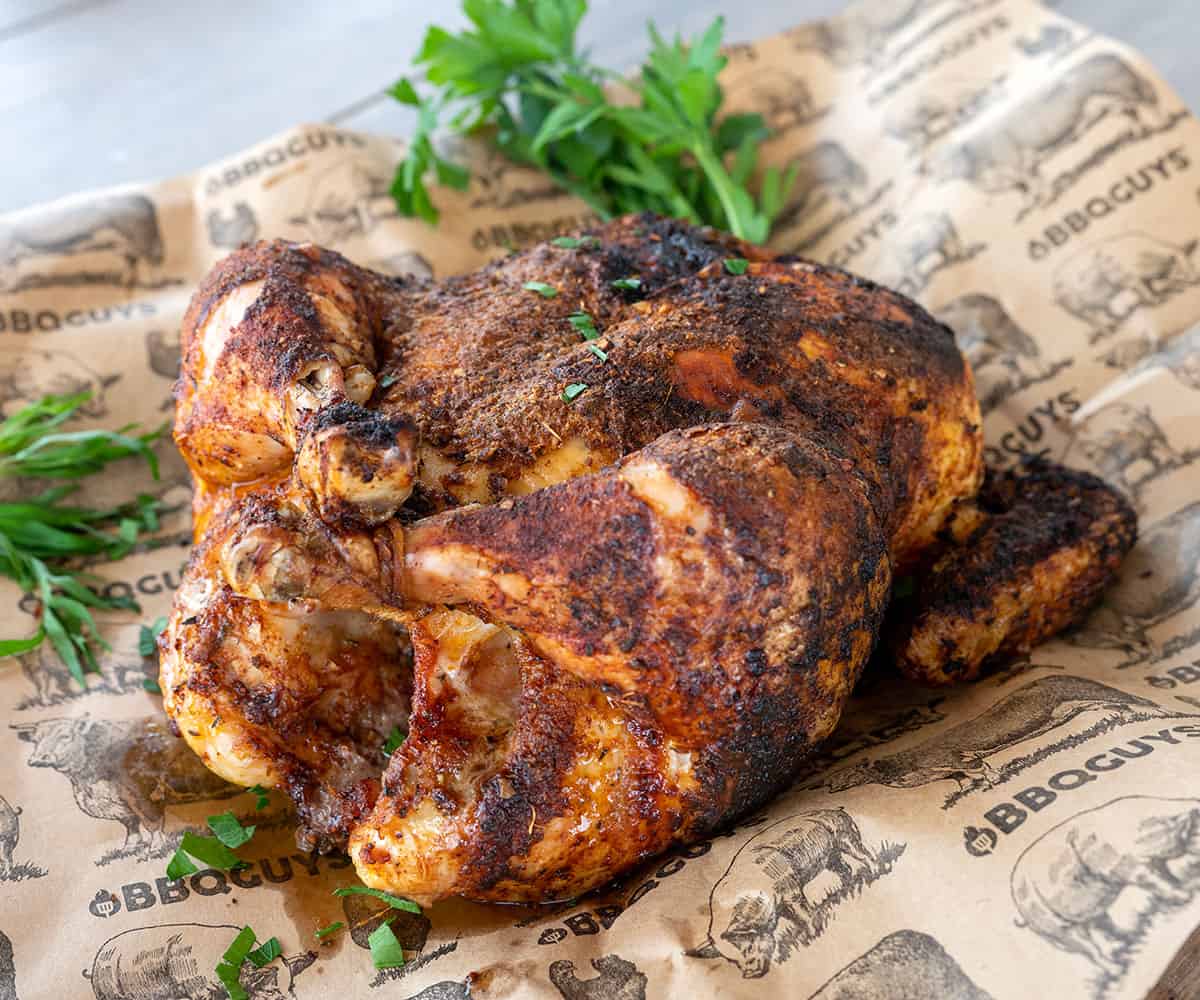
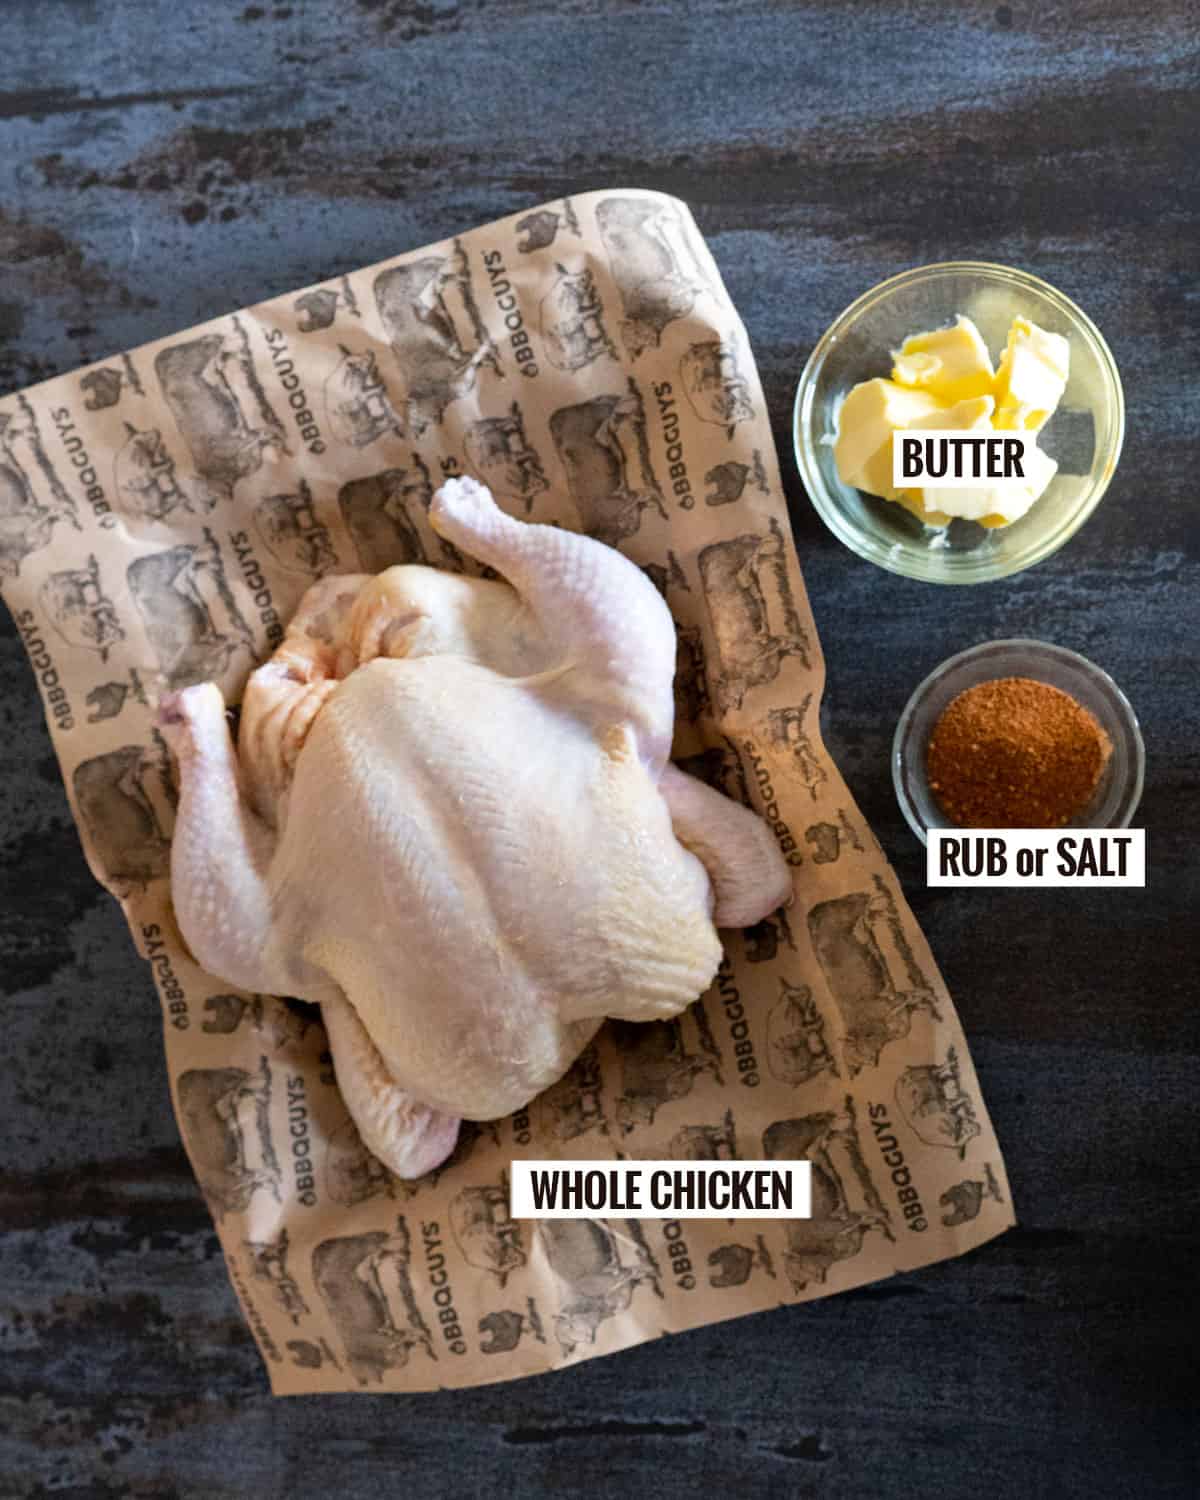
Grilling a whole chicken on a gas, charcoal, or pellet grill can transform a simple trio of ingredients—chicken, butter, and rub—into a smoky, succulent centerpiece. The secret to achieving this culinary feat lies not in complex techniques, but in mastering indirect heat and precise timing, a principle honed by years of testing and experience. This method consistently yields a perfectly cooked bird, avoiding the common pitfall of a dry breast and an undercooked thigh.
The Crucial Role of Indirect Heat and Timing
Many home cooks encounter frustration when their grilled whole chicken emerges with one part overcooked and another still underdone. This inconsistency is almost always a result of improper cooking methodology, rather than a lack of skill. Grilling by total minutes elapsed, rather than by weight and temperature, is the most frequent culprit. A whole chicken contains parts with varying thicknesses and fat content, necessitating a cooking approach that allows each section to reach its optimal temperature without being exposed to direct, scorching heat.
Christie Vanover, the pitmaster behind Girls Can Grill, has spent years refining whole chicken grilling techniques across various grill types. Her insights emphasize that understanding the grill’s heat zones and cooking to internal temperature, not just the clock, are paramount. "Grilling by total minutes instead of minutes per pound is the most common reason a whole chicken cooks unevenly," Vanover states, highlighting a fundamental misunderstanding that can lead to disappointing results. This foundational knowledge ensures that whether using a gas, charcoal, or pellet grill, the outcome is consistently delicious.
Understanding the Whole Chicken: From Roaster to Table
The term "whole chicken" can encompass a variety of birds, including roasters, broiler-fryers, Cornish game hens, and poussin. For the purposes of this grilling method, roaster and broiler-fryer chickens, typically weighing between 4 to 7 pounds, are ideal. These birds offer a substantial size for grilling and provide a cost-effective option, as purchasing a whole bird is generally more economical per pound than buying pre-cut pieces. Furthermore, the bones and skin contribute significantly to the overall flavor and moisture of the meat during the cooking process.
It’s important to note that whole chickens often come with a package of giblets inside the cavity, which may include the gizzard, heart, liver, and sometimes a neck. These should be removed before grilling. While they can be utilized for making gravy or broth, they are not part of the grilling process itself.

Grill Setup: The Foundation for Success
The cornerstone of grilling a whole chicken successfully is the setup of the grill to create an indirect heat zone. This means arranging the heat source so that the chicken cooks through gentle, ambient heat rather than being directly over the flames or hot coals. This method is adaptable to all major grill types:
-
Gas Grills: For a gas grill, the strategy involves turning on only one or two burners, leaving at least one burner off. The heat from the lit burners is then adjusted to maintain a grill temperature between 375-400°F (190-205°C). The chicken is placed on the grate directly above the unlit burner, ensuring it cooks with indirect heat. For those seeking an added layer of smoky flavor, a smoke box filled with wood chips can be placed over the lit burner.
-
Charcoal Grills: On a kettle-style charcoal grill, the hot coals are strategically pushed to one side of the grill, creating a direct heat zone and an indirect zone. The chicken is then placed on the grate over the side without coals. For more advanced charcoal cookers like drum smokers or ceramic grills, the use of a diffuser plate is essential to block direct heat and facilitate indirect cooking.
-
Pellet Grills: Pellet grills inherently provide an indirect heat zone due to the design of their fire pot and the presence of a metal heat deflector. Setting the grill to 375°F (190°C) and allowing it to preheat is all that’s needed. The chicken can then be placed anywhere on the cooking grate, as the entire surface will be exposed to indirect heat.
The Step-by-Step Grilling Process
Achieving a perfectly grilled whole chicken involves a series of methodical steps, from preparation to resting:
Step 1: Preparation and Butter Application
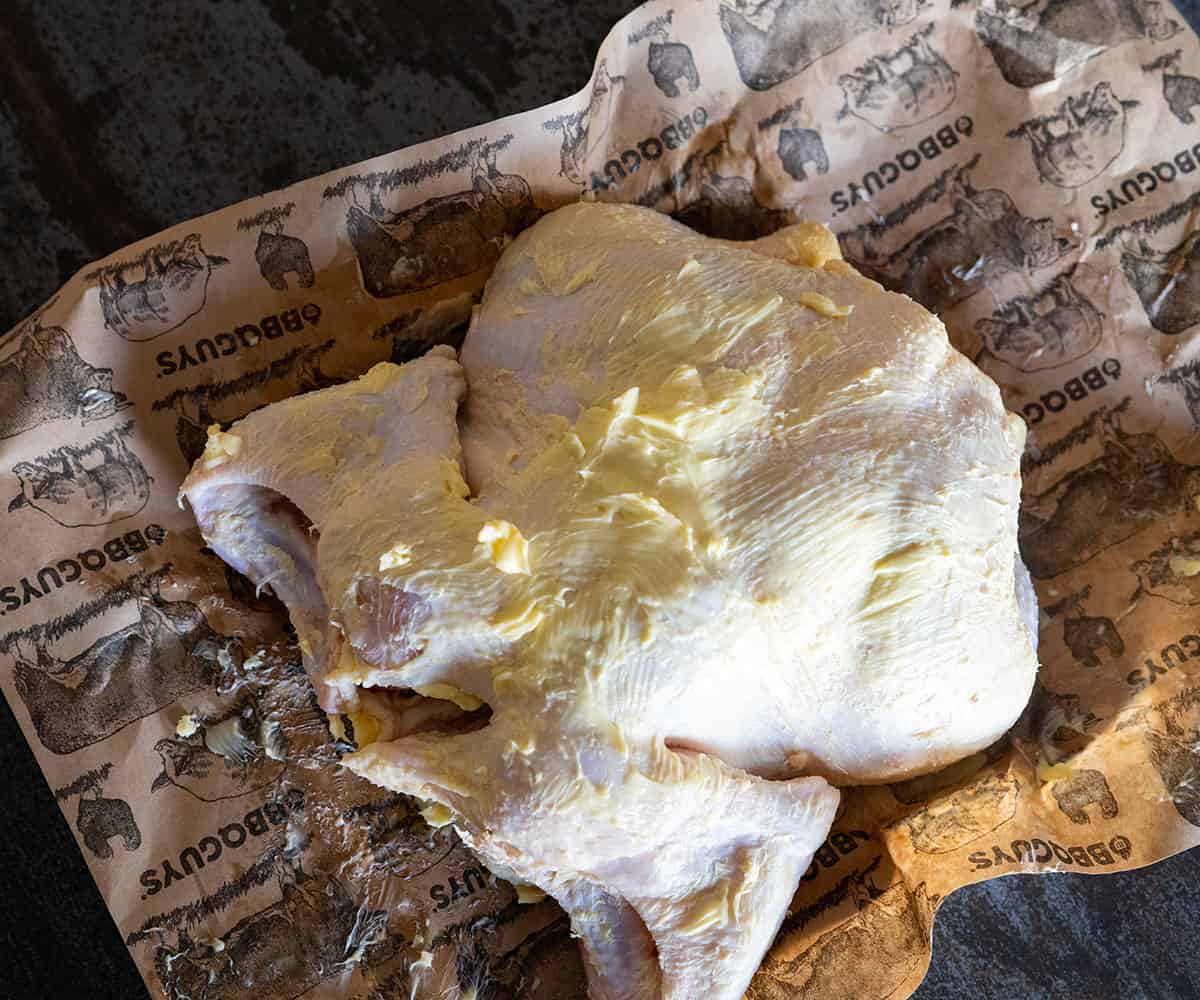
Begin by removing the chicken from its packaging. Carefully reach into the cavity to remove and discard the neck and any giblets. Pat the chicken thoroughly dry with paper towels. This is a critical step, as moisture on the skin will prevent it from crisping properly. Next, generously smear a softened stick of butter all over the exterior of the chicken. For enhanced flavor and crispier skin, gently lift the breast skin and spread butter underneath it as well.
- Pro Tip: Avoid washing the chicken before preparation. Rinsing raw poultry can spread bacteria around the kitchen. The butter adheres best to dry skin.
Step 2: Seasoning the Bird
Once buttered, generously apply your chosen chicken rub over the entire surface of the bird. Ensure that seasoning gets into the nooks and crannies, such as under the wings and around the legs. Sprinkle some rub inside the cavity for added flavor. For a more aesthetically pleasing presentation, the legs can be tied together with butcher’s twine, although this is an optional step.
- Variation: For a more intense flavor profile, consider creating a compound butter by mixing the softened butter with a tablespoon or two of your rub before applying it to the chicken.
Step 3: Chilling for Enhanced Flavor and Texture
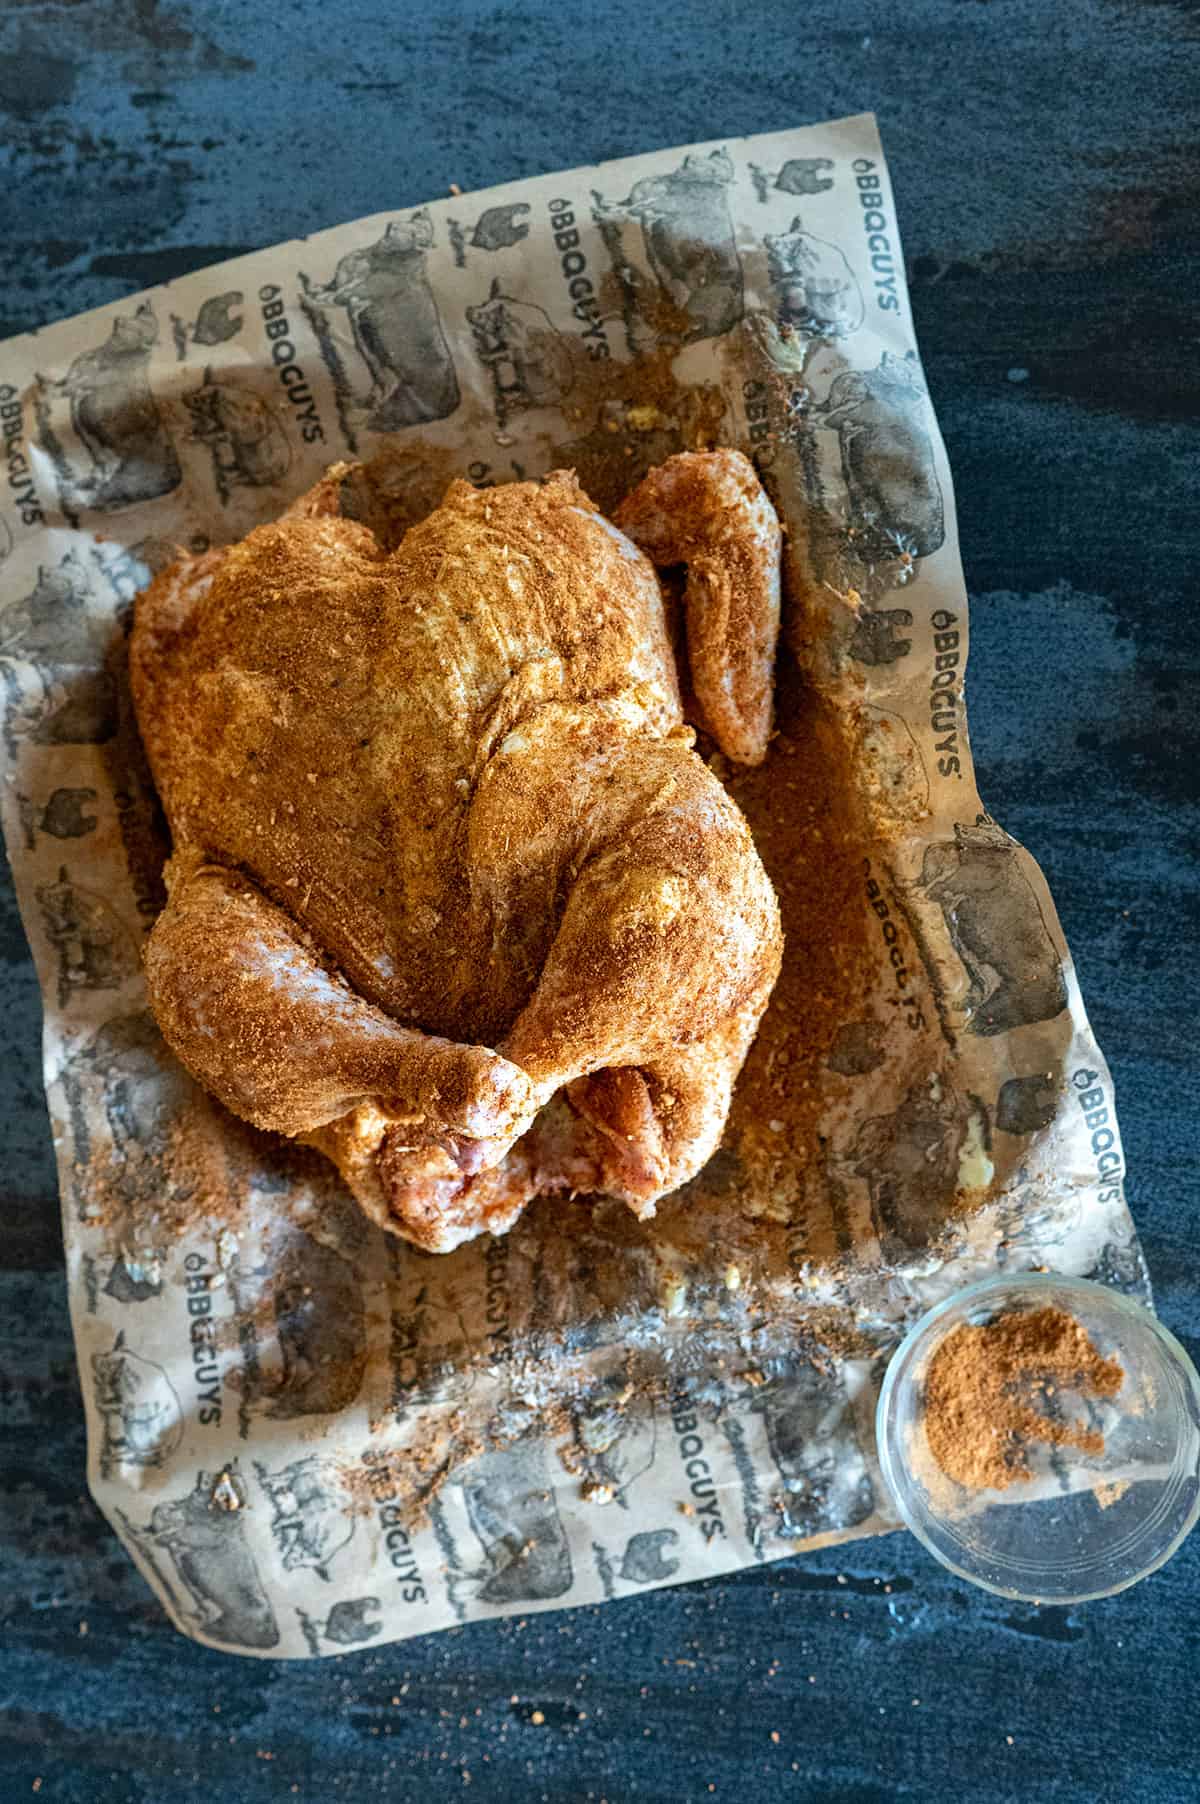
After seasoning, place the prepared chicken, uncovered, in the refrigerator. This step, while seemingly simple, plays a significant role in achieving a superior result. While the grill preheats to the target temperature of 375-400°F (190-205°C), the uncovered chicken will begin a dry brining process.
- Pro Tip: For an even more pronounced effect, allow the seasoned chicken to chill uncovered for 4 to 8 hours. This extended dry brine helps to draw out moisture from the skin, leading to exceptionally crispy results, while also allowing salt to penetrate the meat, resulting in juicier, more flavorful flesh.
Step 4: Placing the Chicken on the Grill
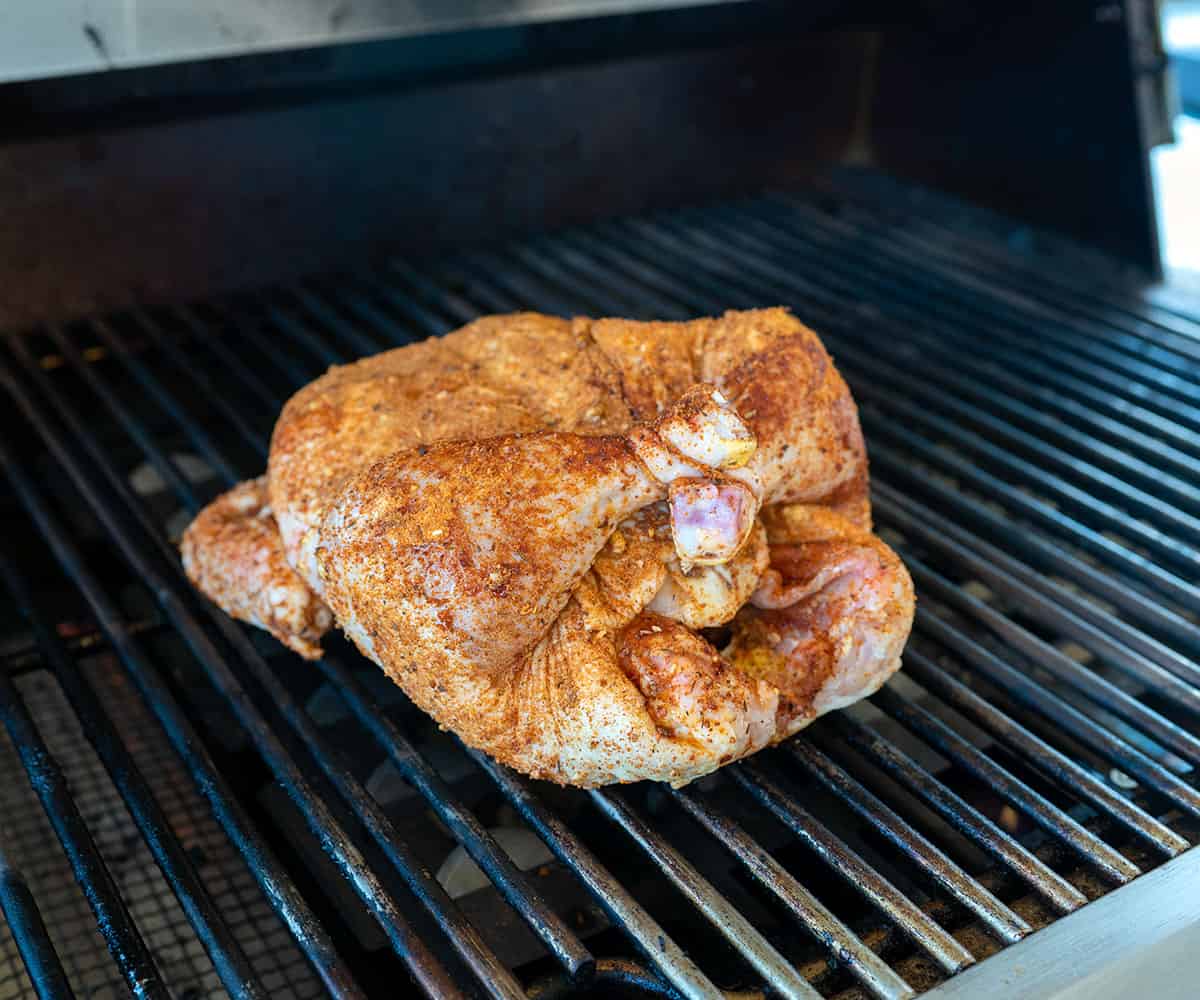
Once the grill has reached the desired temperature and the indirect heat zone is established, carefully place the chicken on the grill grate, breast-side up, over the indirect heat. Close the grill lid to maintain a consistent cooking environment.
Step 5: Cooking to the Perfect Internal Temperature
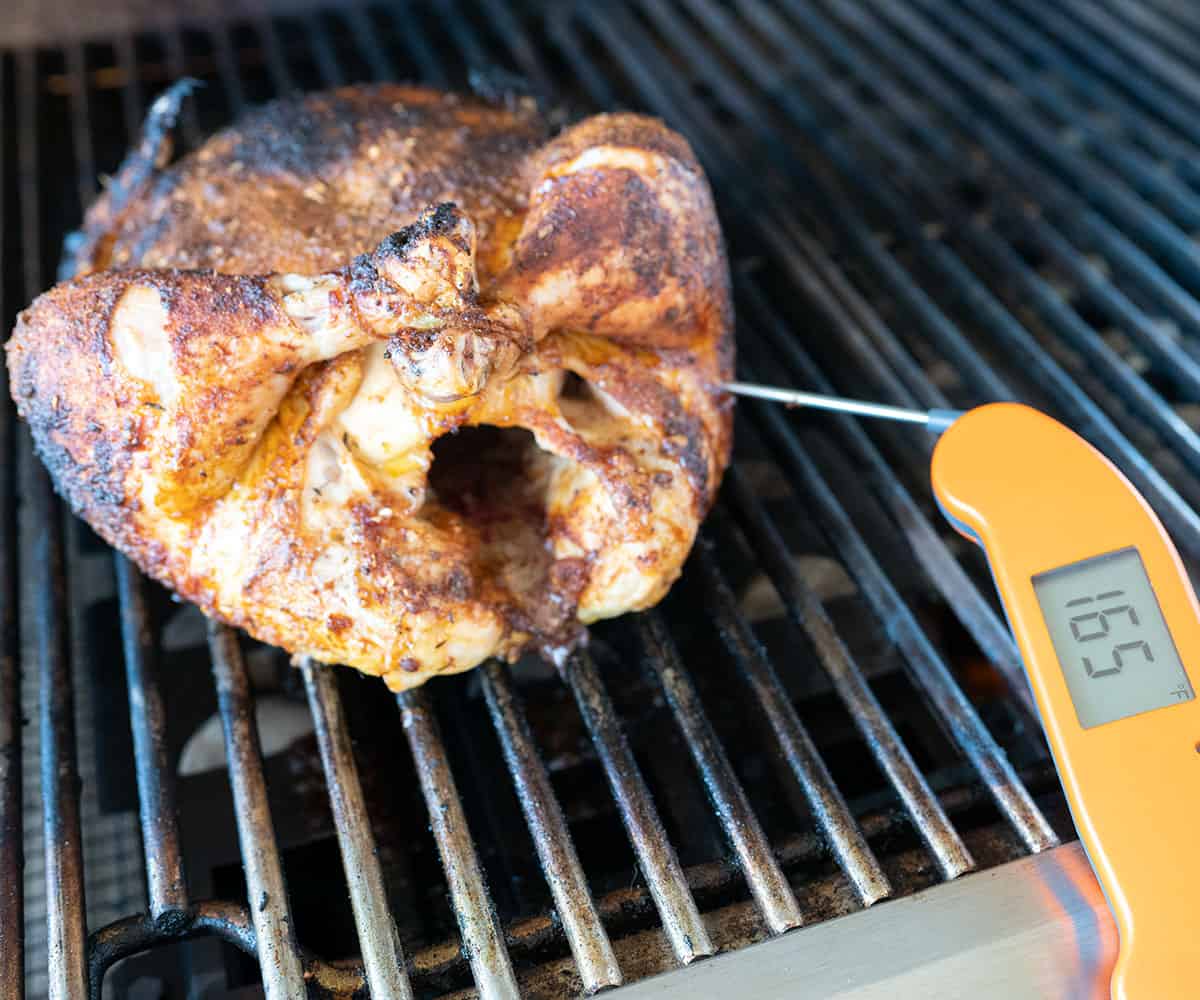
The cooking time for a whole chicken on the grill is generally estimated at 15 to 20 minutes per pound. However, this is a guideline, and the true indicator of doneness is the internal temperature. Insert an instant-read meat thermometer into the thickest part of the thigh, ensuring it does not touch the bone. The chicken is cooked when the thigh registers an internal temperature of at least 165°F (74°C).
- Pro Tip: If your grill has a heat source primarily from one side, rotating the chicken once or twice during the cooking process will help ensure more even cooking and browning.
Serving and Storage: Maximizing Enjoyment
Once the chicken reaches the target temperature, remove it from the grill. Tent it loosely with aluminum foil and allow it to rest for a minimum of 15 minutes. This crucial resting period allows the juices to redistribute throughout the meat, ensuring a moist and tender final product.
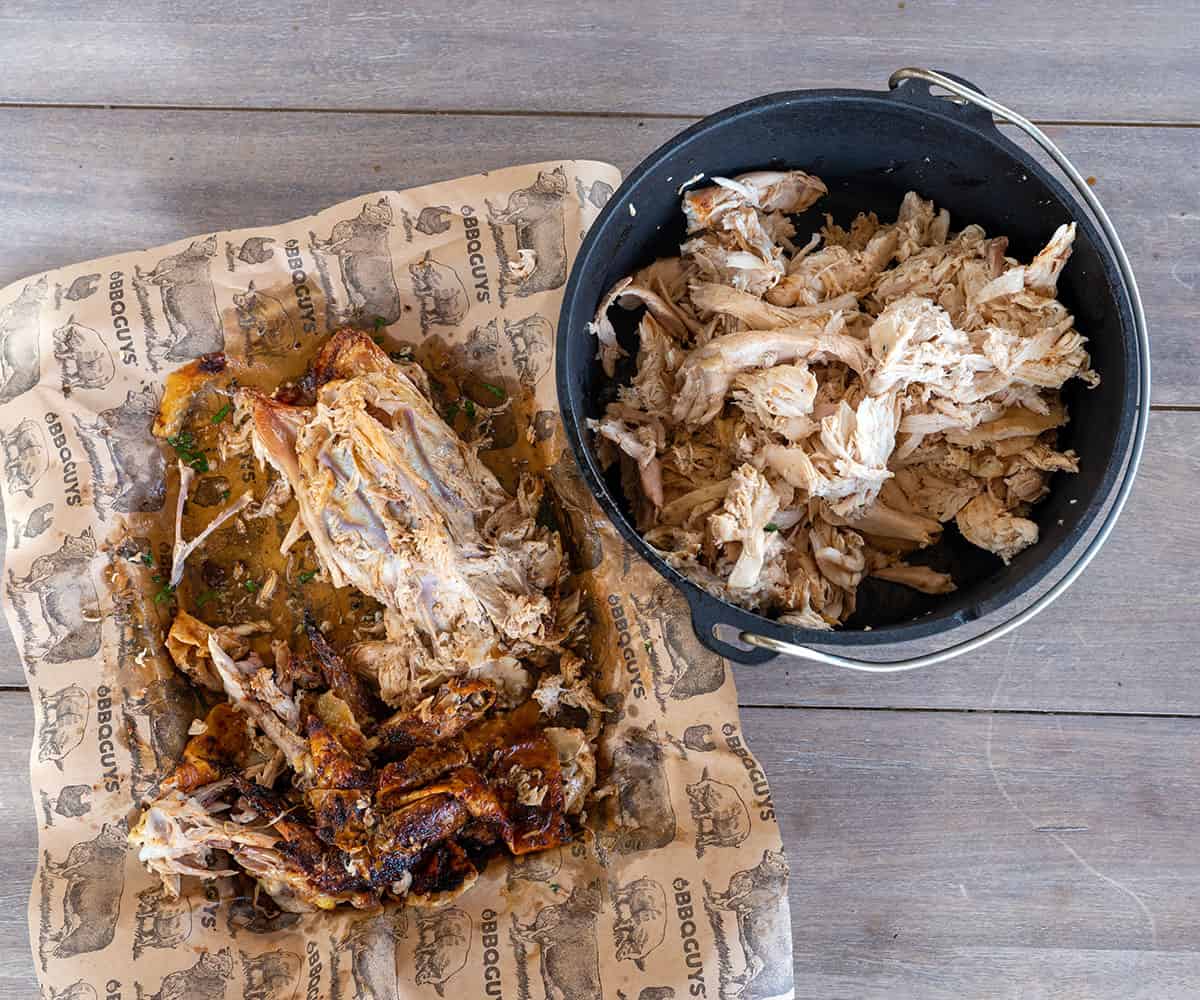
The grilled whole chicken can be carved into individual pieces—wings, thighs, breasts, and legs—or the meat can be pulled from the bones for versatile use in various dishes. Shredded chicken is an excellent ingredient for southwest chicken chili, chicken enchiladas, quesadillas, taquitos, or sandwiches, paired with your favorite barbecue or Alabama white sauce.
- Storage: Leftover pulled or carved chicken can be stored in an airtight container in the refrigerator for up to five days or frozen for up to six months. The carcass, rich with flavor, can be simmered with vegetables like onions, carrots, and celery to create a homemade chicken broth, which can then be frozen for later use.
Broader Implications and Expert Insights
The success of this grilling method lies in its universality, proving effective across different grill types. This broad applicability makes it an accessible technique for a wide range of home cooks. Vanover’s emphasis on understanding the physics of grilling—heat zones, indirect cooking, and temperature—transcends specific equipment, empowering individuals to achieve consistent, high-quality results regardless of their backyard setup.
The strategy of dry brining, as suggested in the "Pro Tip" for chilling the chicken, aligns with established culinary practices that enhance both texture and flavor. By drawing out surface moisture, the skin becomes exceptionally crisp, a highly desirable characteristic in grilled poultry. The salt in the rub also penetrates the meat, seasoning it from within and promoting juiciness.
The nutritional information provided offers a factual breakdown of the caloric and macronutrient content per serving, contributing to a balanced understanding of the dish. For a 6-ounce serving, the data indicates approximately 607 calories, with a notable 41g of protein and 48g of fat, highlighting the richness of the dish when prepared with butter and skin.
Addressing Common Concerns: Crispy Skin and Even Cooking
A frequent question among grilled chicken enthusiasts is how to achieve perfectly crispy skin. The article addresses this directly, pinpointing two primary culprits: wet skin and insufficient grill temperature. By ensuring the chicken is thoroughly dried and the grill maintains the recommended 375-400°F (190-205°C) in the indirect zone, cooks can significantly improve their chances of achieving a beautifully crisped exterior. The dry brining technique further supports this goal.
Another common concern is uneven cooking. The article reiterates that this is almost always due to grilling by total time rather than by internal temperature. The recommended 15-20 minutes per pound is a guideline, but the definitive check remains the thermometer reading in the thickest part of the thigh. This focus on precise temperature ensures that both the white and dark meat are cooked to a safe and palatable doneness without overcooking.
Conclusion
Mastering the art of grilling a whole chicken is an achievable goal for any backyard chef. By understanding the fundamental principles of indirect heat, precise temperature control, and cooking to internal doneness, even novice grillers can produce a smoky, juicy, and perfectly cooked bird. The techniques shared, refined through extensive testing and experience, provide a reliable roadmap to transforming simple ingredients into a show-stopping meal, adaptable to any grilling enthusiast’s chosen equipment.