Creating visually stunning and edible decorative elements for desserts has become an increasingly popular trend in the culinary world, allowing bakers and confectioners to elevate their creations beyond mere taste to artistic expression. Among the most captivating of these decorative techniques is the crafting of edible sugar glass. This seemingly delicate yet remarkably versatile ingredient offers a unique way to add transparency, sparkle, and structural elements to a wide array of baked goods, from intricate gingerbread houses to avant-garde plated desserts. The process, while appearing complex, is rooted in fundamental candy-making principles that, with precise execution and a thorough understanding of the science involved, can be mastered by both amateur enthusiasts and seasoned professionals.
The Allure of Edible Sugar Glass
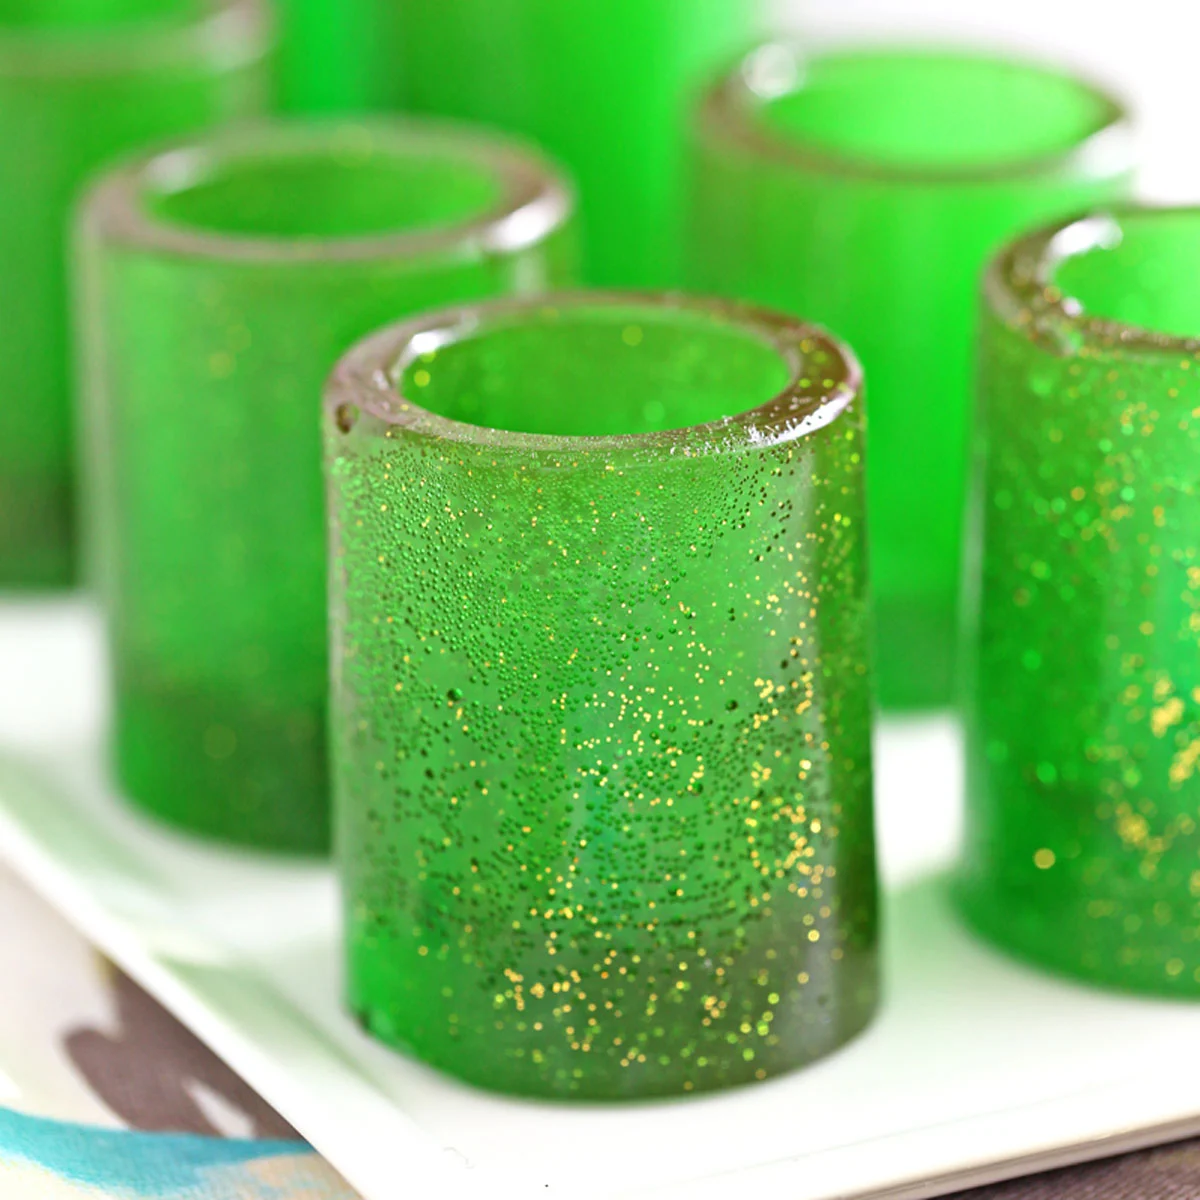
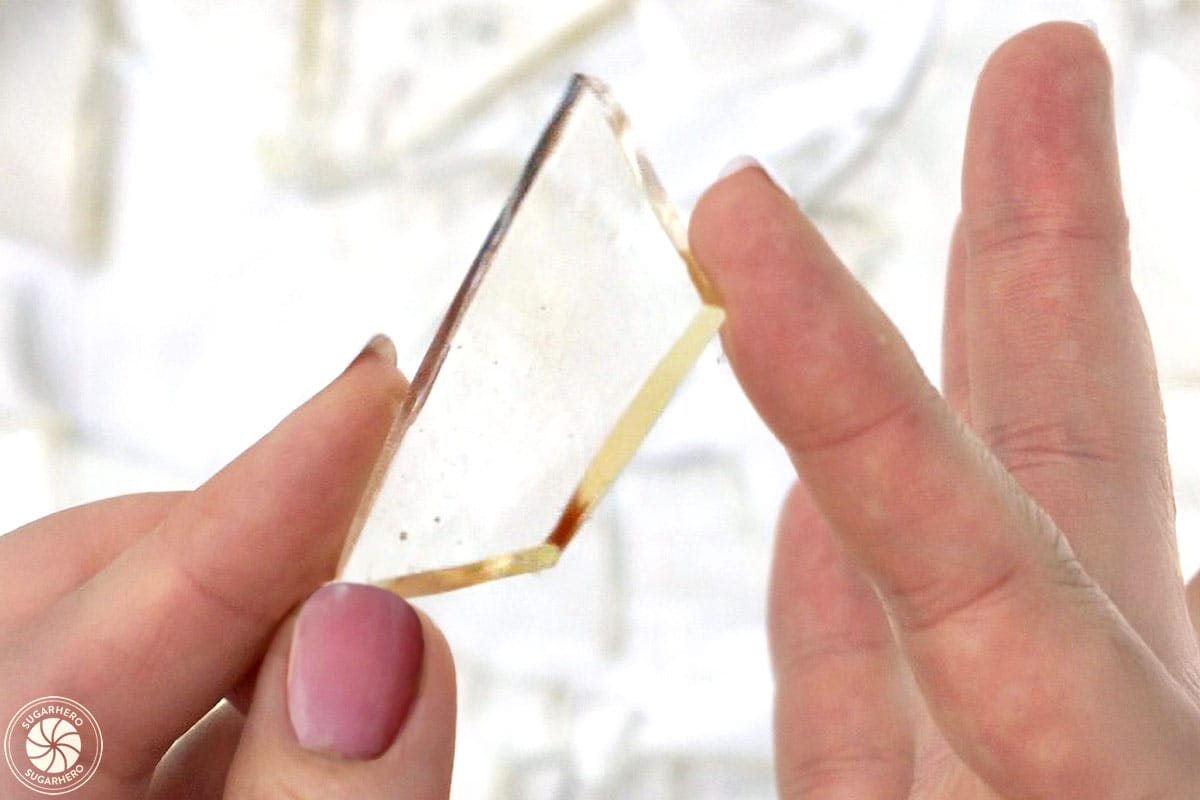
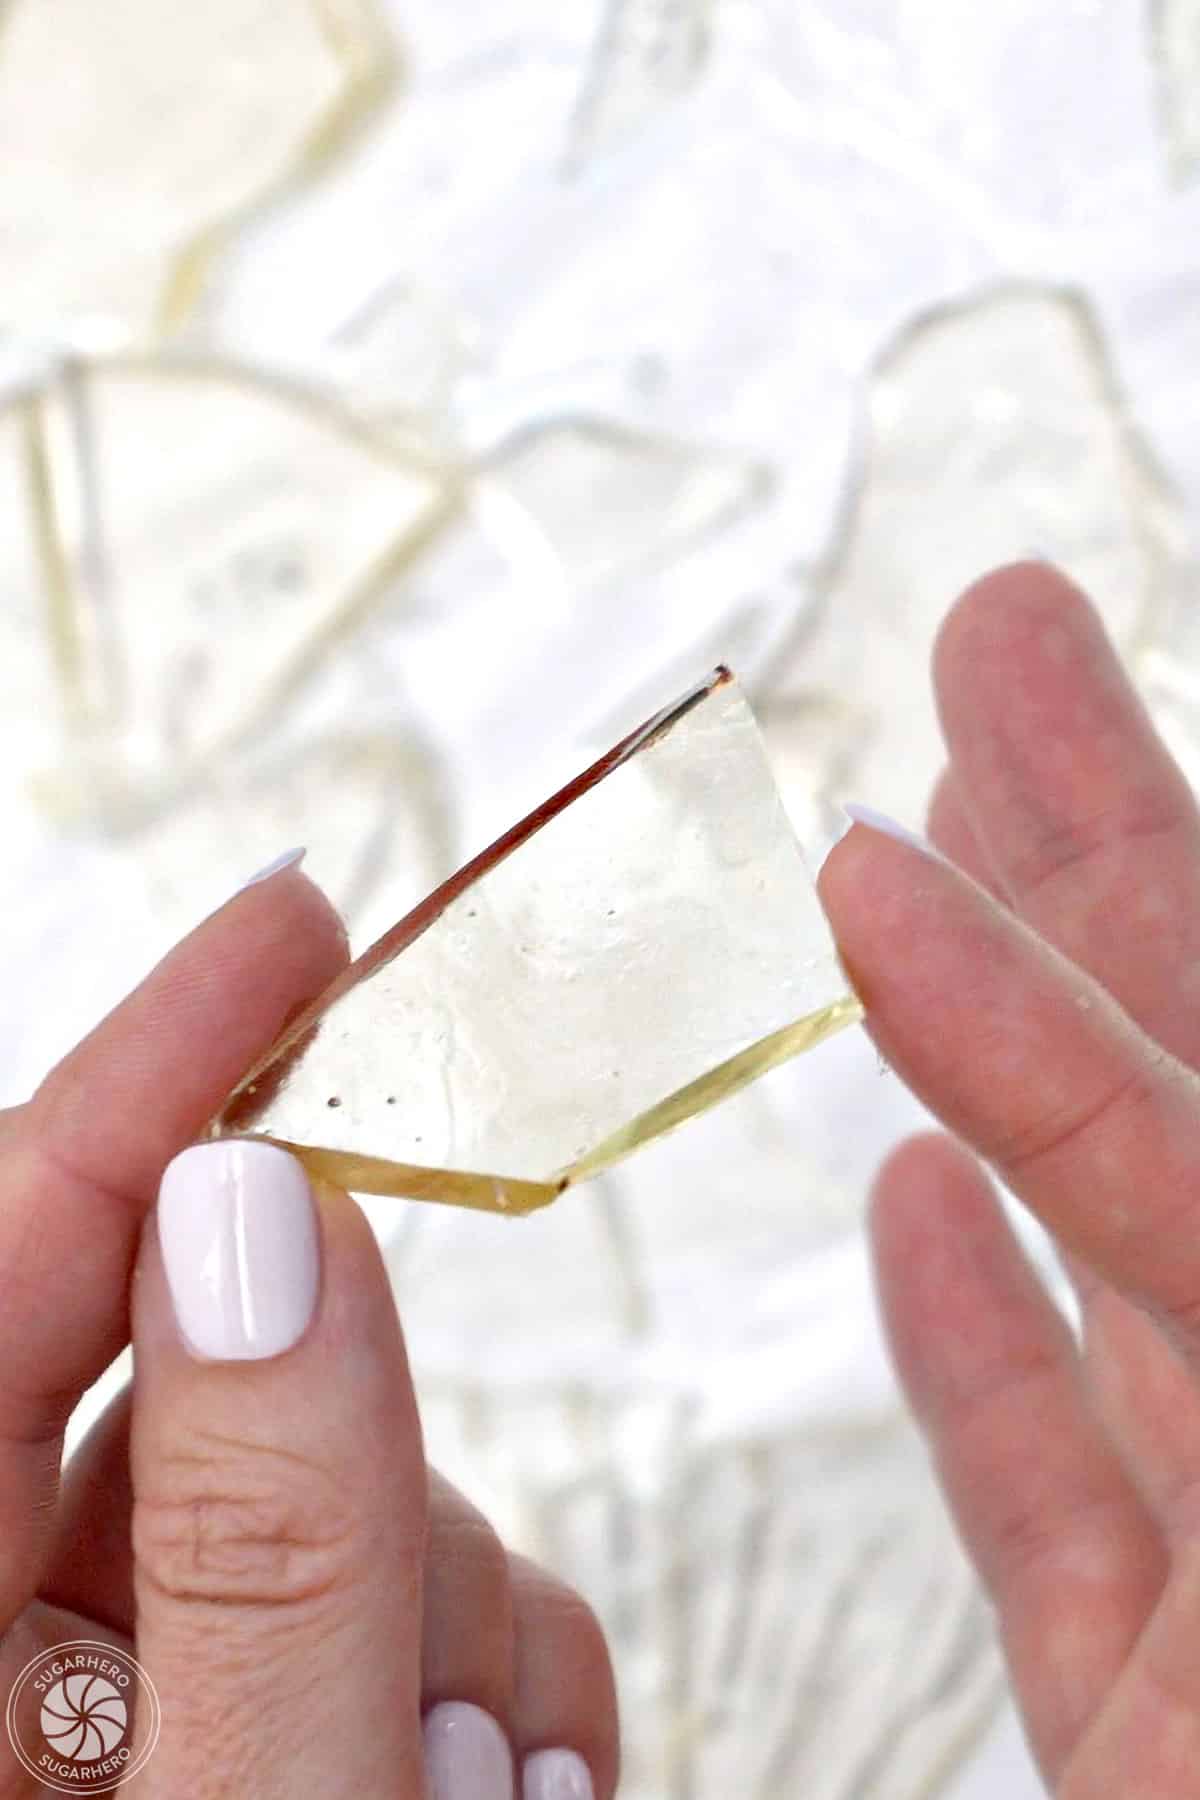
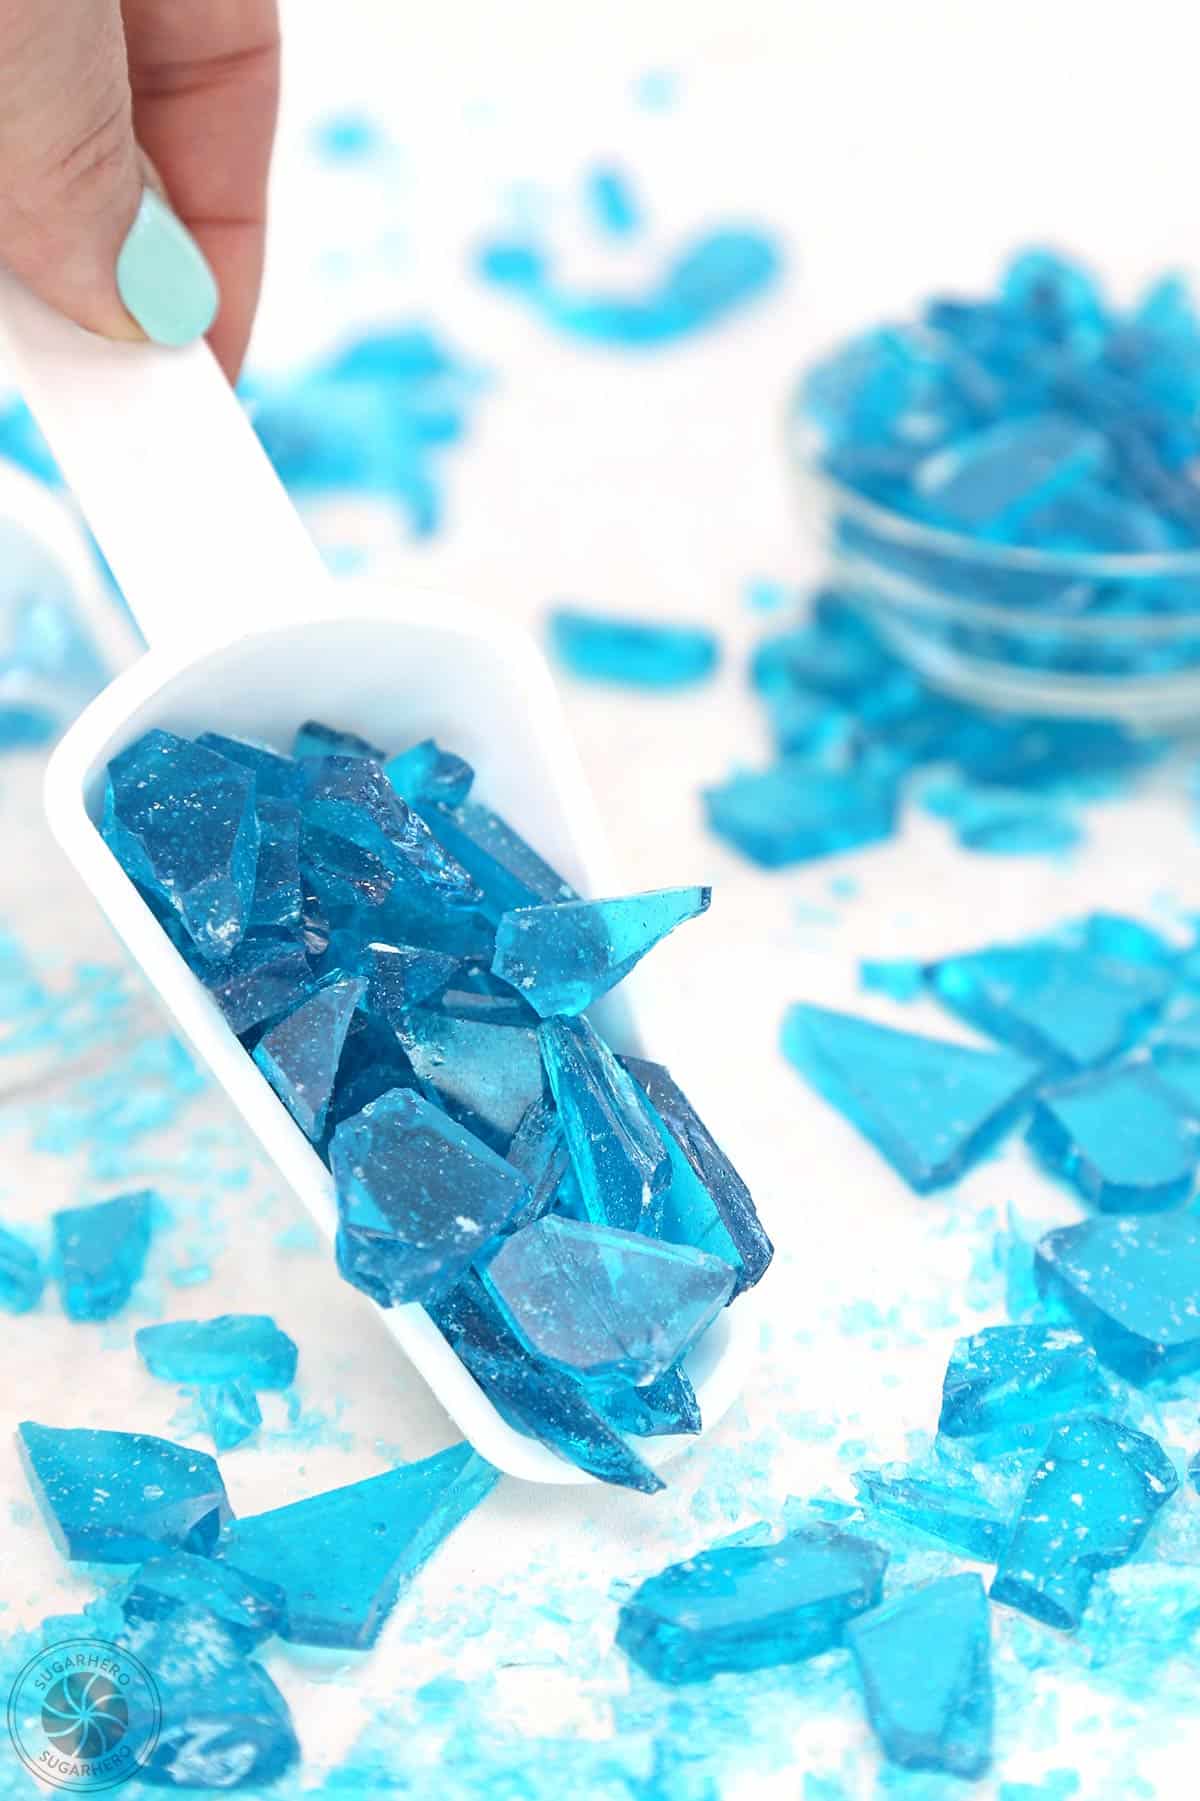
The appeal of edible sugar glass lies in its multifaceted utility and aesthetic impact. It can meticulously replicate the look of real glass, providing transparent windows for miniature edible structures like gingerbread houses, creating sharp, shard-like embellishments for dramatic effect on cakes and cupcakes, or even forming the basis for colorful, crystalline rock candy formations. The ability to color and flavor sugar glass opens up an almost limitless palette for customization, allowing for seamless integration into any theme or flavor profile. Its moldability further enhances its adaptability; it can be poured into specific shapes, broken into irregular pieces, or directly incorporated into baked components like cookie cut-outs or structural panels of gingerbread creations. This adaptability makes it a prized technique for those seeking to push the boundaries of dessert artistry.
Unveiling the Foolproof Recipe: A Culinary Science Perspective
At its core, the creation of edible sugar glass is a controlled process of heating sugar, corn syrup, and water to a specific temperature, known as the "hard crack stage." This stage, typically reached at 300-310°F (149-154°C), is critical. At these elevated temperatures, the water content in the sugar solution evaporates significantly, leaving behind a supersaturated sugar mixture. When this mixture is cooled rapidly, it solidifies into an amorphous, glassy state rather than forming crystalline structures. The inclusion of corn syrup (or glucose syrup) plays a vital role in inhibiting crystallization. Corn syrup, being an invert sugar, is less prone to crystallizing than sucrose alone. It acts as a "crystal inhibitor," interfering with the formation of organized sugar crystal lattices and thus promoting the desired glassy, translucent appearance.
The process requires meticulous attention to temperature. A reliable candy thermometer is indispensable, as even a slight deviation can result in a product that is either too soft and sticky or overly brittle and prone to premature breakage. The chemical transformation occurring during cooking is a testament to the principles of thermodynamics and solution chemistry. As heat is applied, the sucrose molecules break down, and the water molecules are driven off. The specific gravity of the syrup increases, indicating a higher concentration of dissolved solids. Reaching the hard crack stage signifies that enough water has been removed to ensure the sugar will solidify into a hard, brittle form upon cooling.
Essential Ingredients and Equipment for Success
To embark on the journey of creating edible sugar glass, a select group of readily available ingredients and common kitchen tools are required. The foundational elements are:
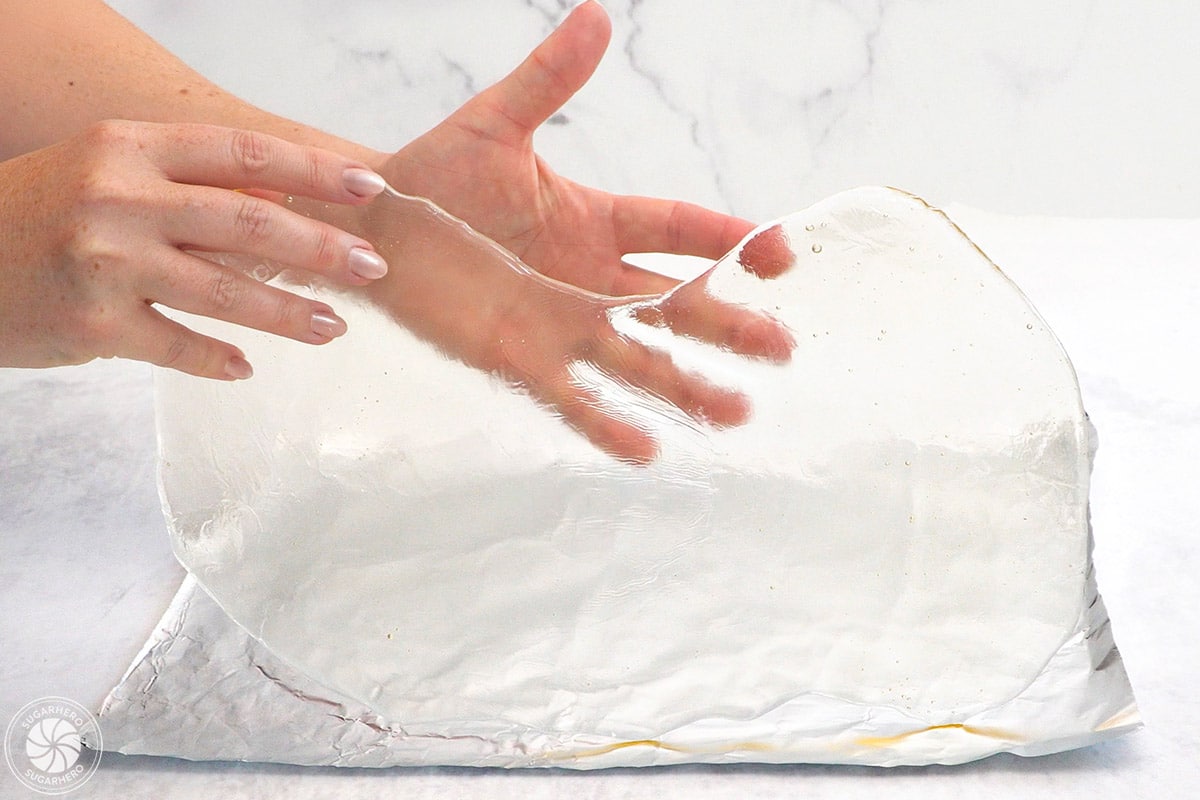
- Granulated Sugar: The primary building block of the candy. The purity of the sugar is important for achieving a clear final product.
- Corn Syrup (or Glucose Syrup): Crucial for preventing crystallization and ensuring a smooth, glassy texture. Light corn syrup is typically preferred for its neutral flavor and color.
- Water: Acts as the solvent to dissolve the sugars and initiate the cooking process.
- Optional Flavorings and Colorings: Extracts (like vanilla or almond) and food-grade coloring (gel or liquid) can be added towards the end of the cooking process to customize the sugar glass. It is essential to use high-quality, heat-stable colorings to prevent dulling or alteration of the hue.
The necessary equipment typically includes:
- Heavy-Bottomed Saucepan: A thick base ensures even heat distribution, preventing scorching and promoting consistent cooking. Stainless steel or copper-clad pans are ideal.
- Candy Thermometer: As previously emphasized, this is non-negotiable for accurately reaching the hard crack stage. Digital thermometers offer enhanced precision, while traditional glass thermometers require careful monitoring.
- Heat-Resistant Spatula or Wooden Spoon: Used for initial stirring before the boiling stage.
- Baking Sheet or Silpat Mat: A non-stick surface is essential for pouring and cooling the molten sugar. Parchment paper can also be used, but silicone mats often provide a smoother, more uniform finish.
- Pastry Brush and Water: Used to wash down the sides of the pan, preventing stray sugar crystals from adhering and initiating premature crystallization.
Pro Tips for Candy Thermometer Mastery
The candy thermometer is a critical instrument in the sugar glass-making process, and its proper use can significantly impact the outcome.
- Calibration: Before embarking on any candy-making, it is prudent to calibrate your thermometer. This can be done by placing it in a container of ice water (which should read 32°F or 0°C) and then in boiling water (which should read 212°F or 100°C at sea level). Adjustments can often be made on digital thermometers, or you can factor in any discrepancies in your cooking temperature.
- Placement: Ensure the thermometer bulb is fully submerged in the sugar syrup but not touching the bottom of the pan, as this can provide an inaccurate reading.
- Monitoring: Watch the temperature closely as it rises. The rate of ascent will increase as the syrup approaches the target temperature.
- Accuracy: Invest in a reliable, high-quality candy thermometer. Inexpensive or faulty thermometers are a common cause of candy-making failures.
A Step-by-Step Guide to Crafting Edible Sugar Glass
The creation of edible sugar glass, while demanding precision, is an accessible process with careful adherence to the following steps:
- Preparation is Key: Line a baking sheet with parchment paper or a silicone baking mat. Ensure all ingredients are measured accurately and ready for use. Have your flavoring and coloring agents prepared for quick addition.
- Combine Ingredients: In a heavy-bottomed saucepan, combine the granulated sugar, corn syrup, and water. Stir gently over medium heat until the sugar is completely dissolved. It is crucial to ensure no sugar granules remain on the bottom of the pan.
- Washing Down the Sides: Once the sugar is dissolved and the mixture begins to heat, use a wet pastry brush to wash down any sugar crystals that may have adhered to the sides of the pan. This step is vital in preventing crystallization.
- Boiling and Temperature Monitoring: Insert the candy thermometer. Bring the mixture to a boil over medium-high heat. Crucially, avoid stirring the syrup once it begins to boil. Stirring can introduce air bubbles and disrupt the sugar’s structure, leading to crystallization.
- Reaching the Hard Crack Stage: Continue to boil the syrup, watching the thermometer carefully. The target temperature is between 300°F and 310°F (149°C and 154°C). This stage is characterized by the syrup forming hard, brittle threads when a small amount is dropped into cold water.
- Adding Flavor and Color (Optional): Once the desired temperature is reached, immediately remove the pan from the heat. Carefully stir in any desired flavorings and food colorings. Be aware that adding liquids can cause the hot syrup to bubble vigorously, so exercise caution.
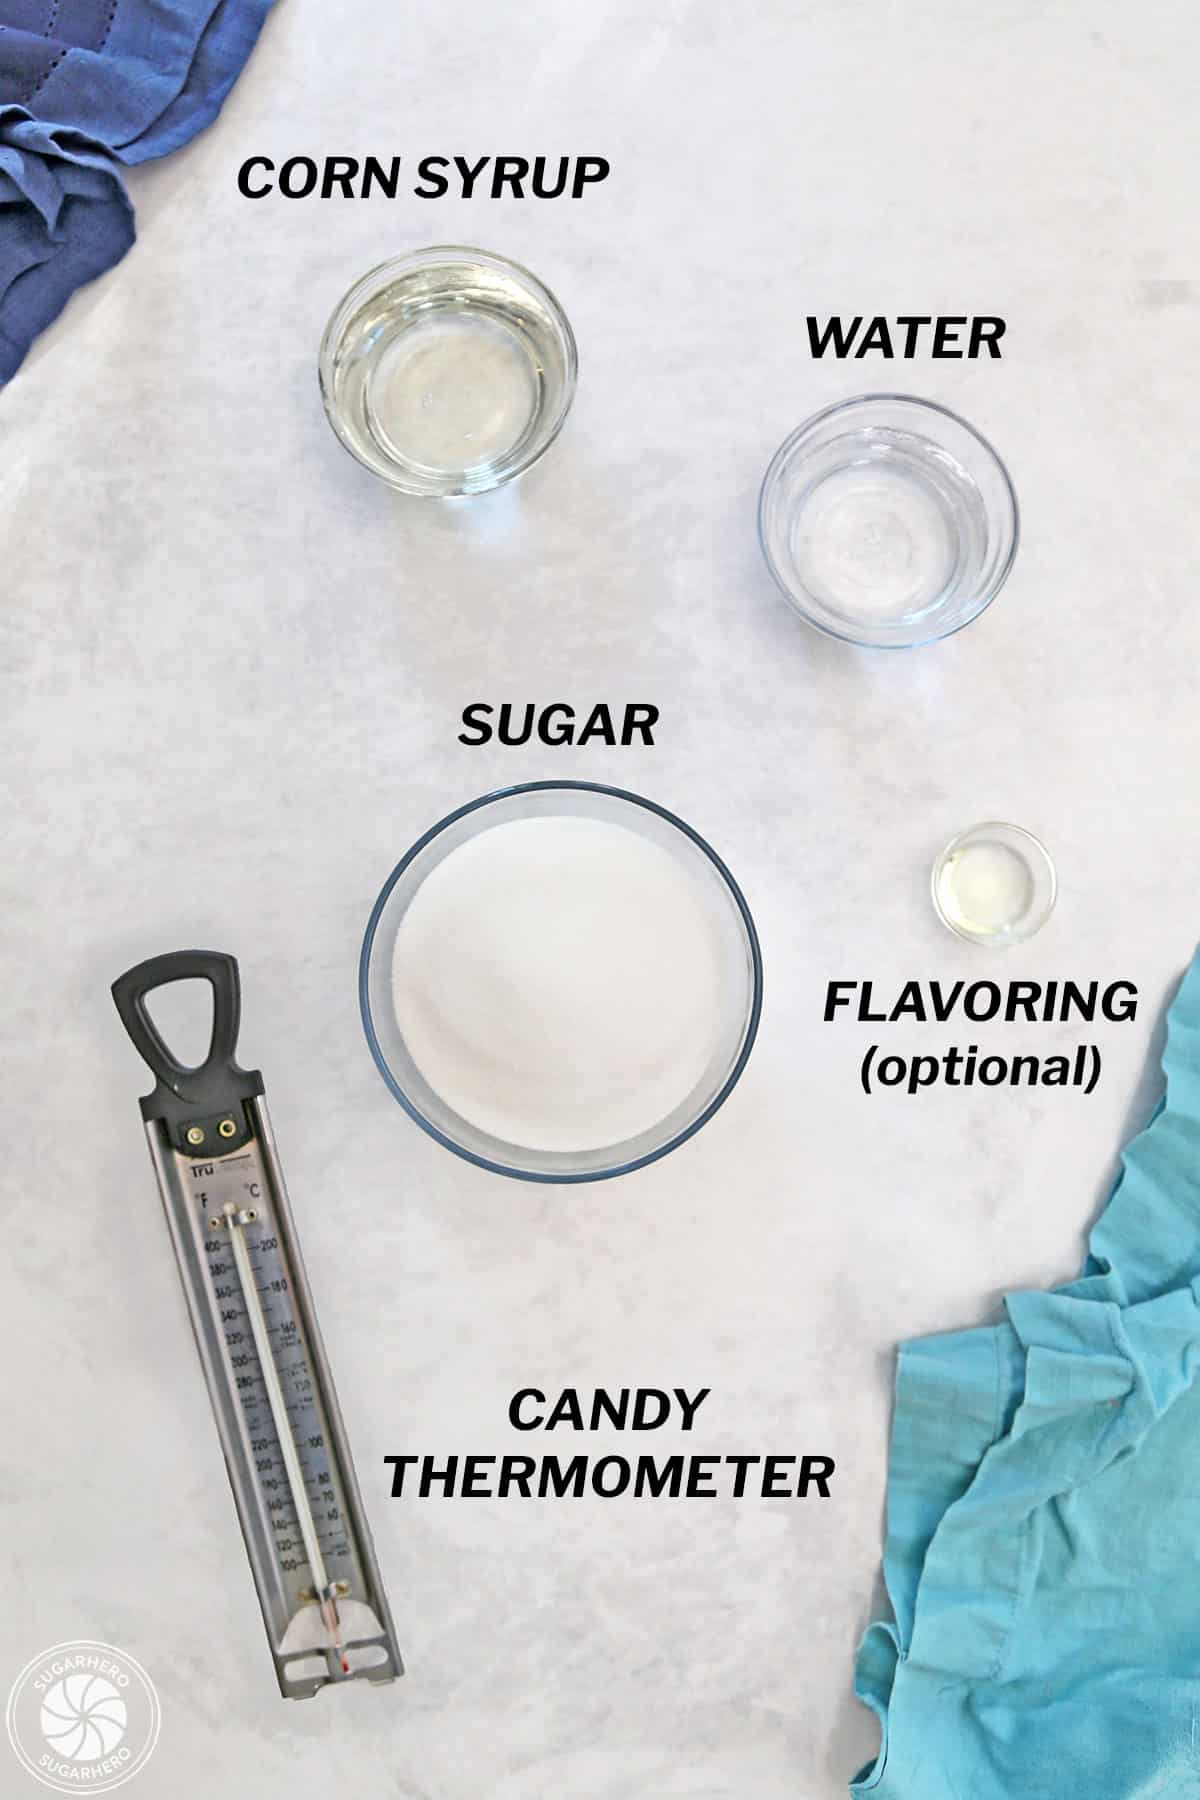
- Pouring the Glass: Working quickly but safely, pour the molten sugar onto the prepared baking sheet. Tilt the sheet to spread the syrup into a thin, even layer. The thinner the layer, the more brittle and glass-like the final product will be.
- Cooling and Solidification: Allow the sugar glass to cool completely at room temperature. This process can take anywhere from 30 minutes to a few hours, depending on the thickness of the pour and ambient temperature. Do not attempt to move or break the glass while it is still warm, as it will be pliable and sticky.
- Breaking and Shaping: Once fully hardened, the sugar glass can be broken into shards by gently tapping it with a mallet or the back of a heavy spoon. For more controlled shapes, it can be scored with a sharp knife while still slightly warm but firm enough to handle.
Frequently Asked Questions and Troubleshooting
Candy making, like many precise culinary arts, can present challenges. Addressing common issues proactively can lead to greater success:
- Why is my candy sticky? Stickiness is almost invariably caused by humidity. Sugar is hygroscopic, meaning it readily absorbs moisture from the air. Attempting to make sugar glass on a humid or rainy day is ill-advised. Even after successful preparation, storing the sugar glass in an airtight container at room temperature is essential. In very humid climates, including silica gel packets in the storage container can help absorb ambient moisture.
- Why is my candy not hardening? This indicates that the sugar syrup has not been cooked to a high enough temperature. If a candy thermometer was used, double-check its accuracy and calibration. Ensure all ingredient measurements were precise, as variations can affect the final cooking temperature.
- Why is my glass candy opaque or crumbly? This is a clear sign of crystallization. Crystallization occurs when sugar molecules begin to form ordered structures instead of remaining in an amorphous state. This can be triggered by:
- Stirring after boiling: Introducing vibrations or movement can encourage crystal formation.
- Undissolved sugar crystals: Ensuring all sugar is dissolved before boiling and washing down the pan sides meticulously are critical preventative measures.
- Contamination: Stray sugar crystals on utensils or the thermometer can initiate the process.
- Ingredient substitution: Corn syrup’s role as a crystal inhibitor is significant. Substituting it with other ingredients may lead to a higher likelihood of crystallization.
- Storage Information: Properly stored sugar glass can last up to seven days at room temperature in an airtight container. Refrigeration or freezing is not recommended, as condensation can lead to stickiness. In humid environments, consumption within two to three days may be necessary.
The Broader Impact on Culinary Design
The availability of a reliable recipe for edible sugar glass empowers culinary artists to achieve a new level of sophistication in their designs. It moves beyond simple frosting and sprinkles, enabling the creation of architectural elements, realistic textures, and dramatic visual statements. The ability to imbue these creations with color and flavor means that the aesthetic appeal is matched by a delightful sensory experience. As the demand for visually stunning and Instagrammable desserts continues to grow, techniques like sugar glass creation will undoubtedly remain at the forefront of dessert innovation, offering a blend of scientific precision and artistic flair that captivates both the eyes and the palate. The enduring appeal of sugar glass lies not just in its transparency but in the transparency it offers into the meticulous craft of modern confectionery.