
For home bakers seeking to elevate their dessert creations, mastering the art of the sugar cookie, particularly those perfect for intricate decorating, is a key milestone. The quest for a sugar cookie recipe that consistently delivers crisp edges and a tender, yielding center, paired with a stable yet smooth buttercream frosting, often leads to a culinary exploration. This article delves into a highly-regarded recipe that promises to demystify the process, empowering even novice decorators to achieve professional-looking results.

Achieving Bakery-Quality Sugar Cookies at Home
The allure of a perfectly crafted sugar cookie lies in its versatility and its ability to serve as a canvas for creative expression. This particular recipe, lauded for its foolproof nature, addresses the common challenges faced by home bakers. The foundation of this success is a meticulously developed sugar cookie dough, engineered to maintain its shape during baking, a crucial element for cut-out designs. The resulting cookies are characterized by a delightful textural contrast: a satisfying crispness around the perimeter that gives way to a soft, melt-in-your-mouth interior. This balance is paramount for cookies intended for decorating, as it ensures they are sturdy enough to hold frosting without becoming brittle.
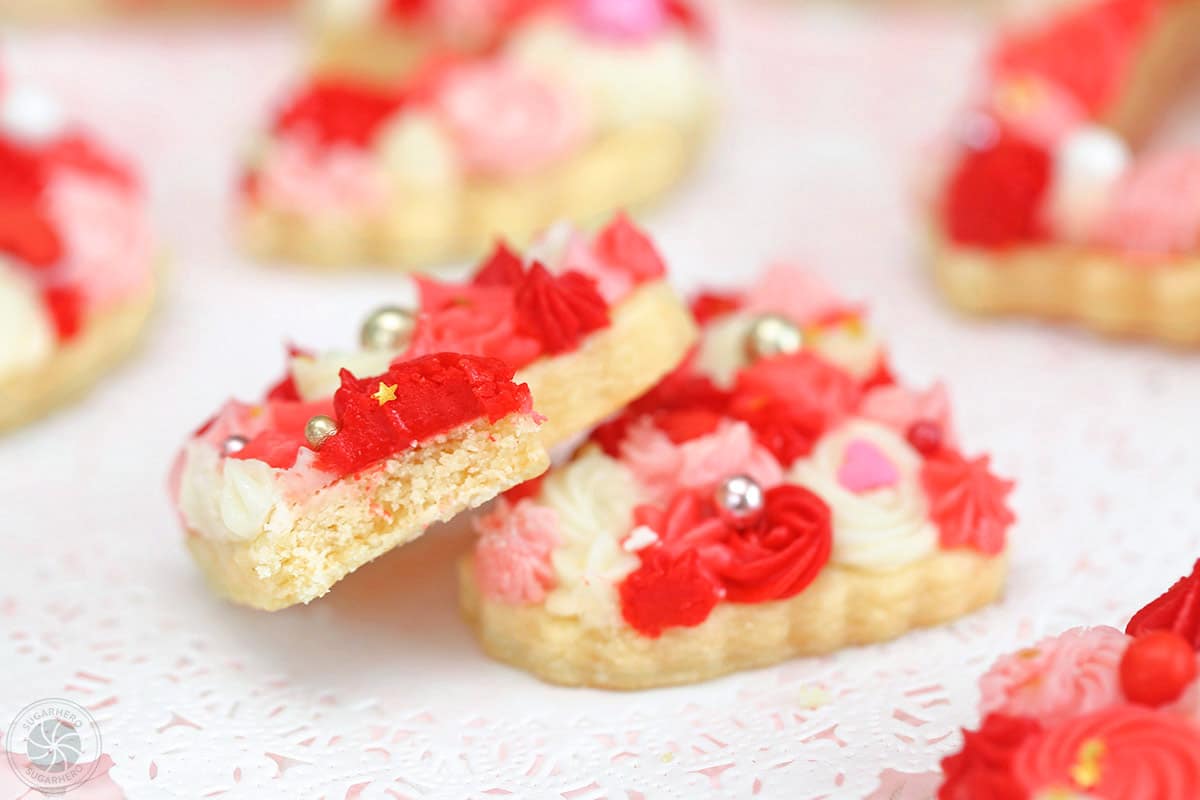
Complementing the ideal cookie base is an equally important element: the frosting. The recipe features an American-style buttercream, a classic choice for its simplicity and adaptability. What sets this buttercream apart is its formulation for pipeability. It achieves a smooth consistency that is easy to work with using piping bags and tips, yet it possesses the structural integrity to hold intricate designs and vibrant colors without drooping or spreading. This combination of a superior cookie and a reliable frosting unlocks a world of decorating possibilities, transforming ordinary cookies into edible works of art.
Demystifying the Art of Frosting: A Beginner-Friendly Approach
For many aspiring bakers, the act of piping frosting can evoke a sense of trepidation, often likened to facing a daunting challenge. This recipe aims to dismantle that fear by offering a straightforward and forgiving decorating technique. The key to achieving visually stunning results lies not in unattainable perfection, but in strategic simplicity. By utilizing a variety of frosting colors and different piping tips, the cookies can achieve a sophisticated, bakery-quality appearance that belies the ease of their creation.

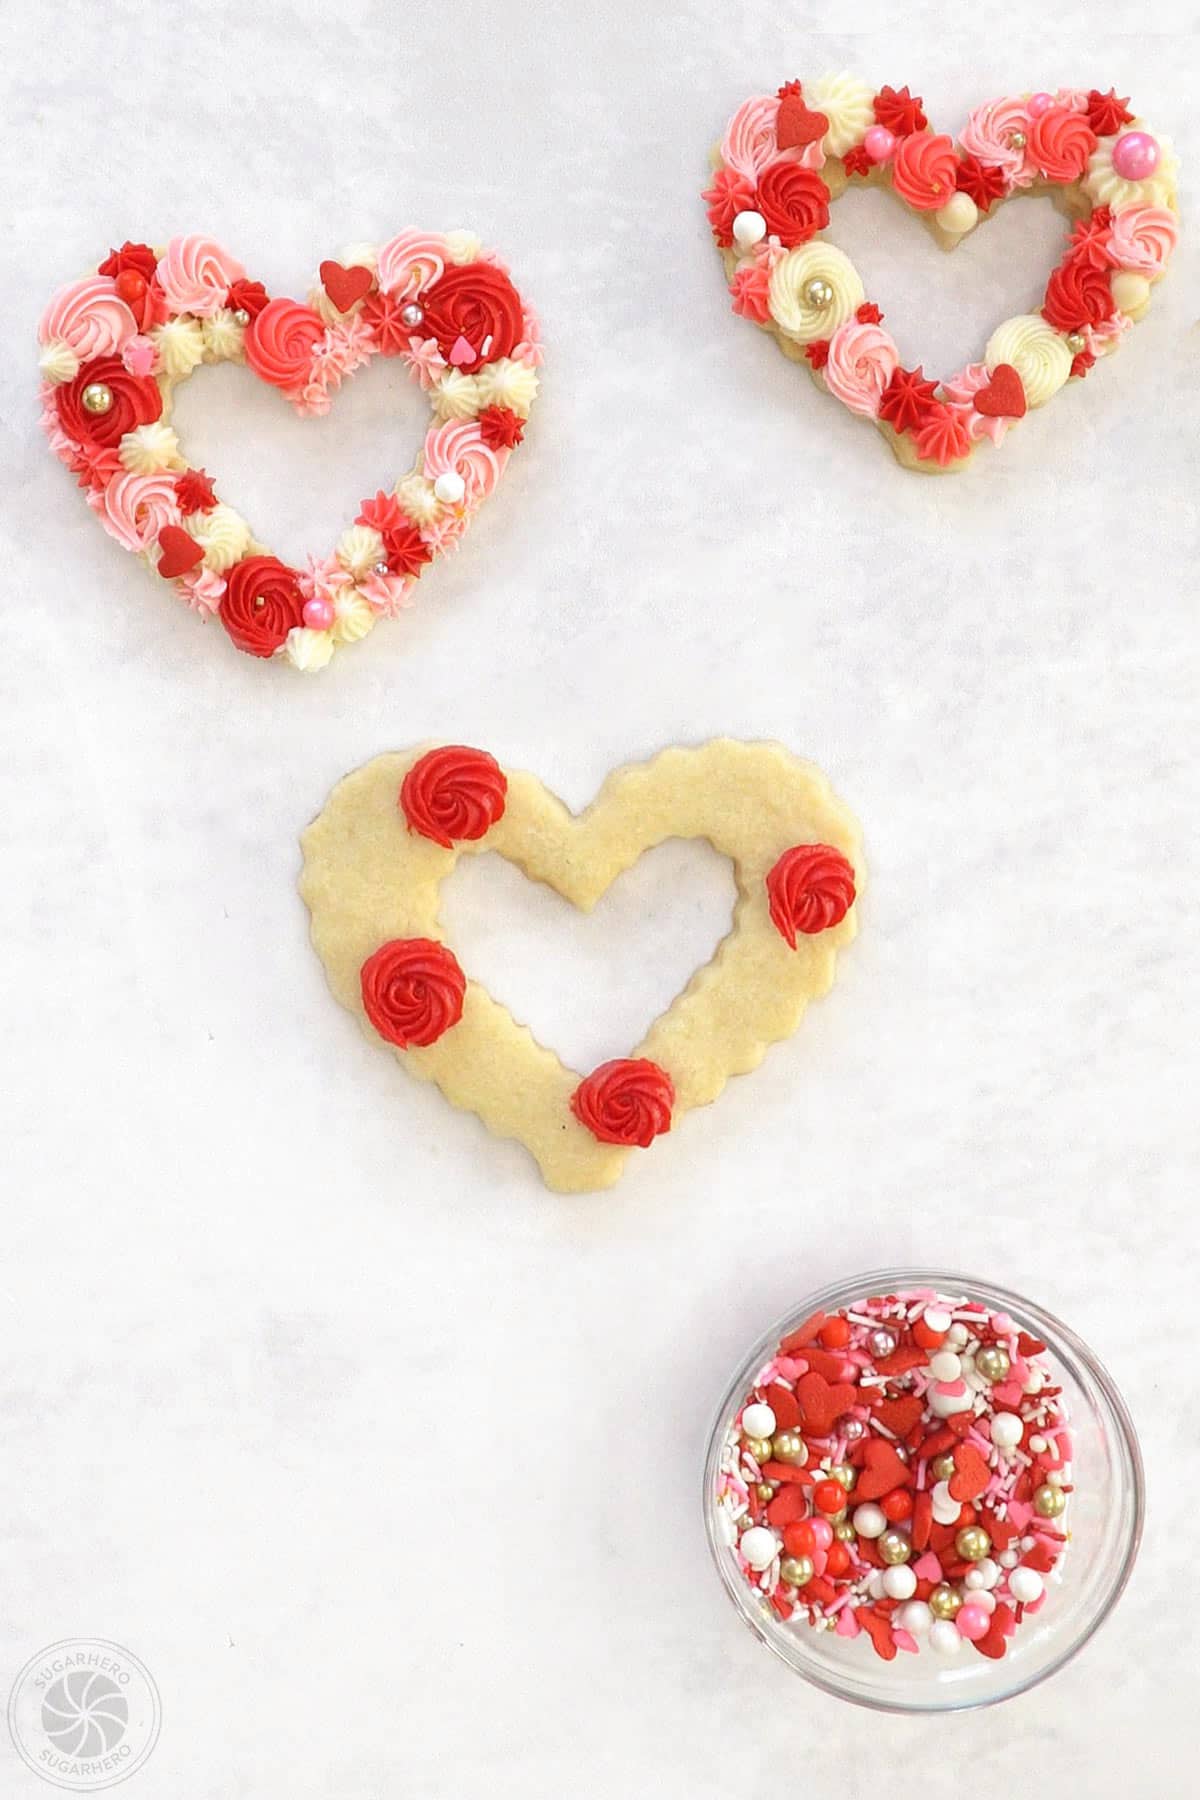
The recipe champions the use of a few essential frosting tips and a spectrum of buttercream hues. The accompanying visual guides showcase how a combination of colors, such as white, deep red, and various shades of pink, can be layered and combined to create visually engaging designs. The beauty of this particular decorating method is its inherent lack of rigidity. There is no single "correct" way to apply the frosting. Bakers are encouraged to embrace a playful approach, piping swirls, dots, and freeform lines of different colors adjacent to each other, ultimately covering the entire surface of the cookie. The addition of sprinkles provides a final flourish, transforming these intentionally "chaotic" creations into charming masterpieces. This emphasis on artistic freedom makes the process enjoyable and accessible, regardless of prior piping experience.

The Science Behind the Perfect Sugar Cookie Dough
The development of a truly "foolproof" cut-out sugar cookie recipe involves understanding the delicate balance of ingredients and their impact on dough behavior. Flour, specifically all-purpose flour, provides the structural framework. The ratio of flour to fat and sugar is critical; too much flour can lead to a tough cookie, while insufficient flour can result in cookies that spread excessively and lose their shape.
Fat, typically butter in this recipe, contributes to tenderness and flavor. Creaming butter with sugar introduces air into the mixture, which aids in leavening and creates a lighter texture. The sugar itself not only sweetens the cookie but also plays a role in its crispness and spread. Granulated sugar is preferred for its ability to create a finer crumb.
Eggs act as binders, adding moisture and richness. The inclusion of ingredients like vanilla extract enhances the overall flavor profile. The precise measurement of these components, often best achieved through weight rather than volume, is a cornerstone of consistent baking success. The dough’s chilling period is equally vital. Refrigeration solidifies the fat, preventing it from melting too quickly during baking and thus minimizing spread. This allows the cookies to retain their intricate cut shapes.
Crafting the Ideal Buttercream Frosting
American-style buttercream, a staple in home baking, is renowned for its simplicity, typically consisting of butter, powdered sugar, a liquid (like milk or cream), and a flavoring agent (such as vanilla extract). The key to achieving a pipeable consistency lies in the ratio of these ingredients and the method of preparation.
The butter must be softened but not melted, ensuring it creams properly. Powdered sugar, also known as confectioners’ sugar, contains cornstarch, which helps to stabilize the frosting. The amount of liquid added is crucial; too much will result in a runny frosting, while too little can make it stiff and difficult to pipe. Beating the frosting until it is light and fluffy incorporates air, contributing to a smooth texture and an appealing volume.
For decorating, the frosting needs to be of a medium consistency – not too stiff that it breaks when piped, nor too soft that it loses its shape. Many recipes achieve this by adjusting the liquid content or by adding a small amount of corn syrup, which adds shine and stability without significantly altering the flavor. The use of different piping tips, from small star tips for delicate rosettes and borders to round tips for dots and lines, allows for a wide range of decorative effects.

Ingredients and Equipment: A Comprehensive Guide
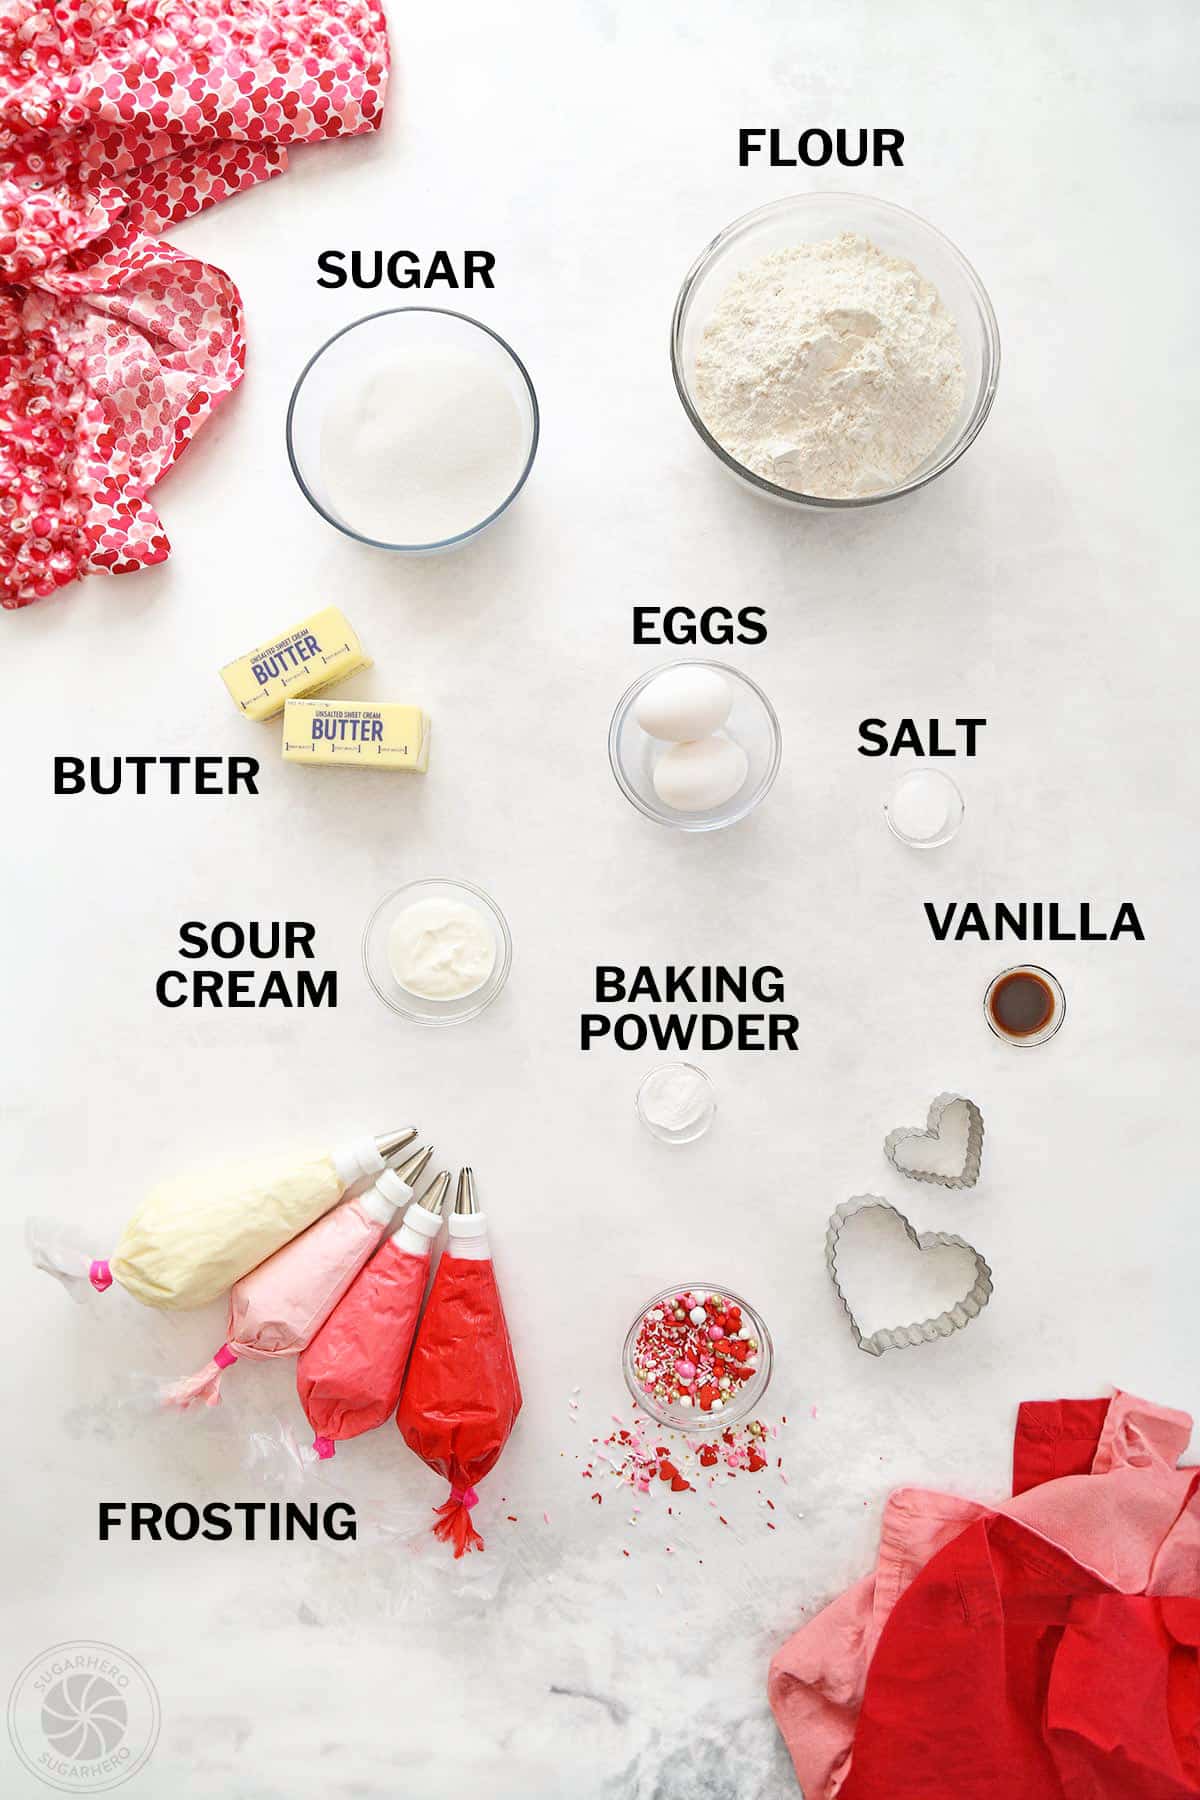
To embark on this baking journey, a specific set of ingredients and equipment is recommended.
For the Sugar Cookies:
- All-purpose flour
- Baking soda
- Salt
- Unsalted butter, softened
- Granulated sugar
- Large eggs
- Vanilla extract
- Sour cream (optional, for added tenderness)
For the Buttercream Frosting:
- Unsalted butter, softened
- Powdered sugar
- Milk or heavy cream
- Vanilla extract
- Food coloring (gel-based colors are recommended for vibrant hues without altering consistency)
Essential Equipment:
- Mixing bowls
- Electric mixer (stand or hand mixer)
- Measuring cups and spoons (or a kitchen scale for precision)
- Rolling pin
- Cookie cutters in desired shapes
- Baking sheets
- Parchment paper
- Piping bags
- Assorted piping tips (small star tips are particularly useful for this technique)
- Offset spatula
- Cooling racks
Step-by-Step Culinary Process
The creation of these decorated sugar cookies can be broken down into distinct stages, ensuring a systematic approach to achieve optimal results.
Phase 1: Crafting the Sugar Cookie Dough
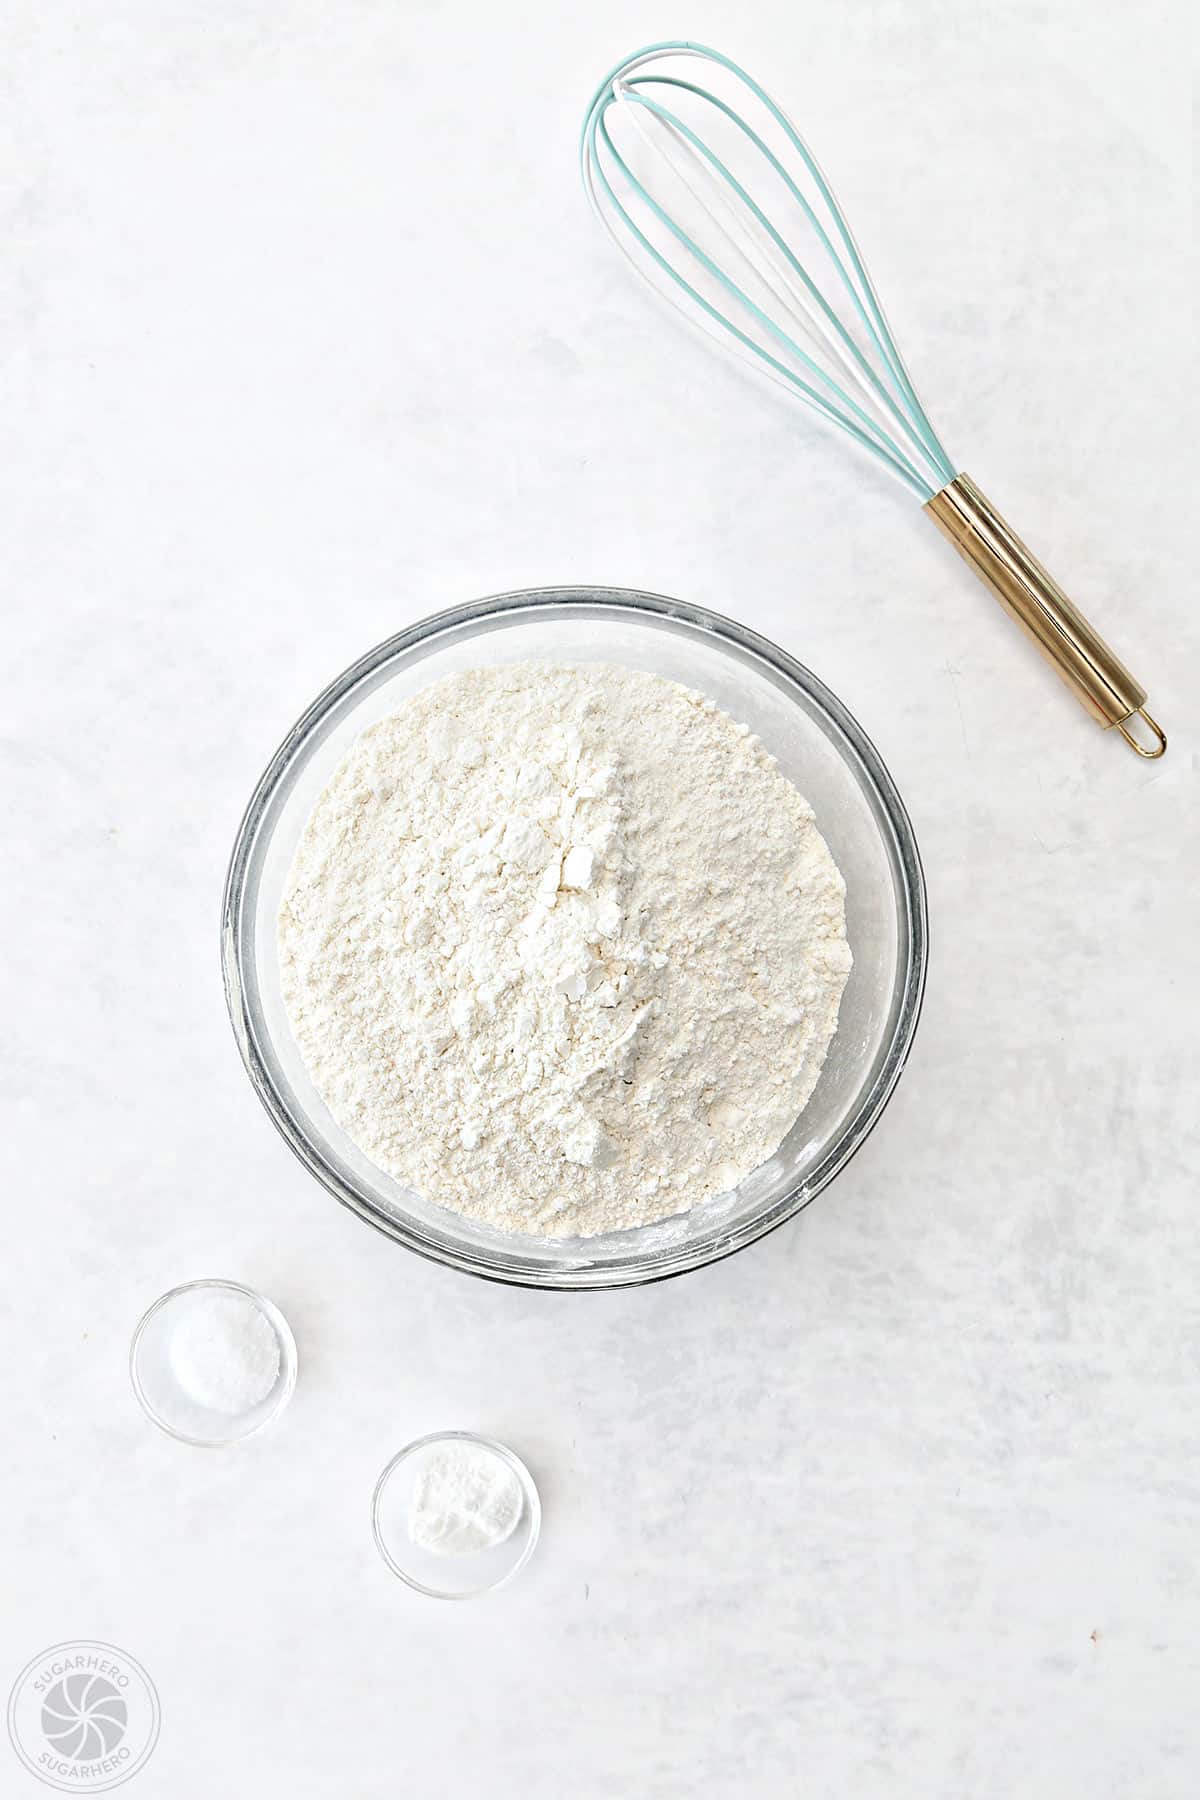
- Dry Ingredients: In a medium bowl, whisk together the all-purpose flour, baking soda, and salt. Set aside.
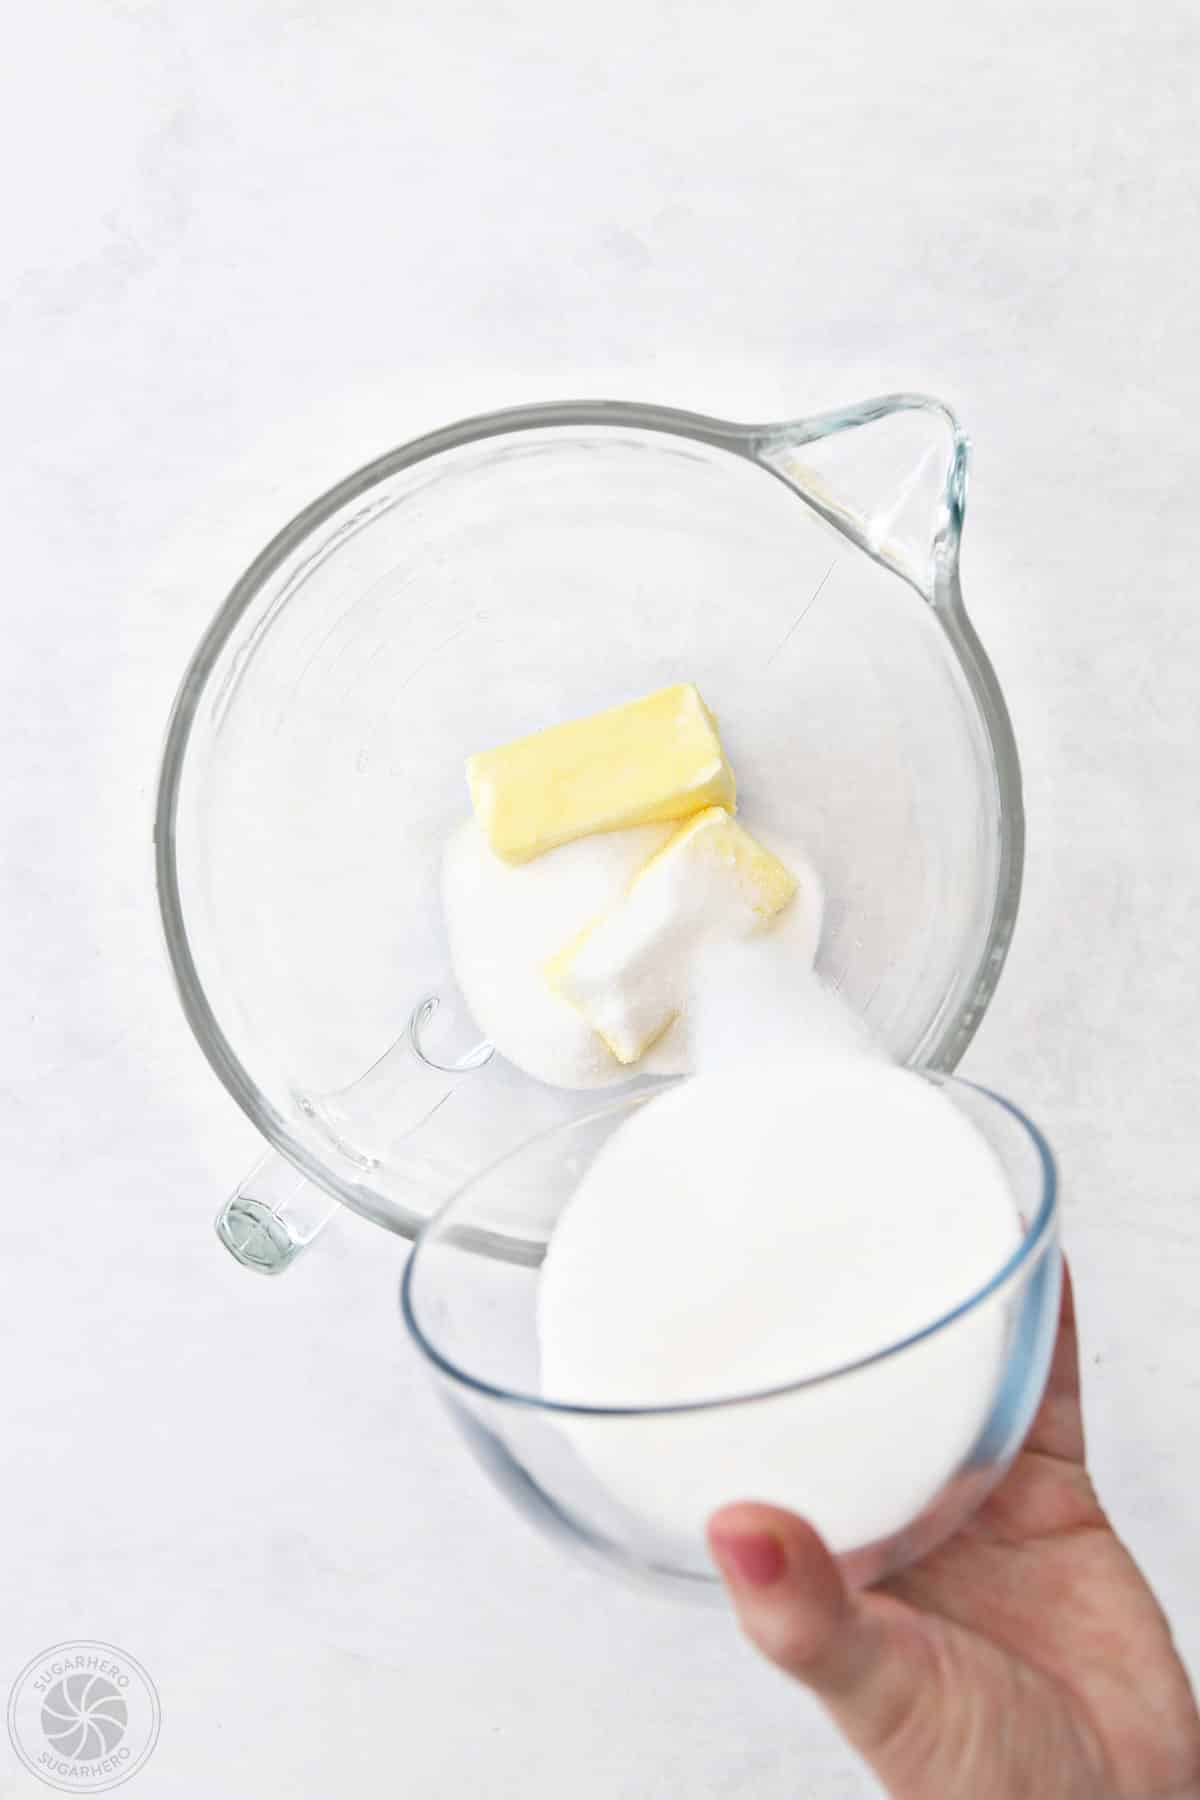
- Creaming: In a large bowl, cream together the softened unsalted butter and granulated sugar using an electric mixer until the mixture is light and fluffy. This process typically takes 3-5 minutes.
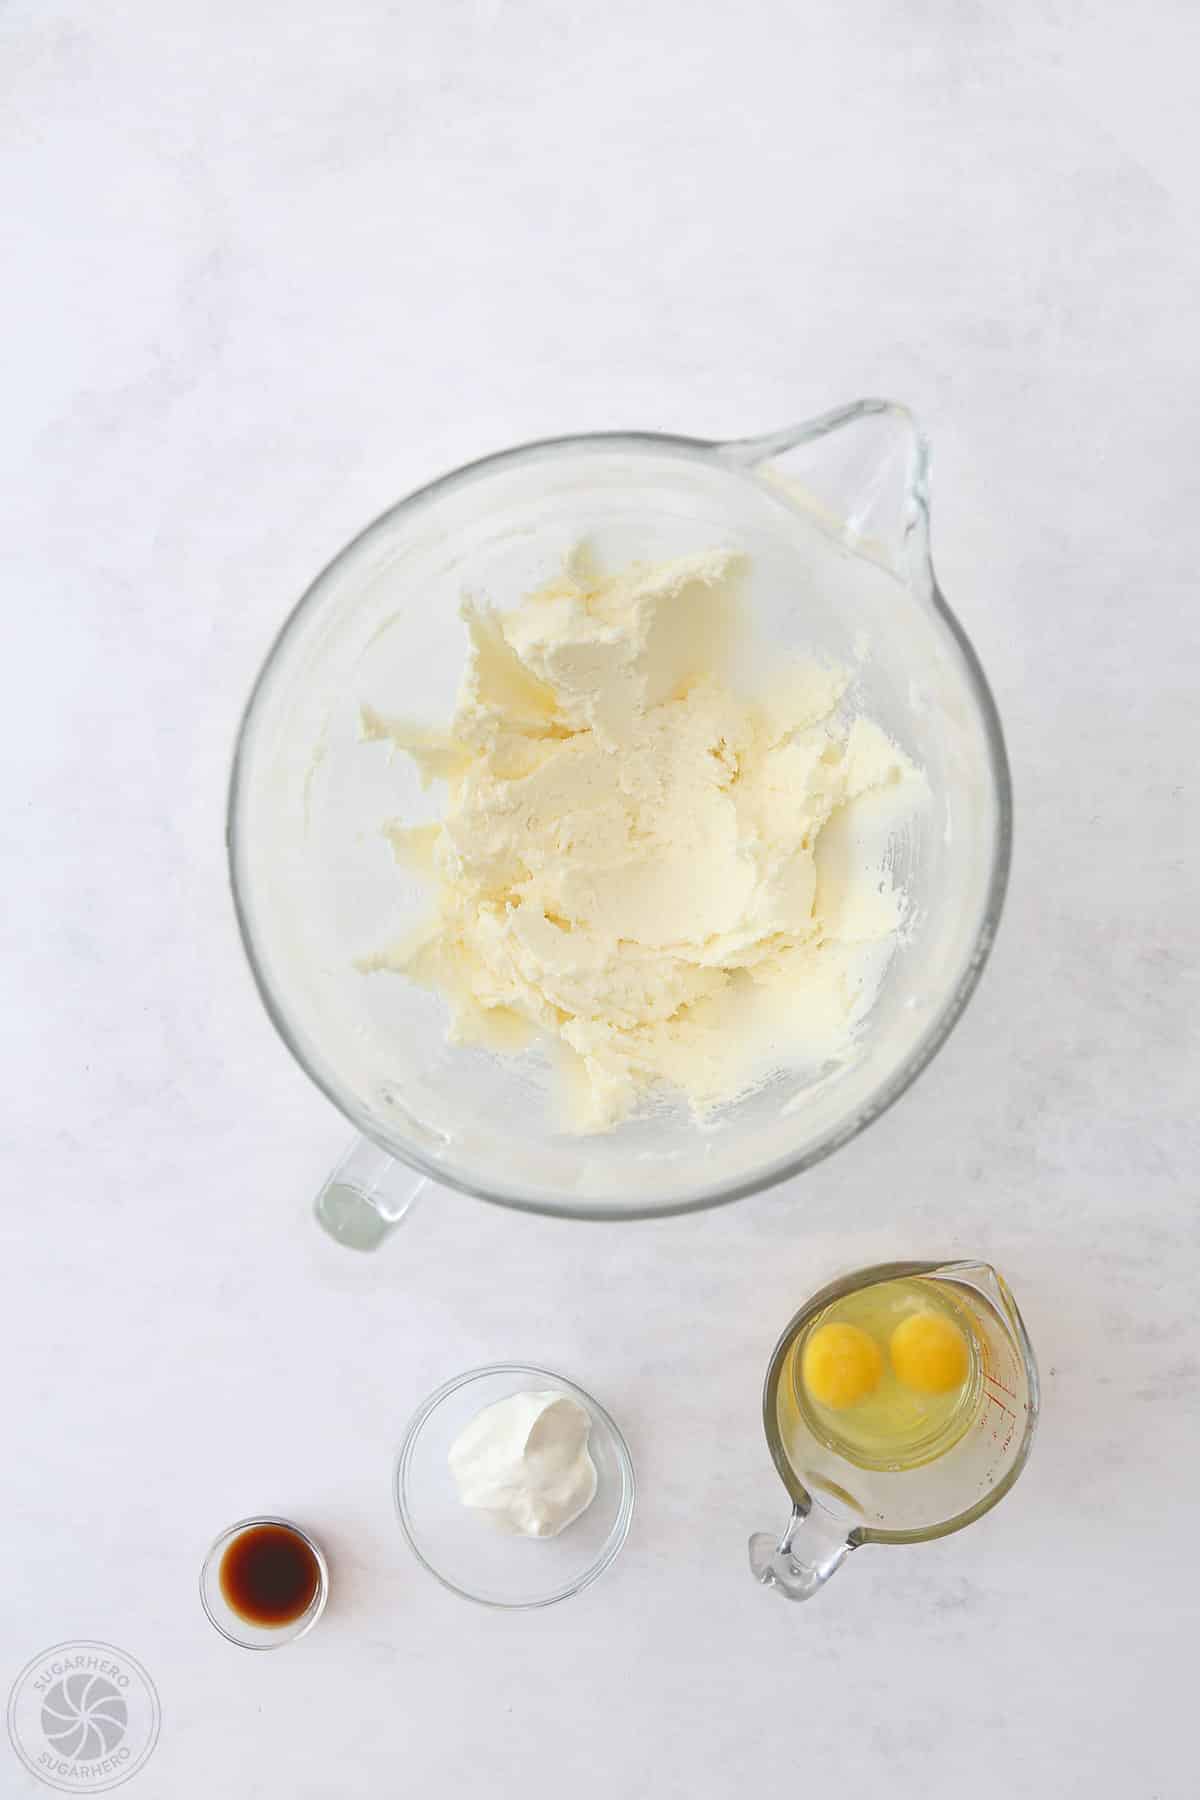
- Adding Wet Ingredients: Beat in the large eggs one at a time, ensuring each is fully incorporated before adding the next. Stir in the vanilla extract and sour cream, if using.
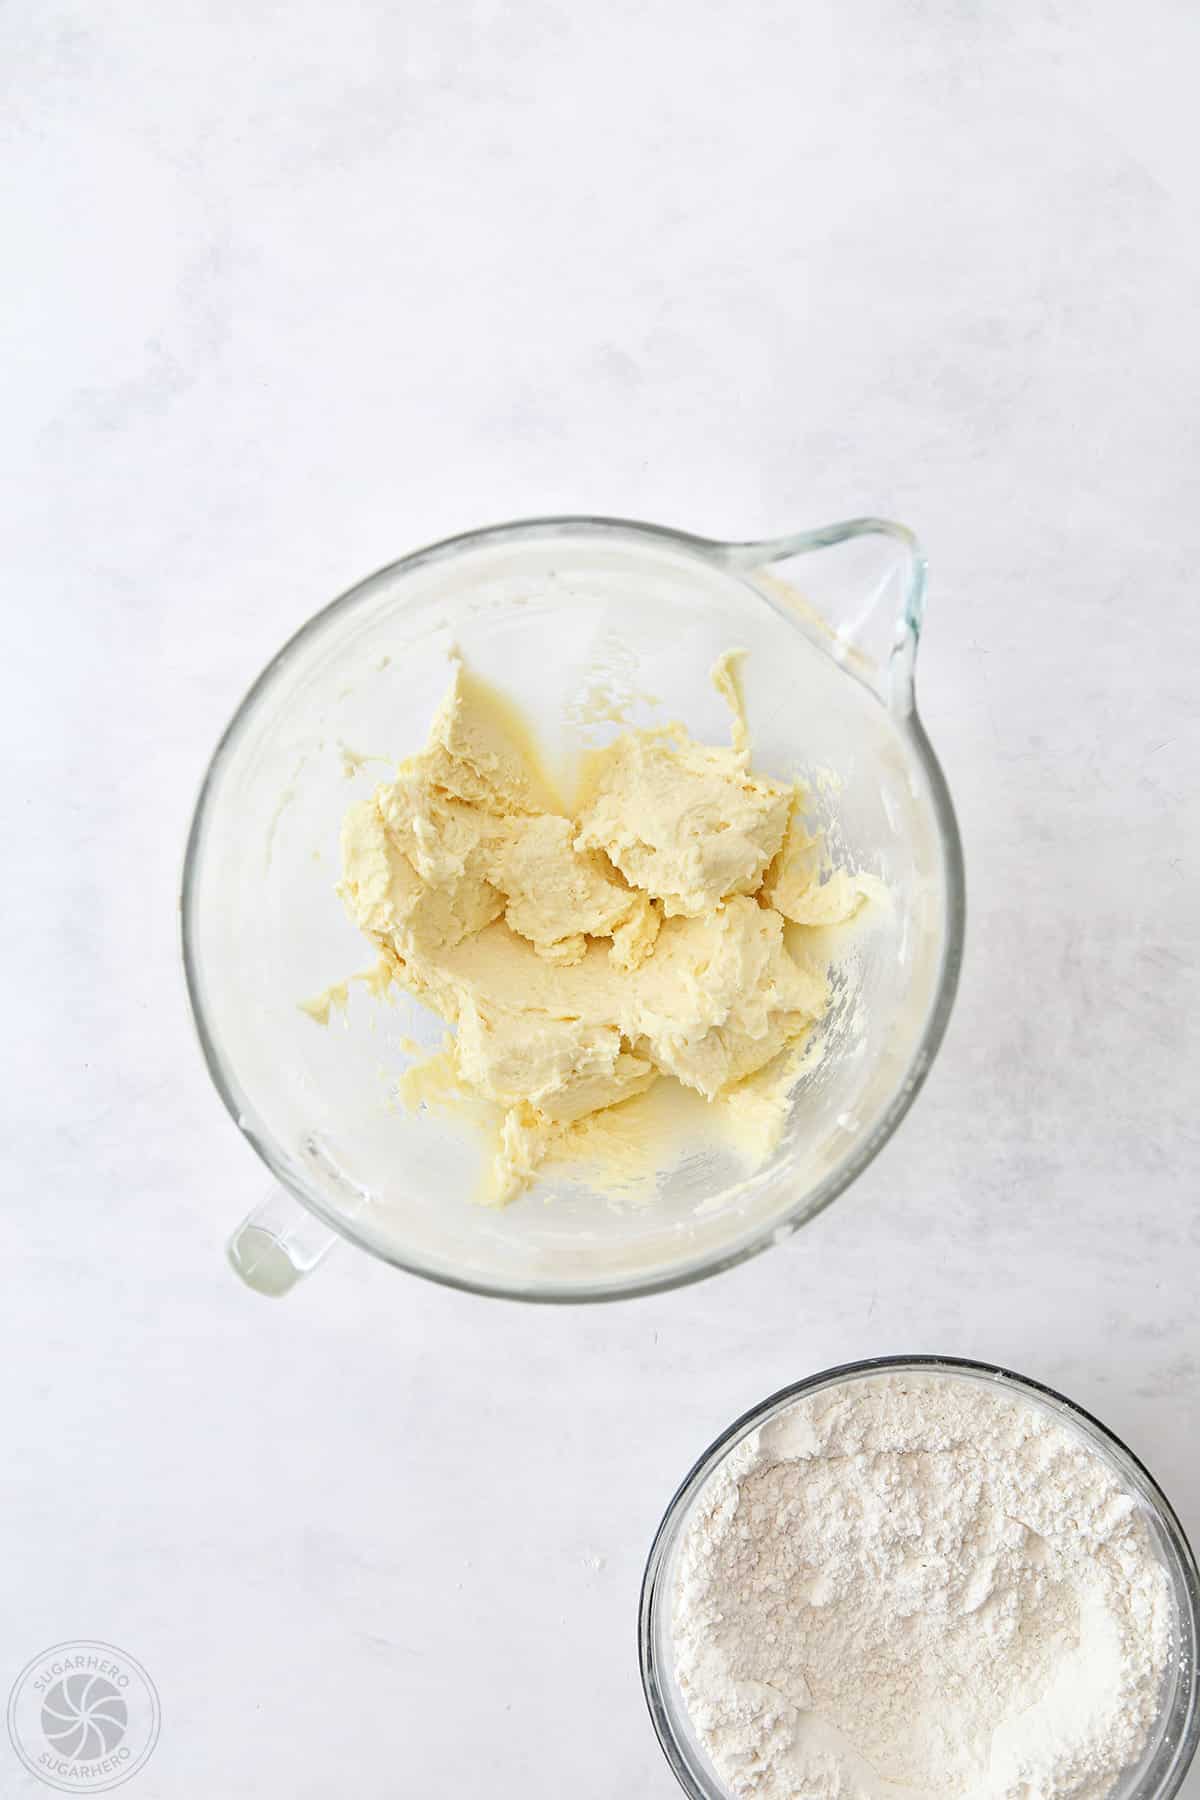
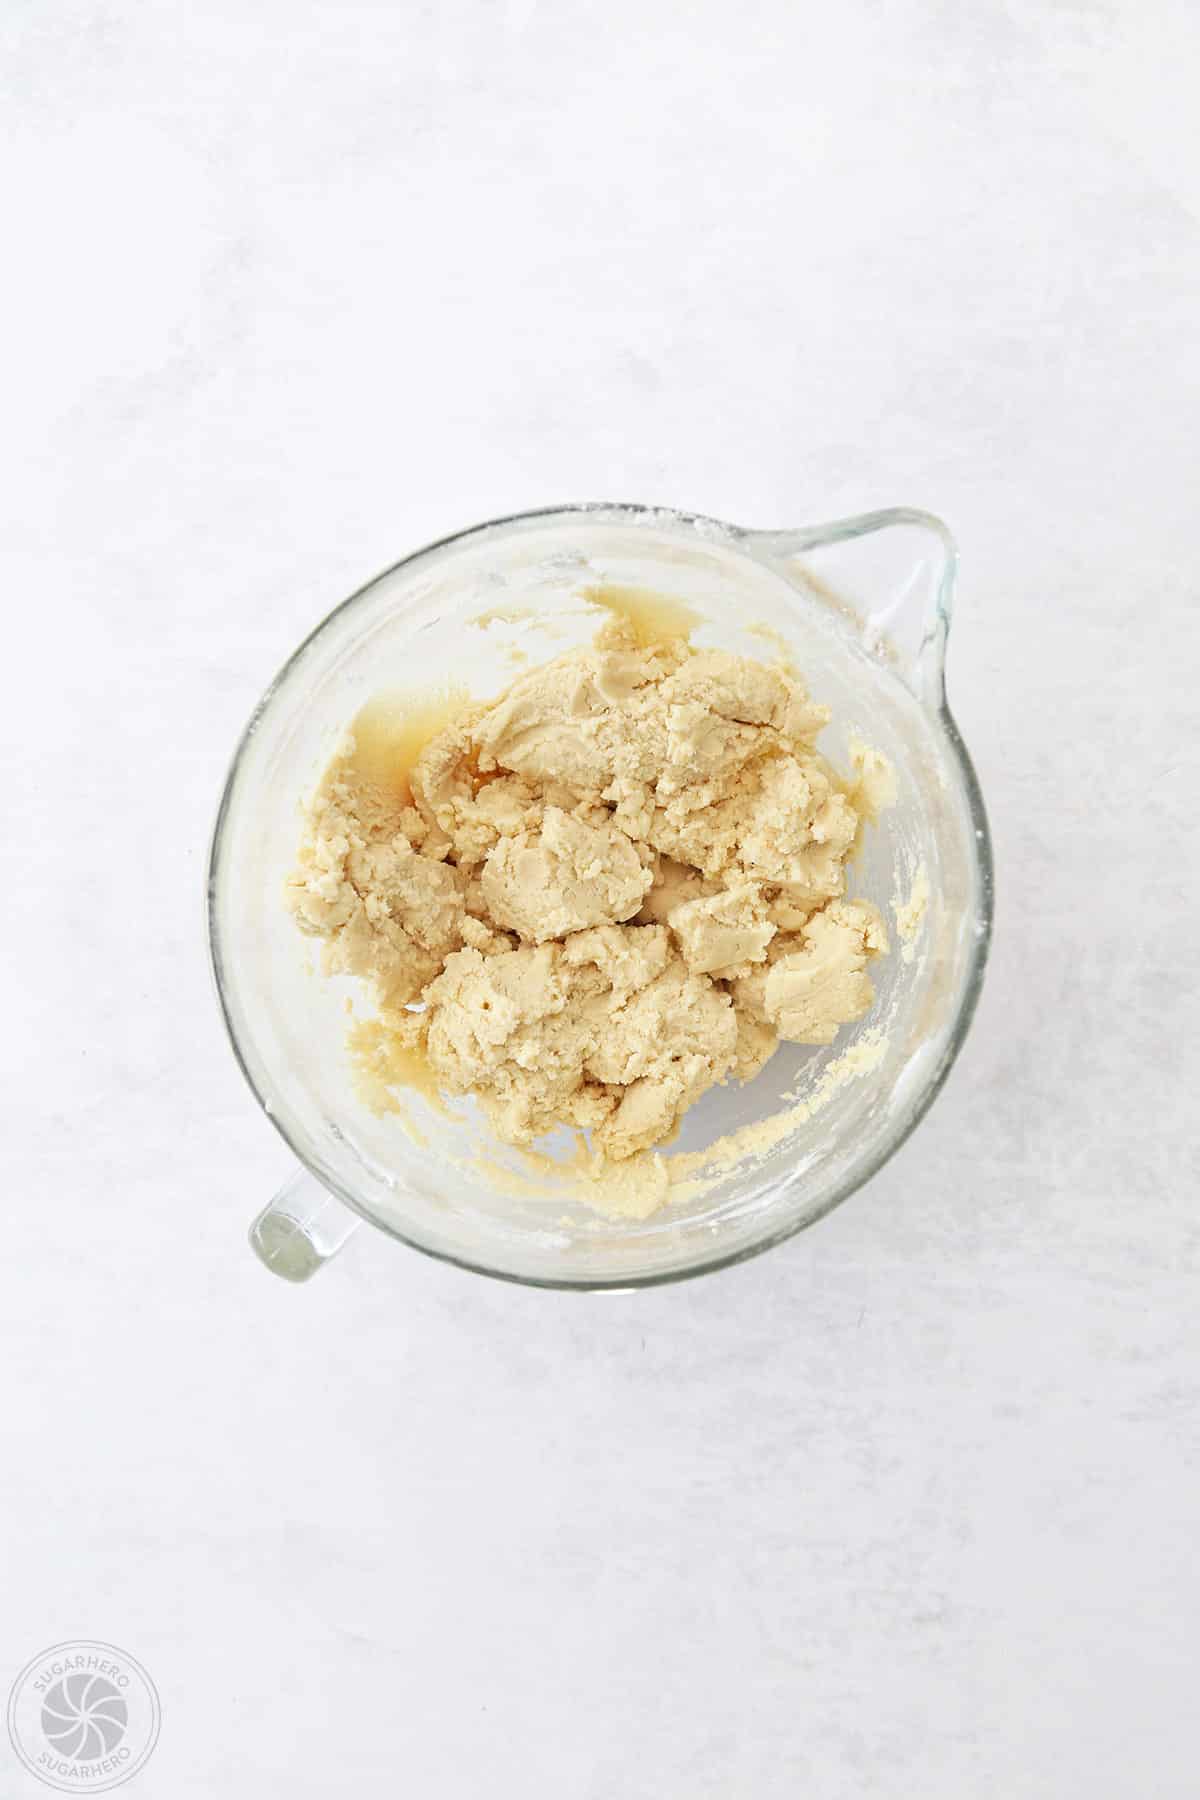
- Combining: Gradually add the dry ingredients to the wet ingredients, mixing on low speed until just combined. Be careful not to overmix, as this can develop the gluten in the flour, leading to tough cookies.
- Chilling the Dough: Divide the dough into two equal discs, flatten them slightly, wrap them tightly in plastic wrap, and refrigerate for at least 2 hours, or preferably overnight. This chilling period is crucial for firming the dough and preventing excessive spread during baking.
Phase 2: Baking the Perfect Cookies
- Preheating and Preparation: Preheat your oven to the temperature specified in the recipe (typically around 350°F or 175°C). Line baking sheets with parchment paper to prevent sticking and ensure even baking.
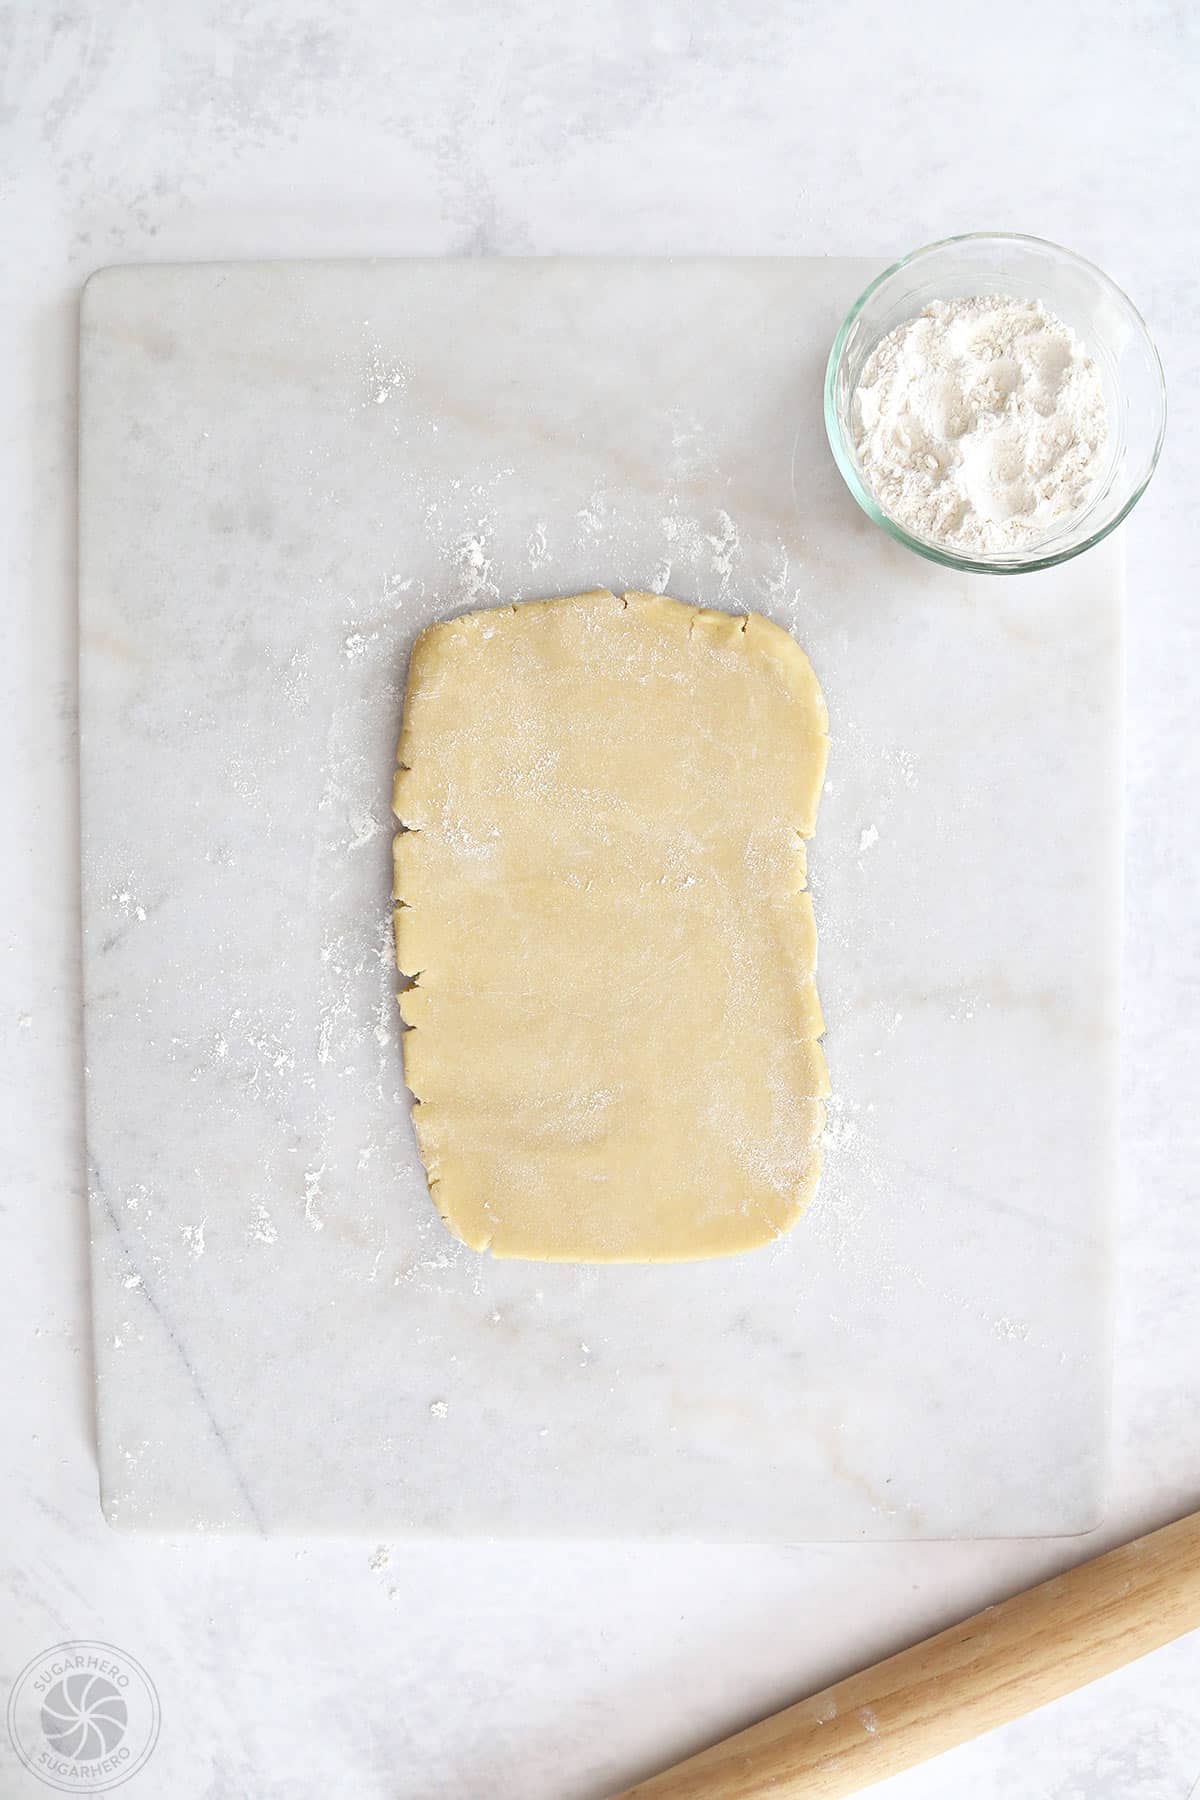
- Rolling the Dough: On a lightly floured surface, roll out one disc of chilled dough to a uniform thickness of about 1/4 inch. Consistent thickness is key for even baking and decorating.
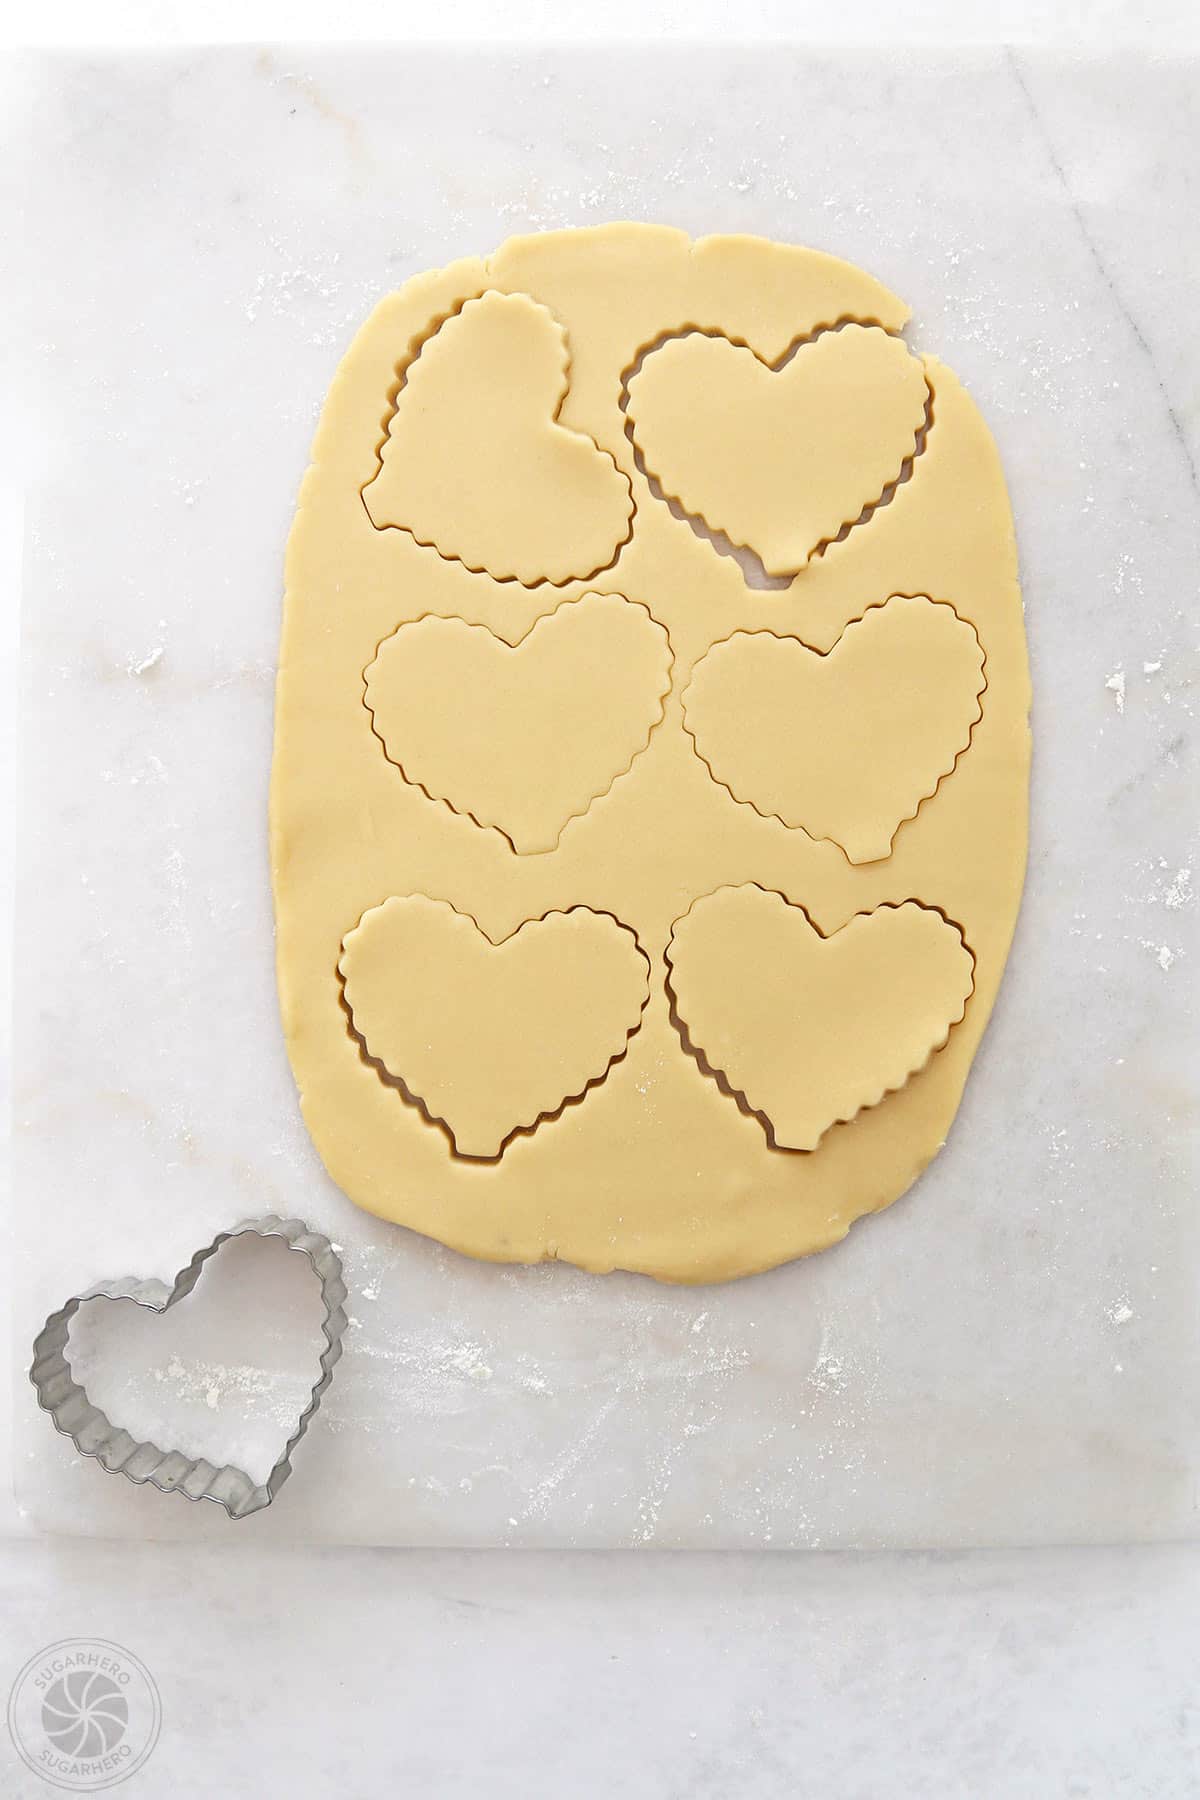
- Cutting Shapes: Use your desired cookie cutters to cut out shapes from the rolled dough. Re-roll scraps as needed, but avoid overworking the dough.
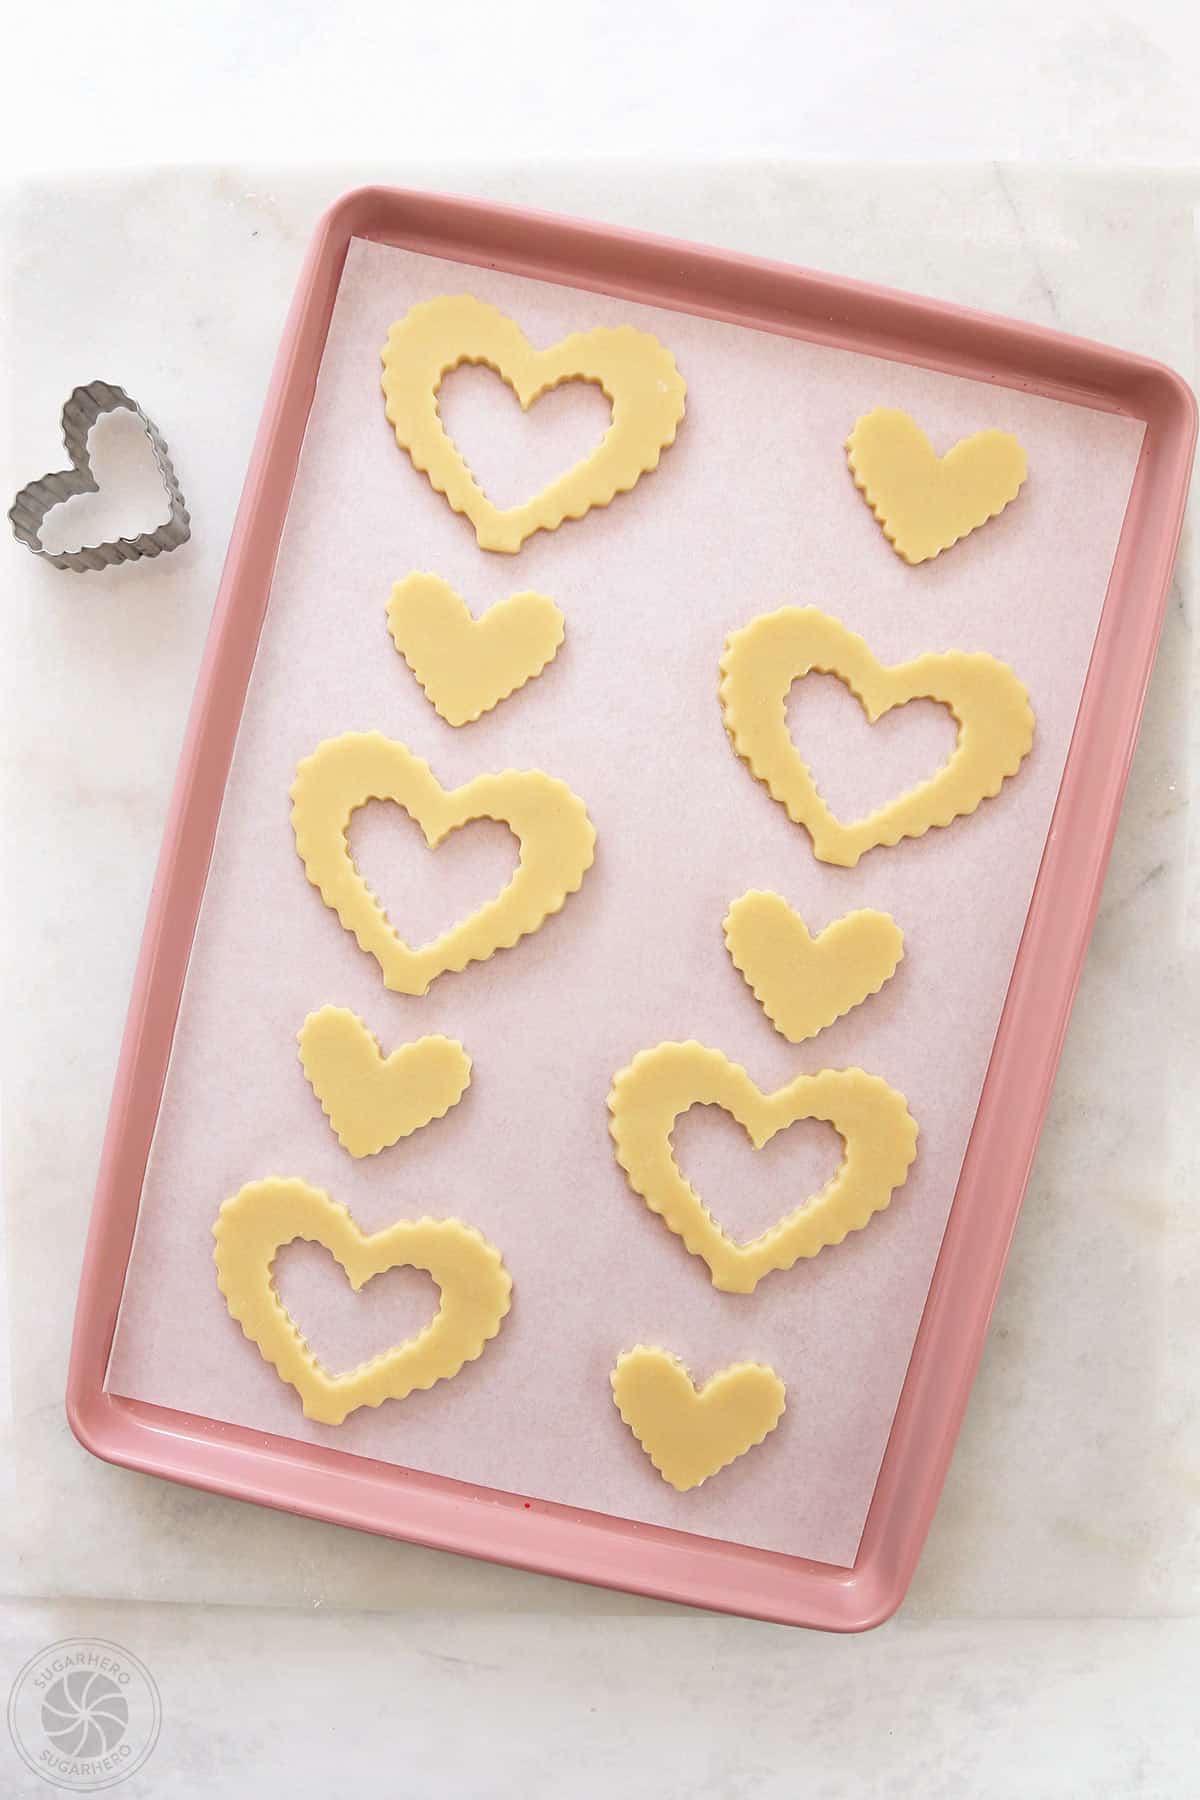
- Baking: Carefully transfer the cut-out cookies to the prepared baking sheets, leaving a small amount of space between them. Bake for 8-12 minutes, or until the edges are lightly golden brown. The exact baking time will vary depending on the size and thickness of the cookies and your oven.
- Cooling: Allow the cookies to cool on the baking sheets for a few minutes before transferring them to a wire rack to cool completely. It is imperative that the cookies are entirely cool before frosting to prevent the buttercream from melting.
Phase 3: Preparing the Buttercream Frosting
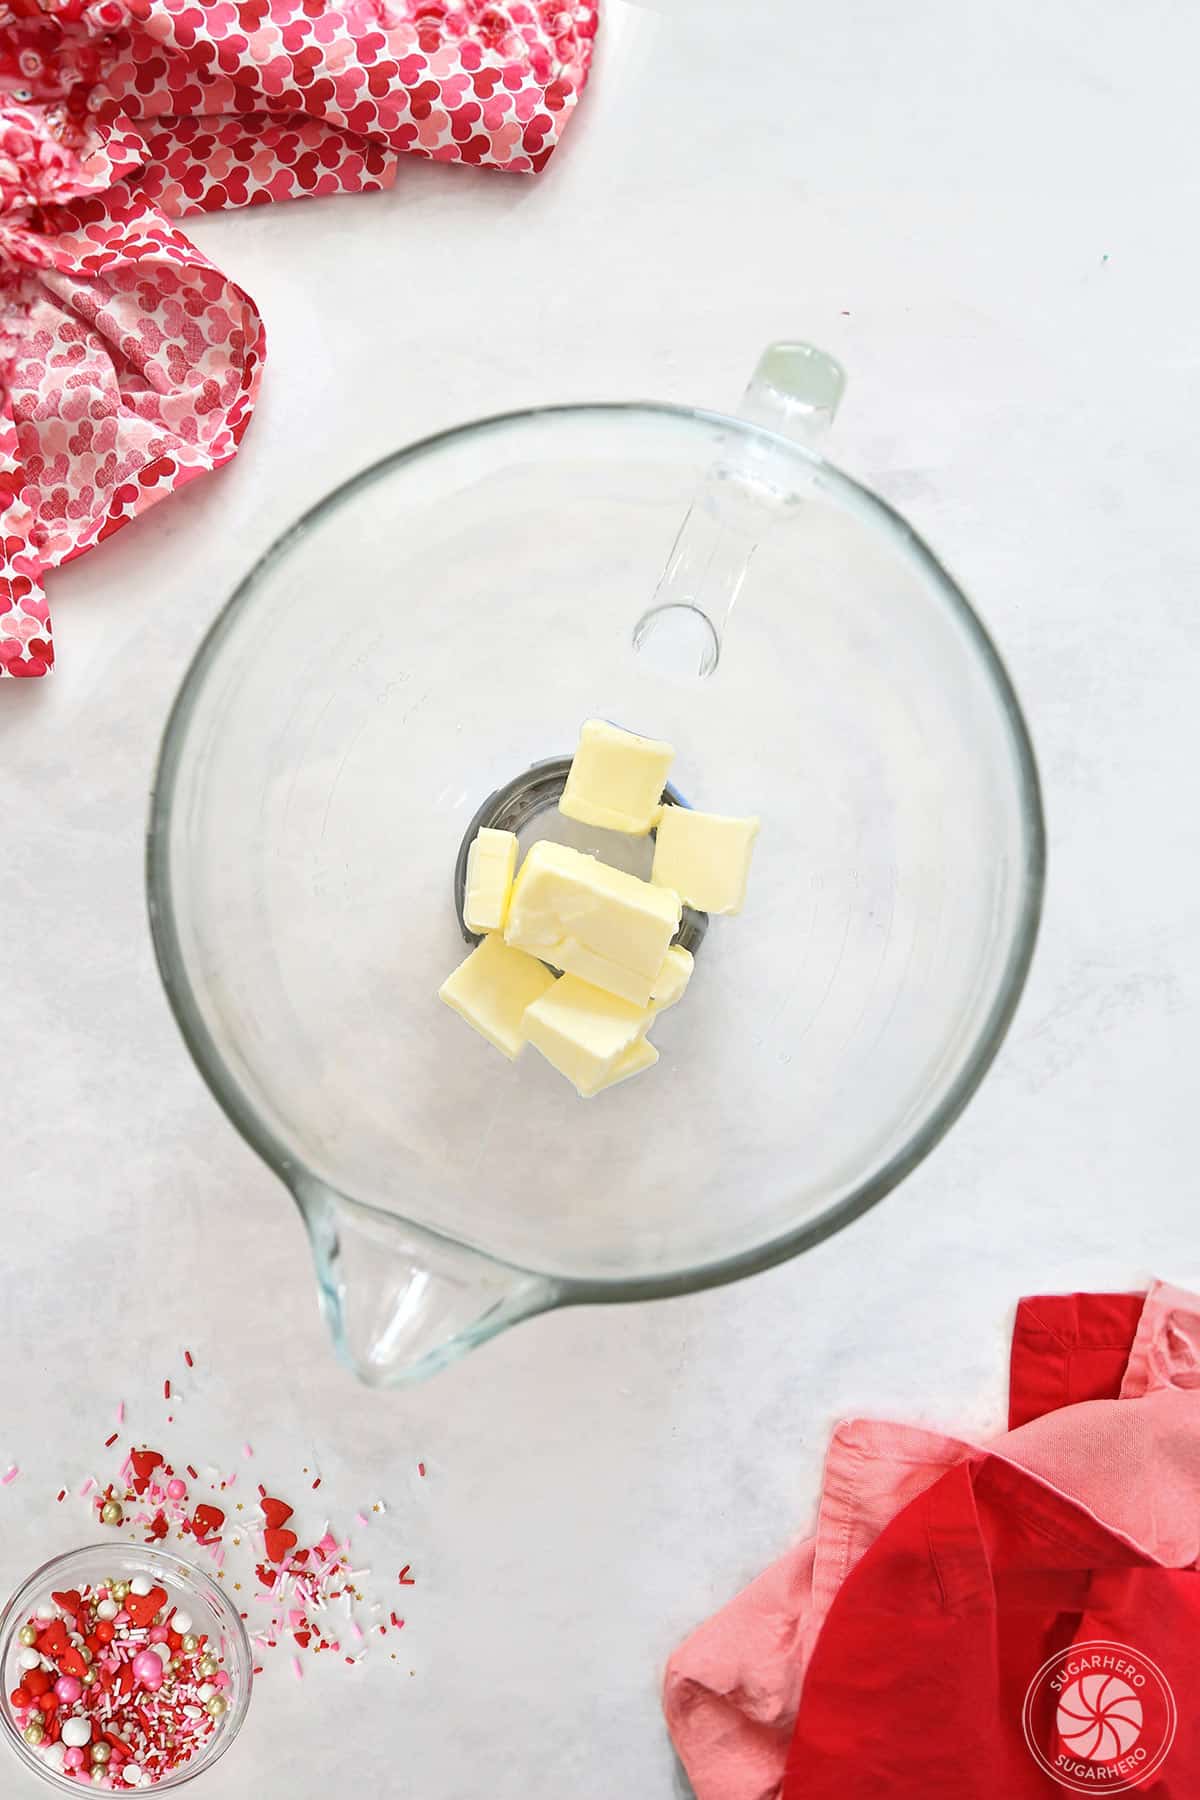
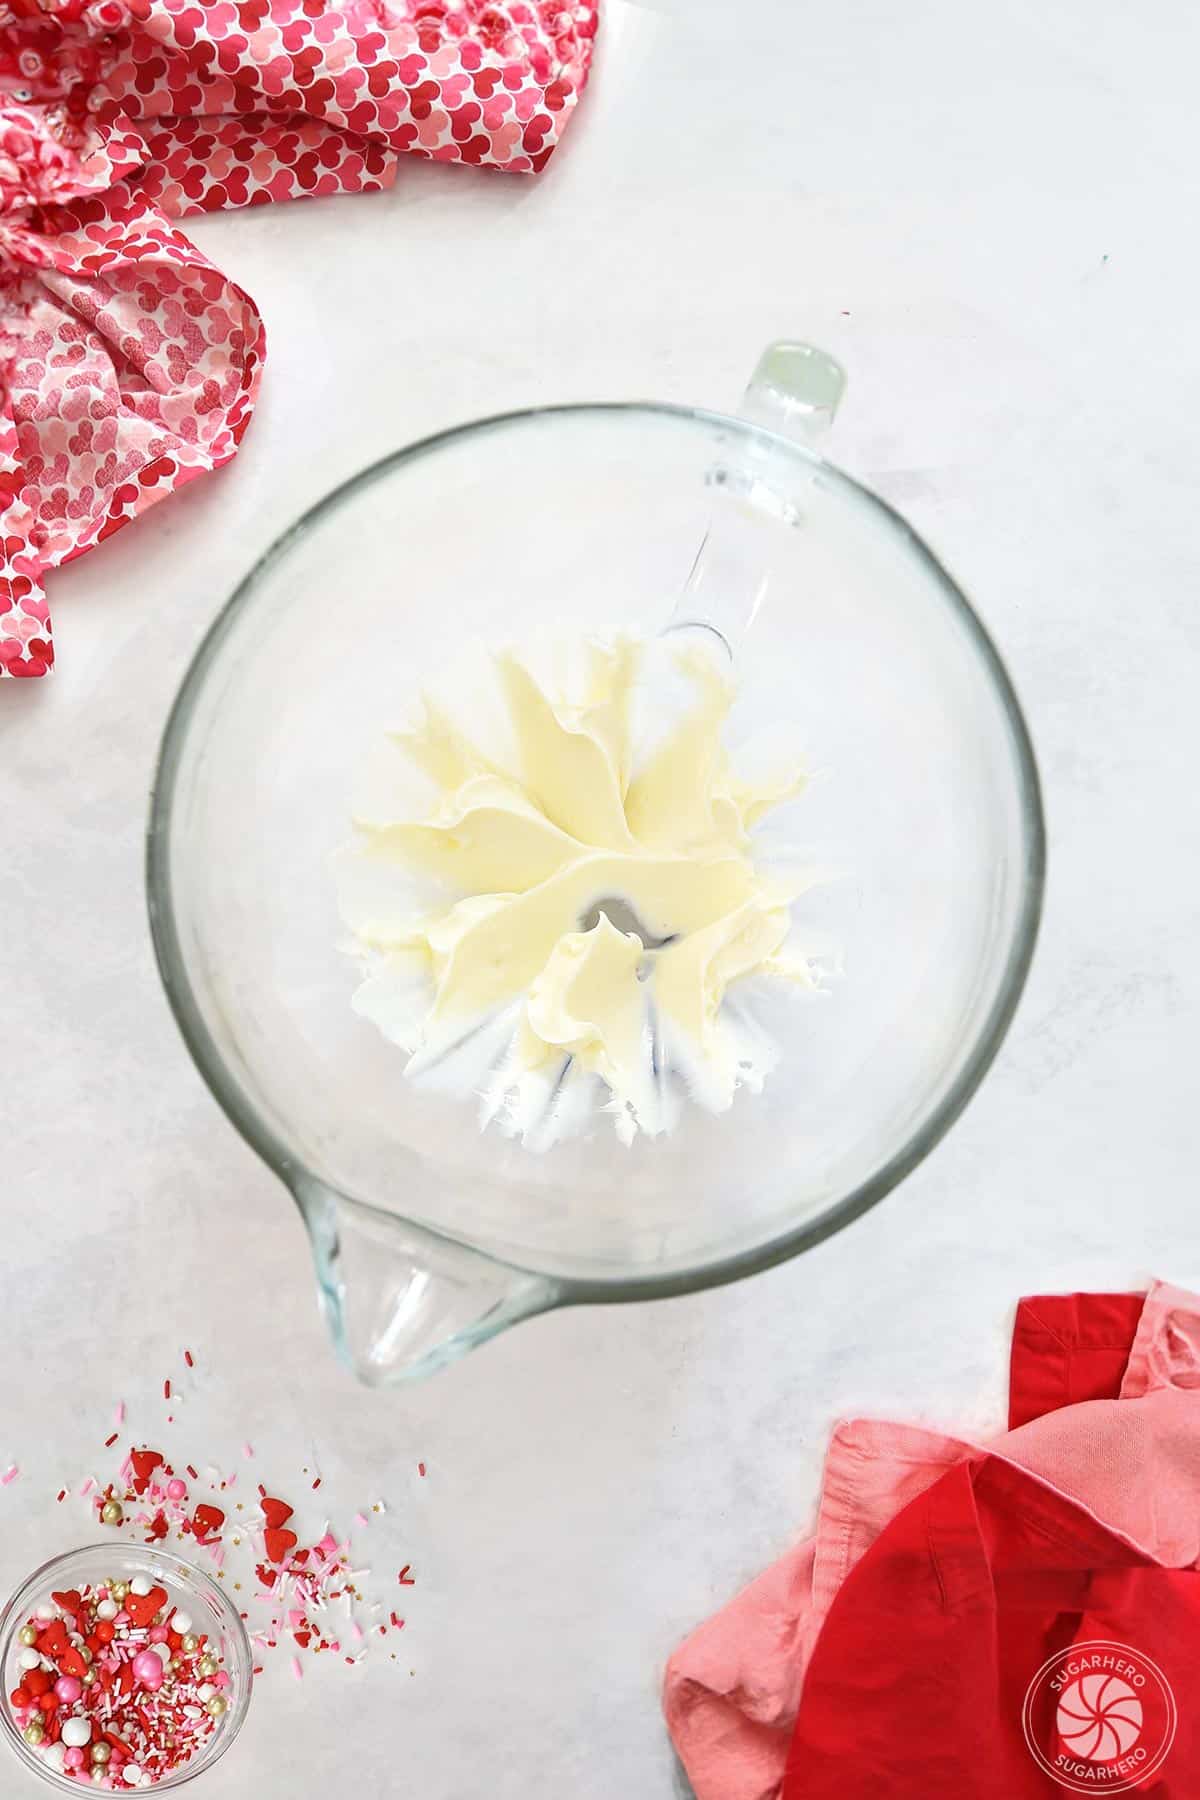
- Creaming the Butter: In a clean bowl, beat the softened unsalted butter with an electric mixer until it is smooth and creamy.
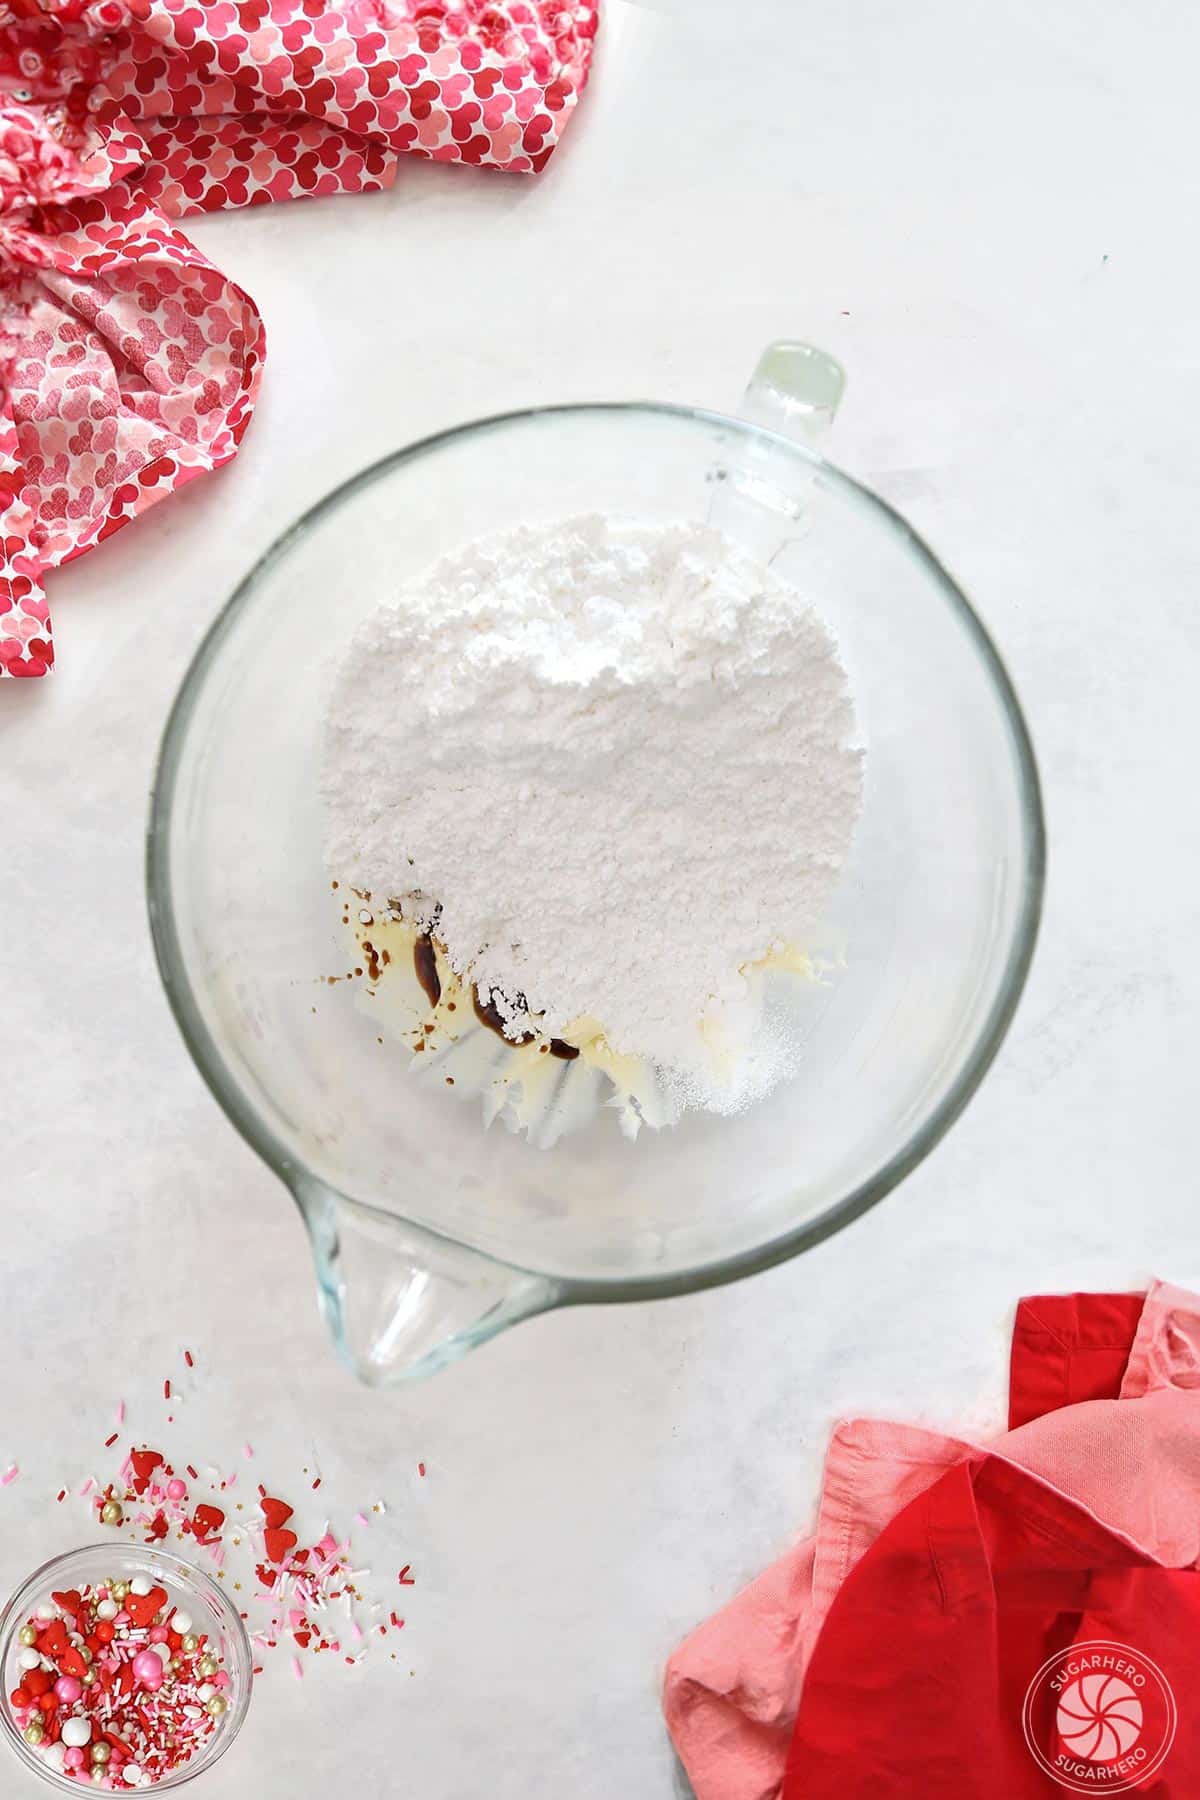
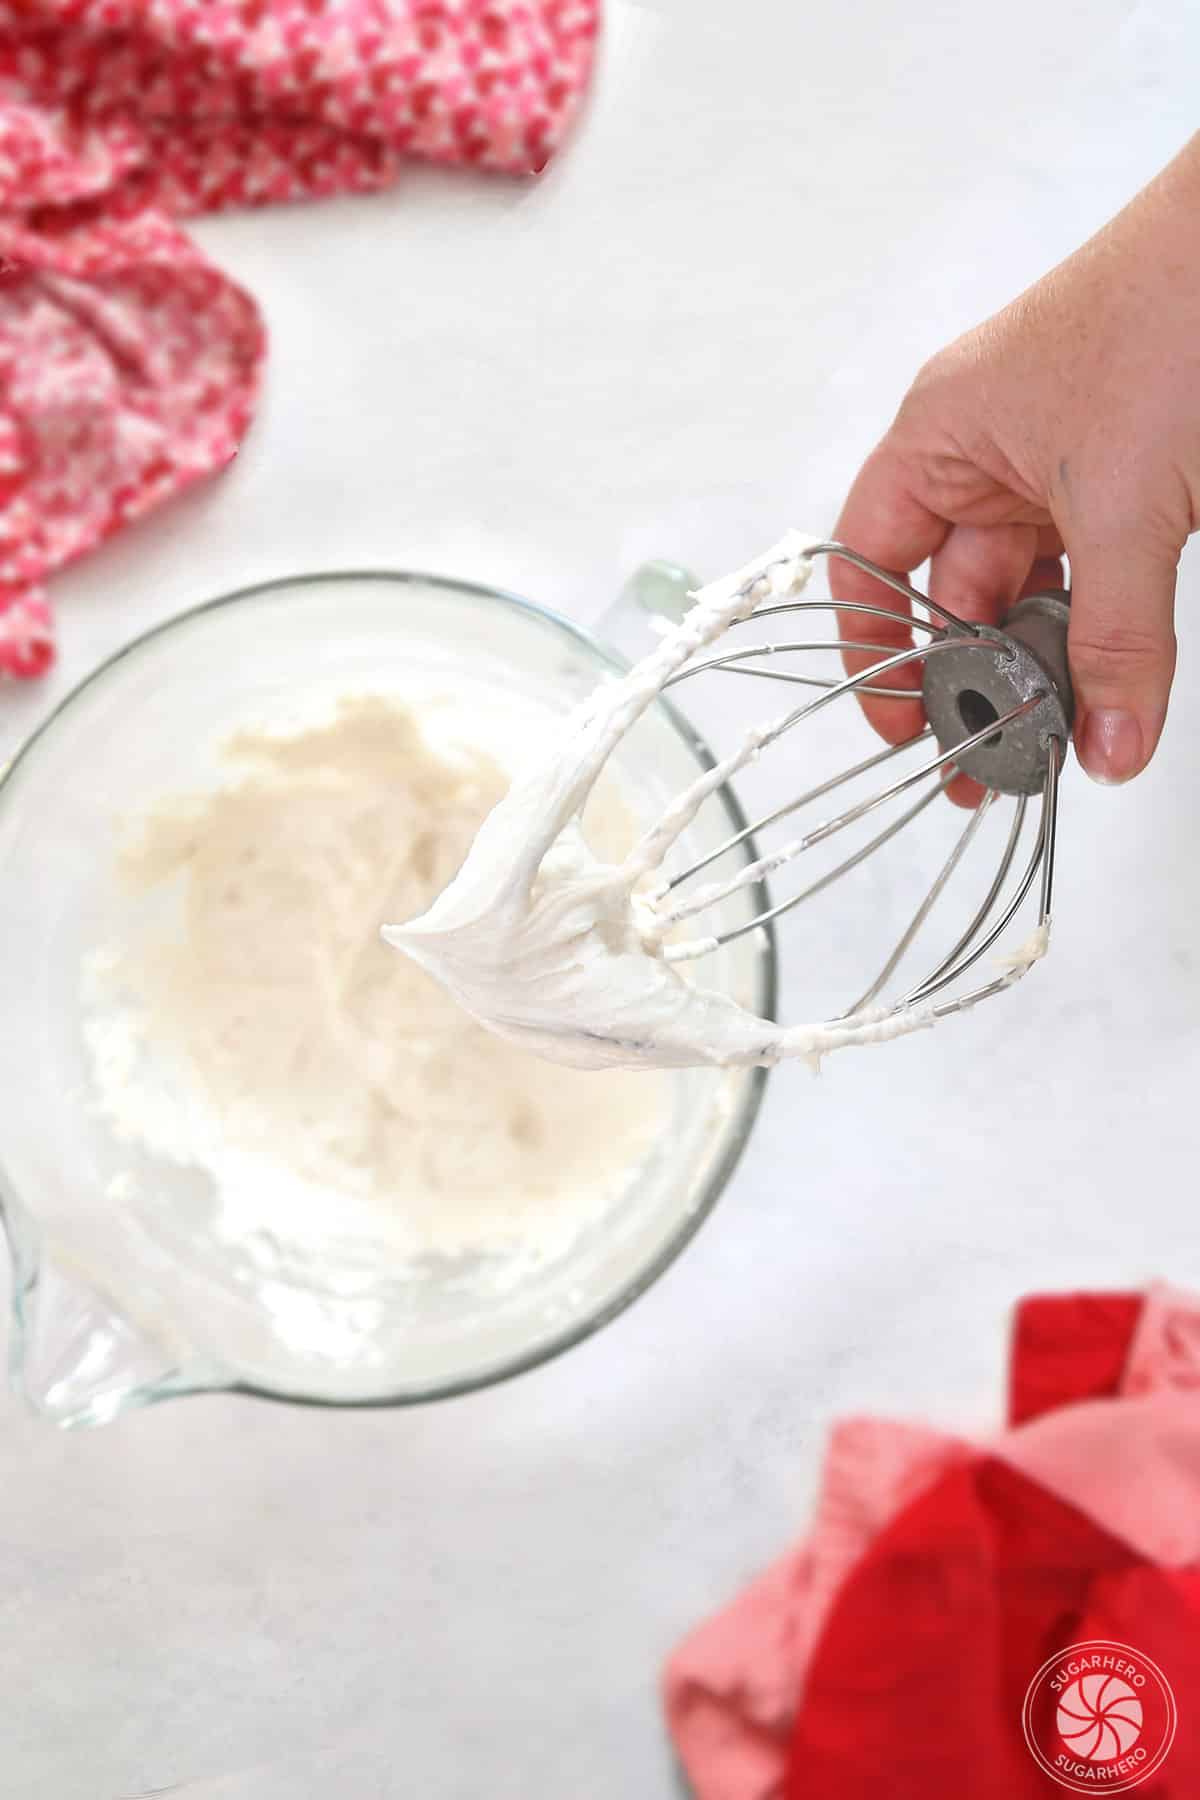
- Adding Powdered Sugar: Gradually add the powdered sugar, about one cup at a time, mixing on low speed until incorporated. Increase the speed to medium-high and beat until the mixture is light and fluffy.
- Achieving Consistency: Add the milk or cream, a tablespoon at a time, until the desired piping consistency is reached. Stir in the vanilla extract.
- Coloring the Frosting: Divide the buttercream into separate bowls and tint each portion with food coloring to achieve the desired palette. Gel food coloring is recommended for intense colors without adding excess liquid.
Phase 4: Decorating the Masterpieces
- Preparing Piping Bags: Fit piping bags with your chosen tips and fill them with the different colored buttercreams. Avoid overfilling the bags.
- The Art of Piping: Begin decorating the cooled cookies. Embrace a freeform approach. Pipe swirls, dots, lines, and rosettes of various colors next to each other, covering the surface of the cookie. There is no need for strict symmetry or precision. The beauty lies in the playful, almost abstract arrangement of colors and textures.
- Adding Sprinkles: While the frosting is still wet, generously sprinkle the decorated cookies with your favorite sprinkles for added visual appeal and texture.
- Setting: Allow the decorated cookies to sit at room temperature for at least 30 minutes to allow the frosting to set before storing or serving.
Nutritional Information and Yield Considerations
The provided recipe typically yields approximately 32 cookies, with variations depending on the size and complexity of the cut-out shapes used. For instance, larger cookies with cut-out centers will result in fewer cookies per batch compared to smaller, solid shapes.
A standard serving of these sugar cookies, based on the provided nutritional data, contains approximately 296 calories. This is broken down into roughly 45g of carbohydrates, 2g of protein, and 12g of fat, with saturated fat accounting for about 7g. The cookies also contain trace amounts of fiber and vitamins, with a significant portion of their sugar content derived from the cookie dough and buttercream frosting. These figures serve as an estimation and can vary based on ingredient brands and precise measurements.
Tips for Culinary Excellence
To further enhance the success of this sugar cookie recipe, several key tips are worth noting:

- Ingredient Quality: Using high-quality ingredients, particularly butter and fresh eggs, can significantly impact the final flavor and texture of the cookies.
- Dough Temperature: Maintaining the correct dough temperature is critical. If the dough becomes too warm while rolling and cutting, it can become sticky and difficult to handle. Chilling it again briefly can resolve this.
- Oven Calibration: Ovens can vary in temperature. Using an oven thermometer can ensure your oven is accurately calibrated, leading to more consistent baking results.
- Cooling Completely: Patience is a virtue in baking. Ensuring cookies are thoroughly cooled before decorating is non-negotiable for successful frosting application.
- Frosting Consistency: The consistency of the buttercream is paramount for piping. If it is too stiff, add a tiny bit more liquid; if too soft, add a bit more powdered sugar.
- Storage: Store decorated cookies in an airtight container at room temperature. They can typically be kept fresh for several days.
A Note on Baking Measurements
It is important to acknowledge that the precision of baking often hinges on accurate measurements. While volume measurements (cups) are provided for convenience, weight measurements (grams or ounces) offer superior accuracy, especially for dry ingredients like flour. The adage "8 ounces equals 1 cup" is a common simplification that does not hold true for all ingredients, particularly those with varying densities. For bakers aiming for the utmost consistency, investing in a kitchen scale is highly recommended.
Conclusion
This comprehensive guide to creating perfect sugar cookies with easy buttercream frosting offers a pathway to achieving impressive results in the home kitchen. By understanding the fundamental principles of cookie dough and buttercream formulation, and by following a systematic approach, bakers of all skill levels can confidently create these delightful treats. The emphasis on a forgiving decorating technique ensures that the process is as enjoyable as the final product, making these cookies a perfect choice for holidays, celebrations, or simply a sweet indulgence. The ability to transform simple ingredients into beautifully decorated cookies empowers bakers and brings a touch of professional artistry into everyday baking.