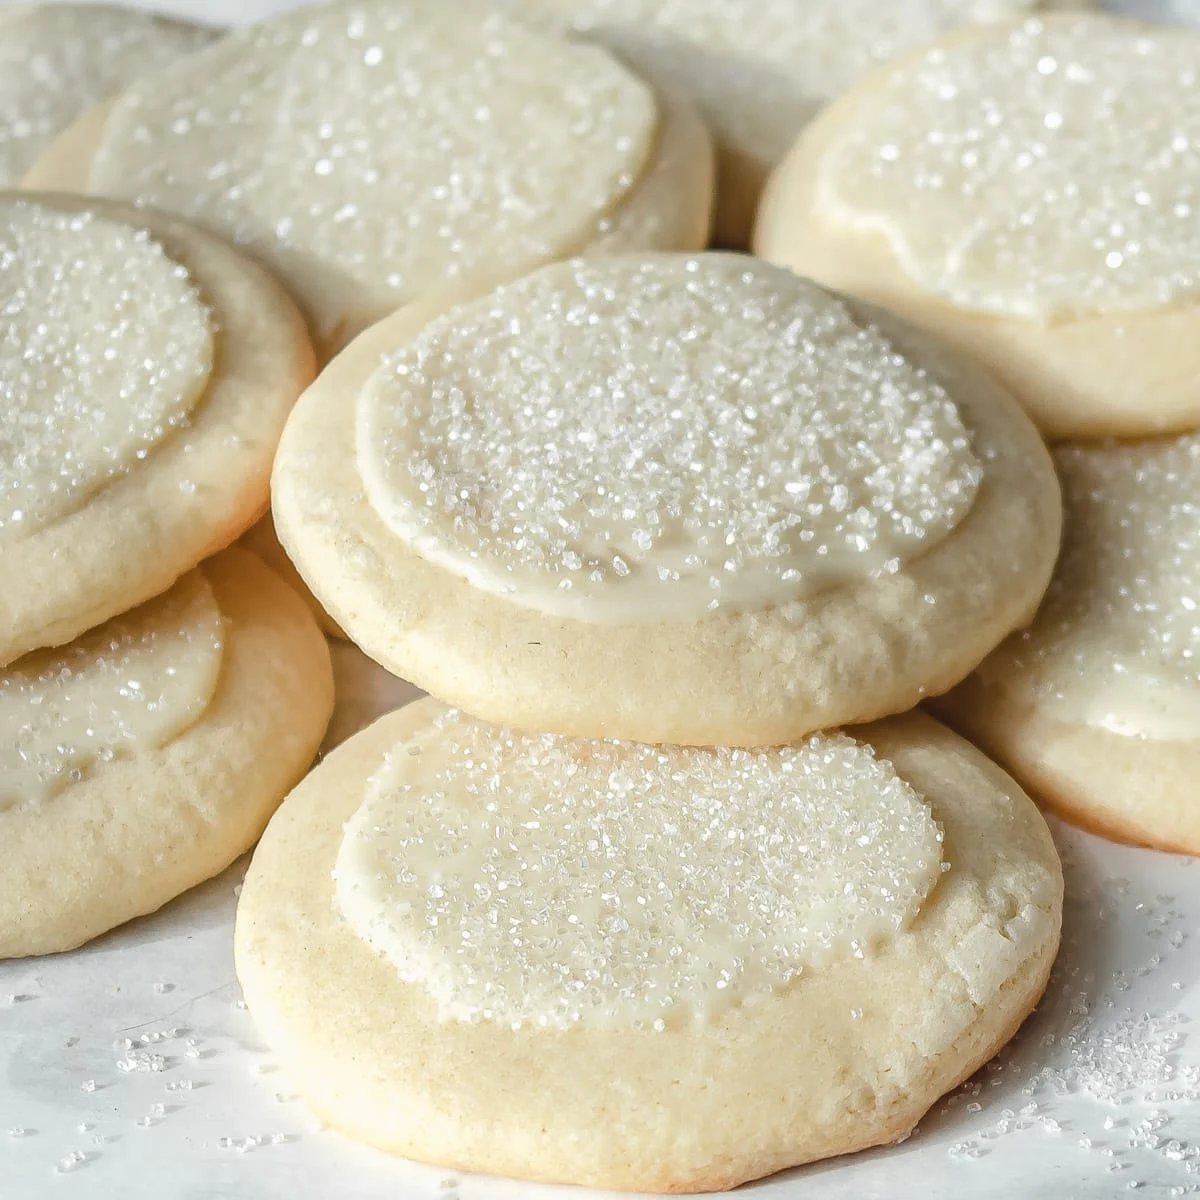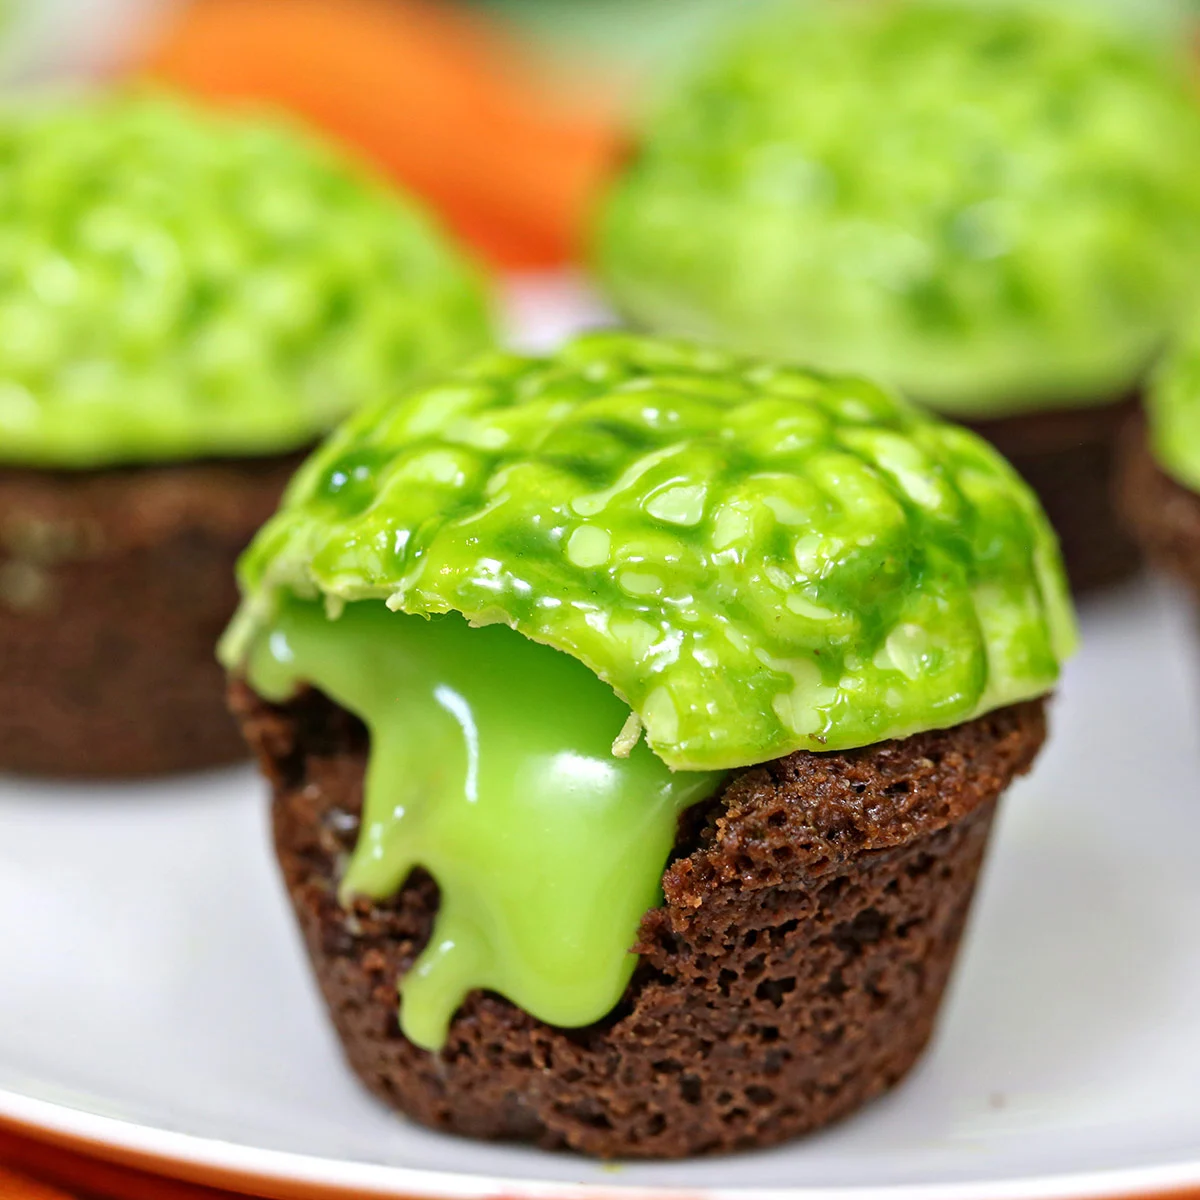
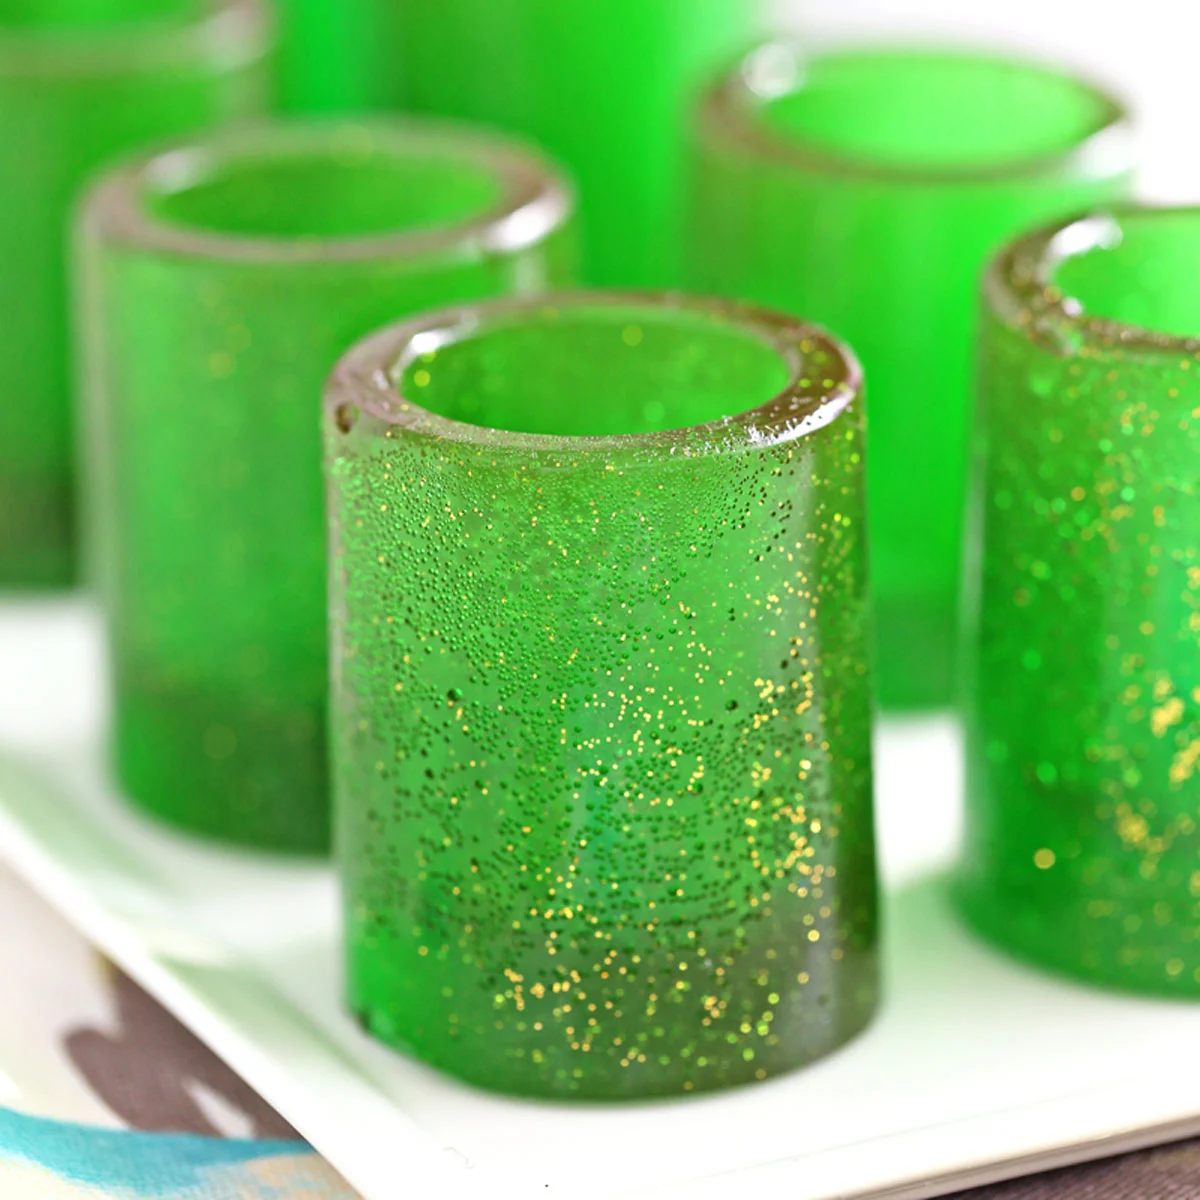
The culinary world is abuzz with the transformative potential of edible sugar glass, a versatile ingredient that is revolutionizing dessert decoration. This advanced technique, once considered the domain of seasoned confectioners, is now accessible to home bakers, offering a pathway to create visually stunning and structurally intriguing edible art. From delicate windows in gingerbread houses to dramatic shards gracing Halloween cupcakes, this clear, hard candy provides a unique textural and aesthetic dimension previously unattainable for many.
The Rise of Edible Sugar Glass: From Novelty to Necessity
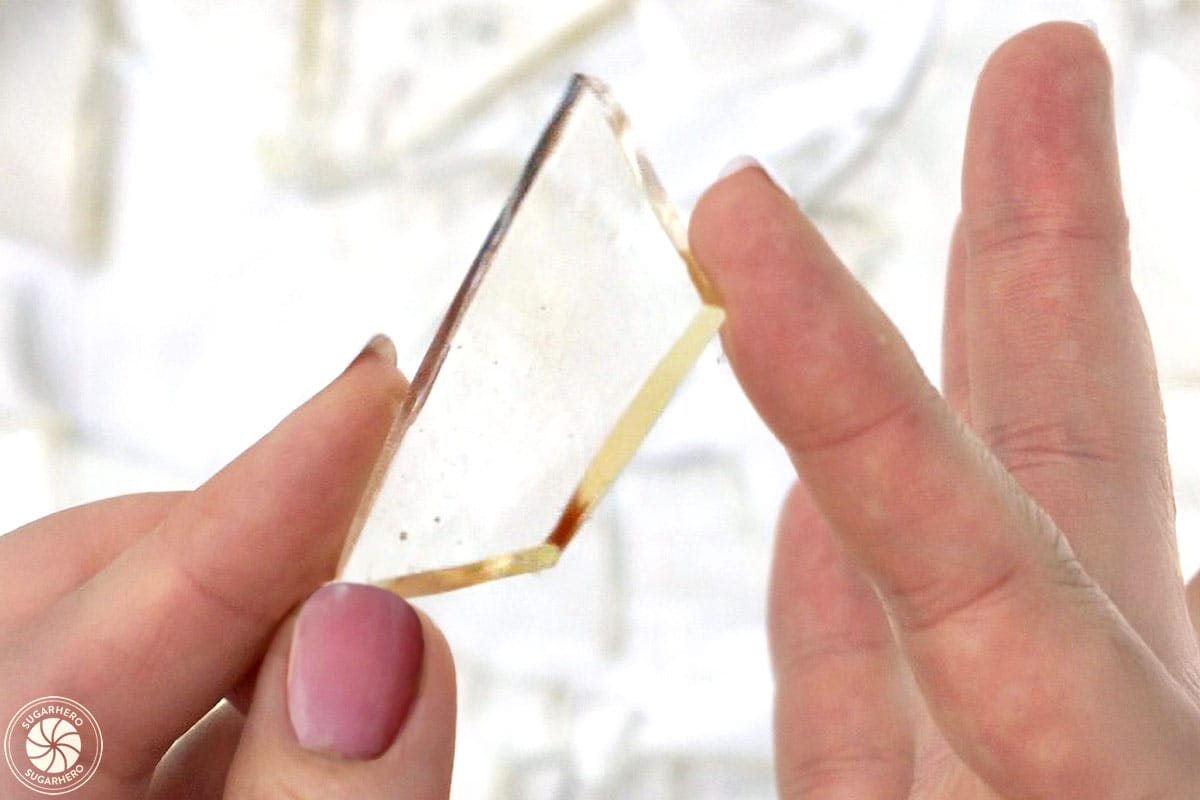
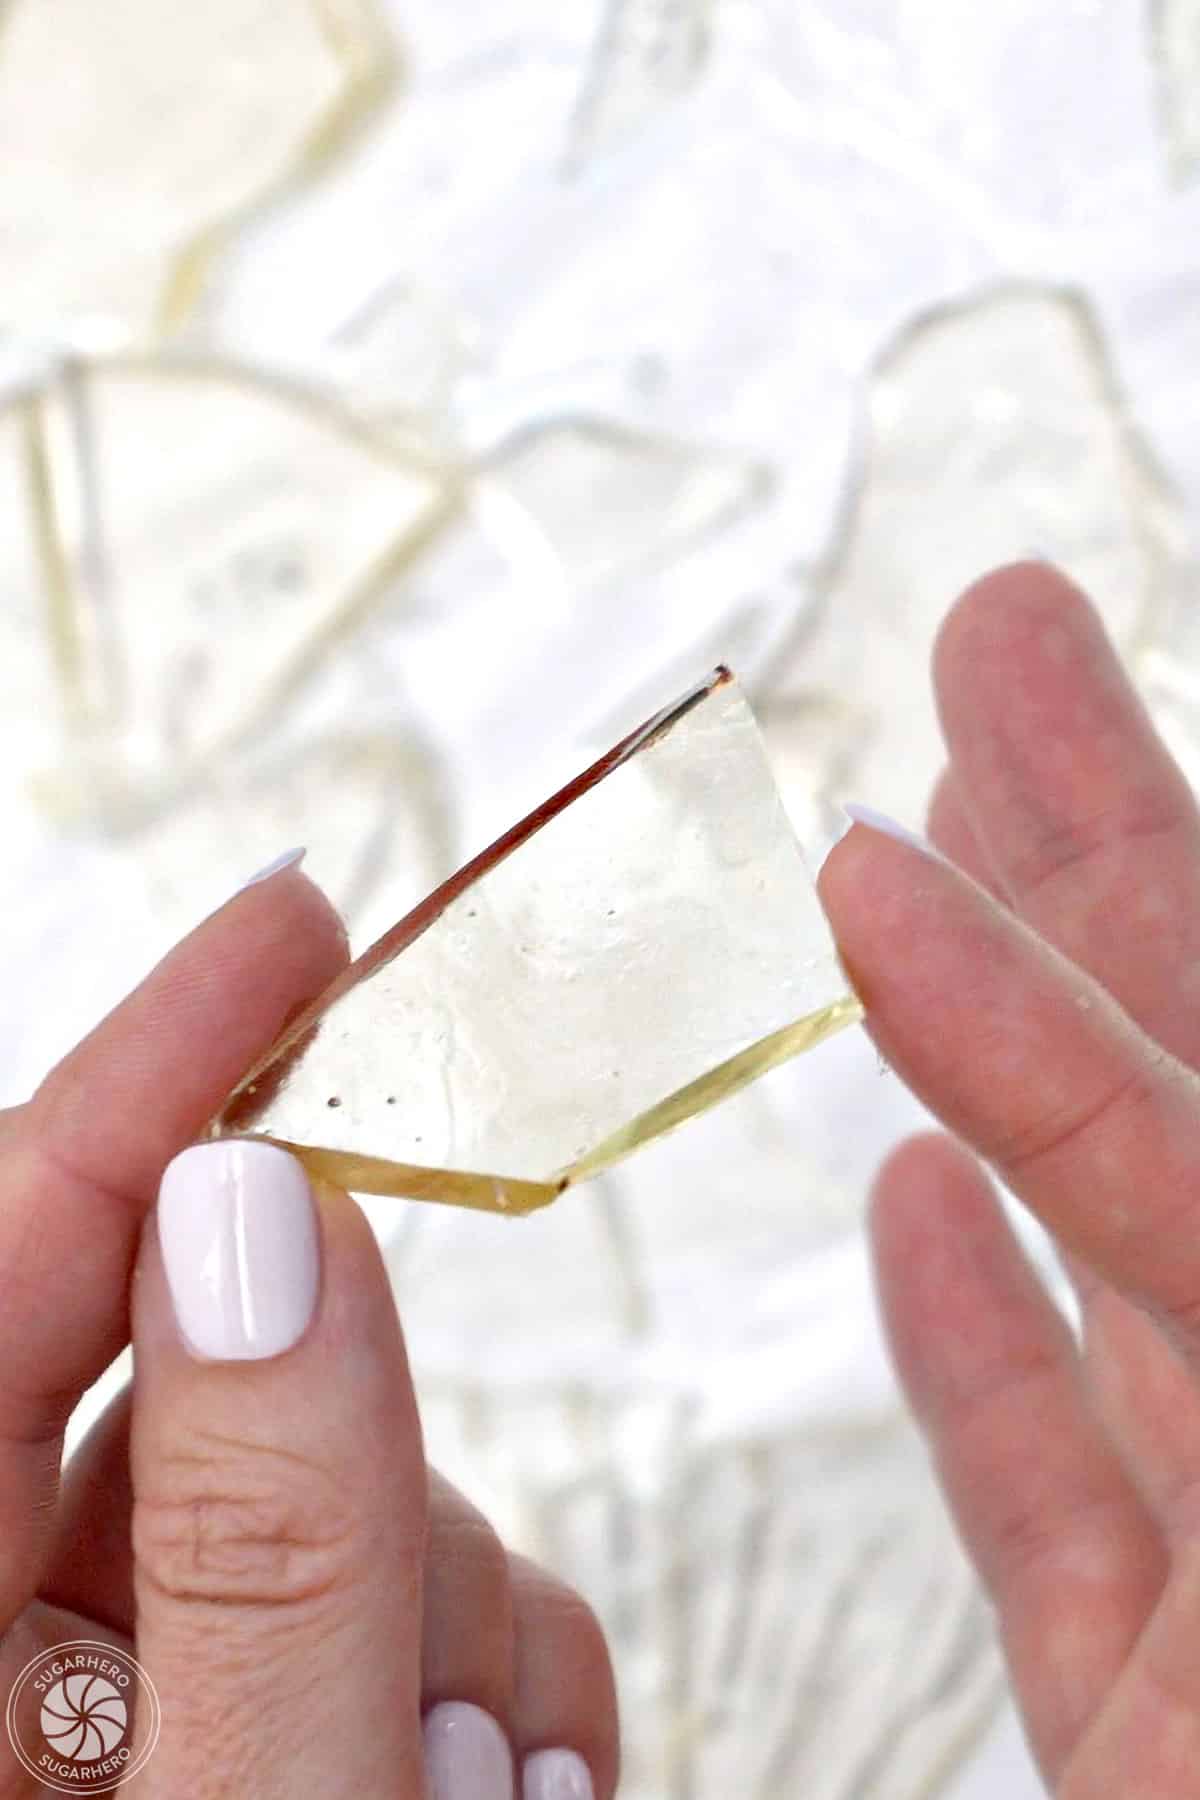
The appeal of edible sugar glass lies in its adaptability. Its ability to be precisely colored and flavored allows for an infinite palette of creative expression. Beyond mere aesthetics, the texture of sugar glass offers a satisfying crunch that complements the softness of cakes and pastries. Its inherent brittleness, when strategically broken, creates a dramatic "shattered" effect, adding an element of avant-garde design to any confection. This adaptability has cemented its status as a go-to ingredient for bakers seeking to elevate their creations beyond the ordinary.
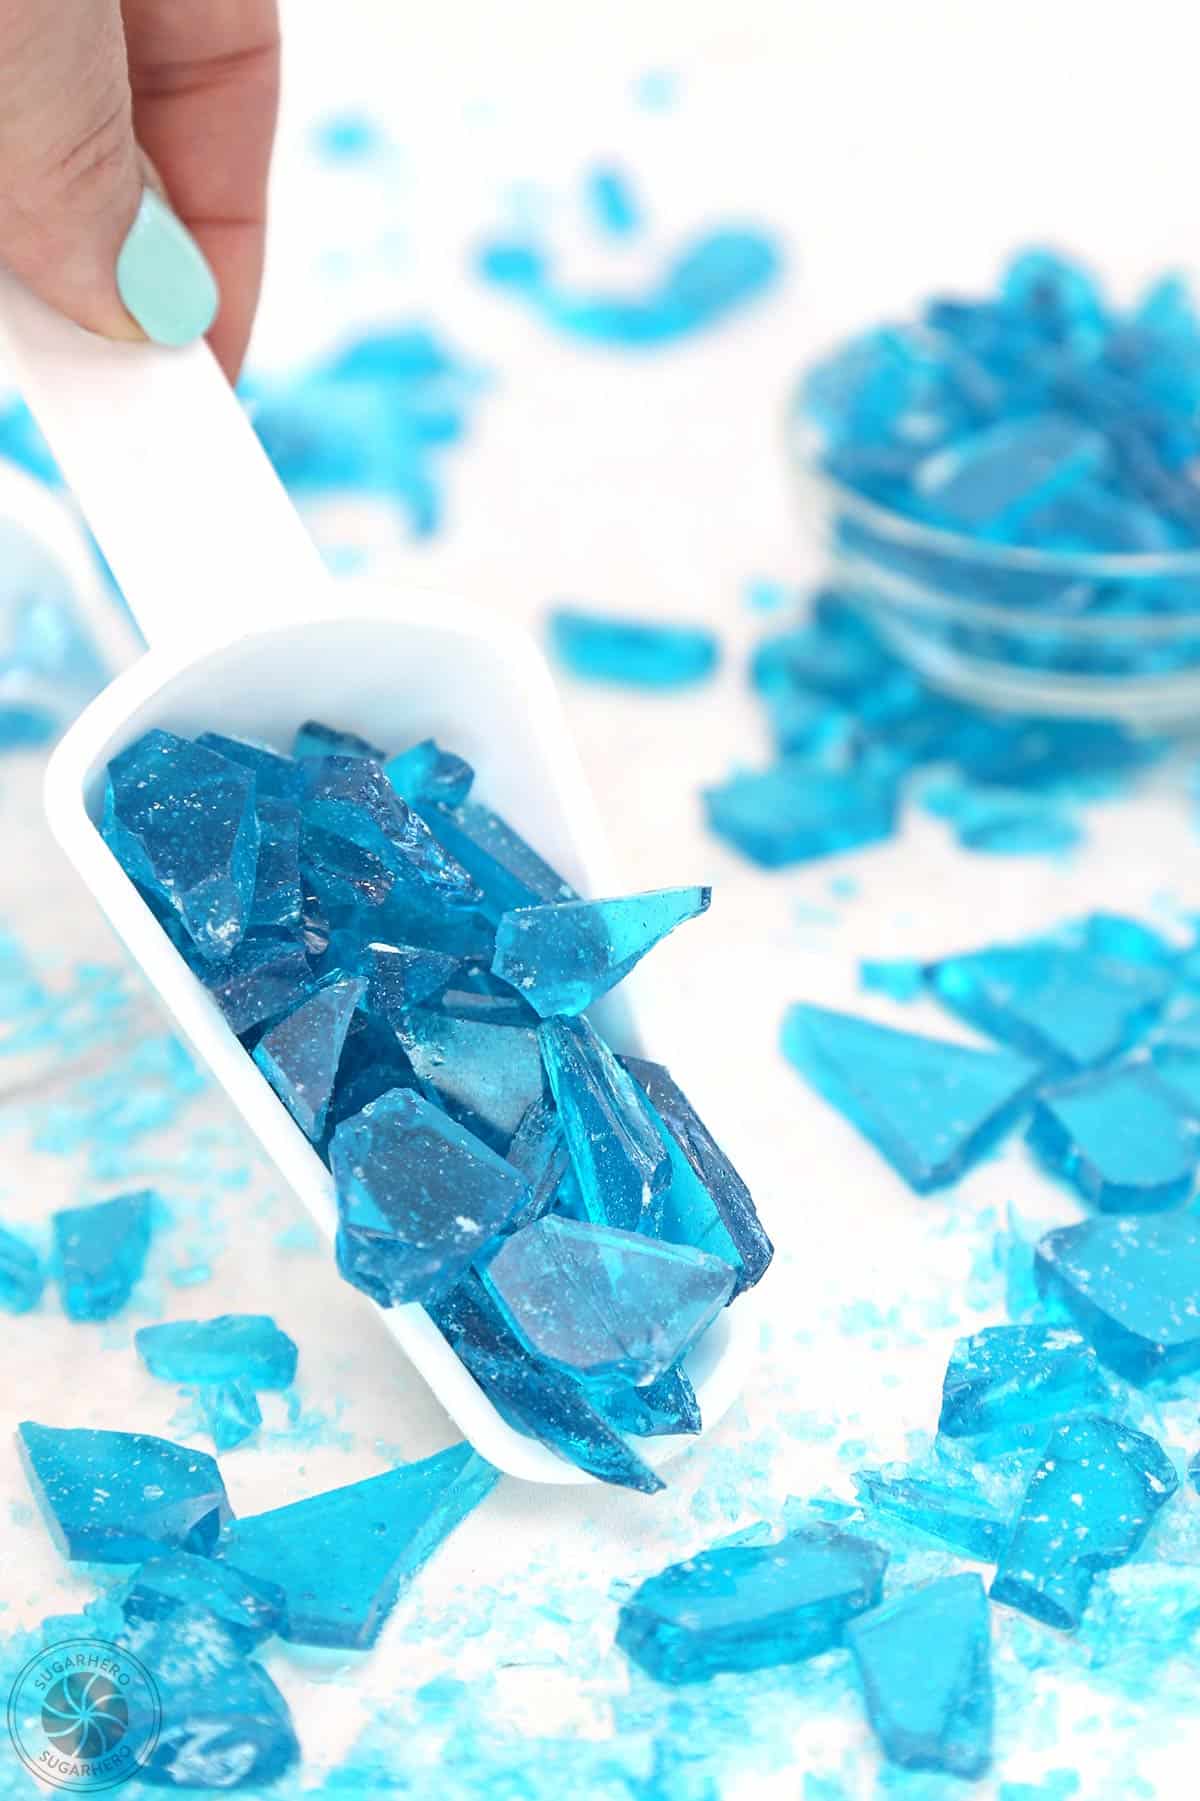
The applications are as diverse as the imagination of the baker. For festive occasions, it forms the translucent walls of gingerbread villages, allowing light to filter through and illuminate the miniature structures. For themed parties, it can be crafted into eerie, sharp fragments that evoke the look of broken glass, a popular motif for Halloween desserts. Its utility extends to replicating specific visual styles, such as the crystalline structures seen in "Breaking Bad"-inspired rock candy creations. The fundamental recipe, while seemingly simple, requires a nuanced understanding of sugar chemistry and precise temperature control to achieve the desired clarity and hardness.
Mastering the Technique: A Foolproof Recipe for Success
Achieving flawless edible sugar glass hinges on a few key principles and a commitment to precision. The process, while not overly complicated, demands careful attention to detail, particularly regarding temperature and ingredient ratios. For aspiring confectioners, this recipe offers a guided entry into the world of advanced sugar work.
The core of the sugar glass recipe relies on a precise combination of granulated sugar, corn syrup, and water. The corn syrup acts as a crucial anti-crystallization agent, preventing the formation of unwanted sugar crystals that can lead to an opaque or gritty texture. Water provides the solvent for the sugar, facilitating its dissolution and enabling the caramelization process. The final product’s success is directly tied to reaching the correct temperature, typically the hard-crack stage (300-310°F or 149-154°C).
Essential Ingredients and Equipment: The Foundation for Creation
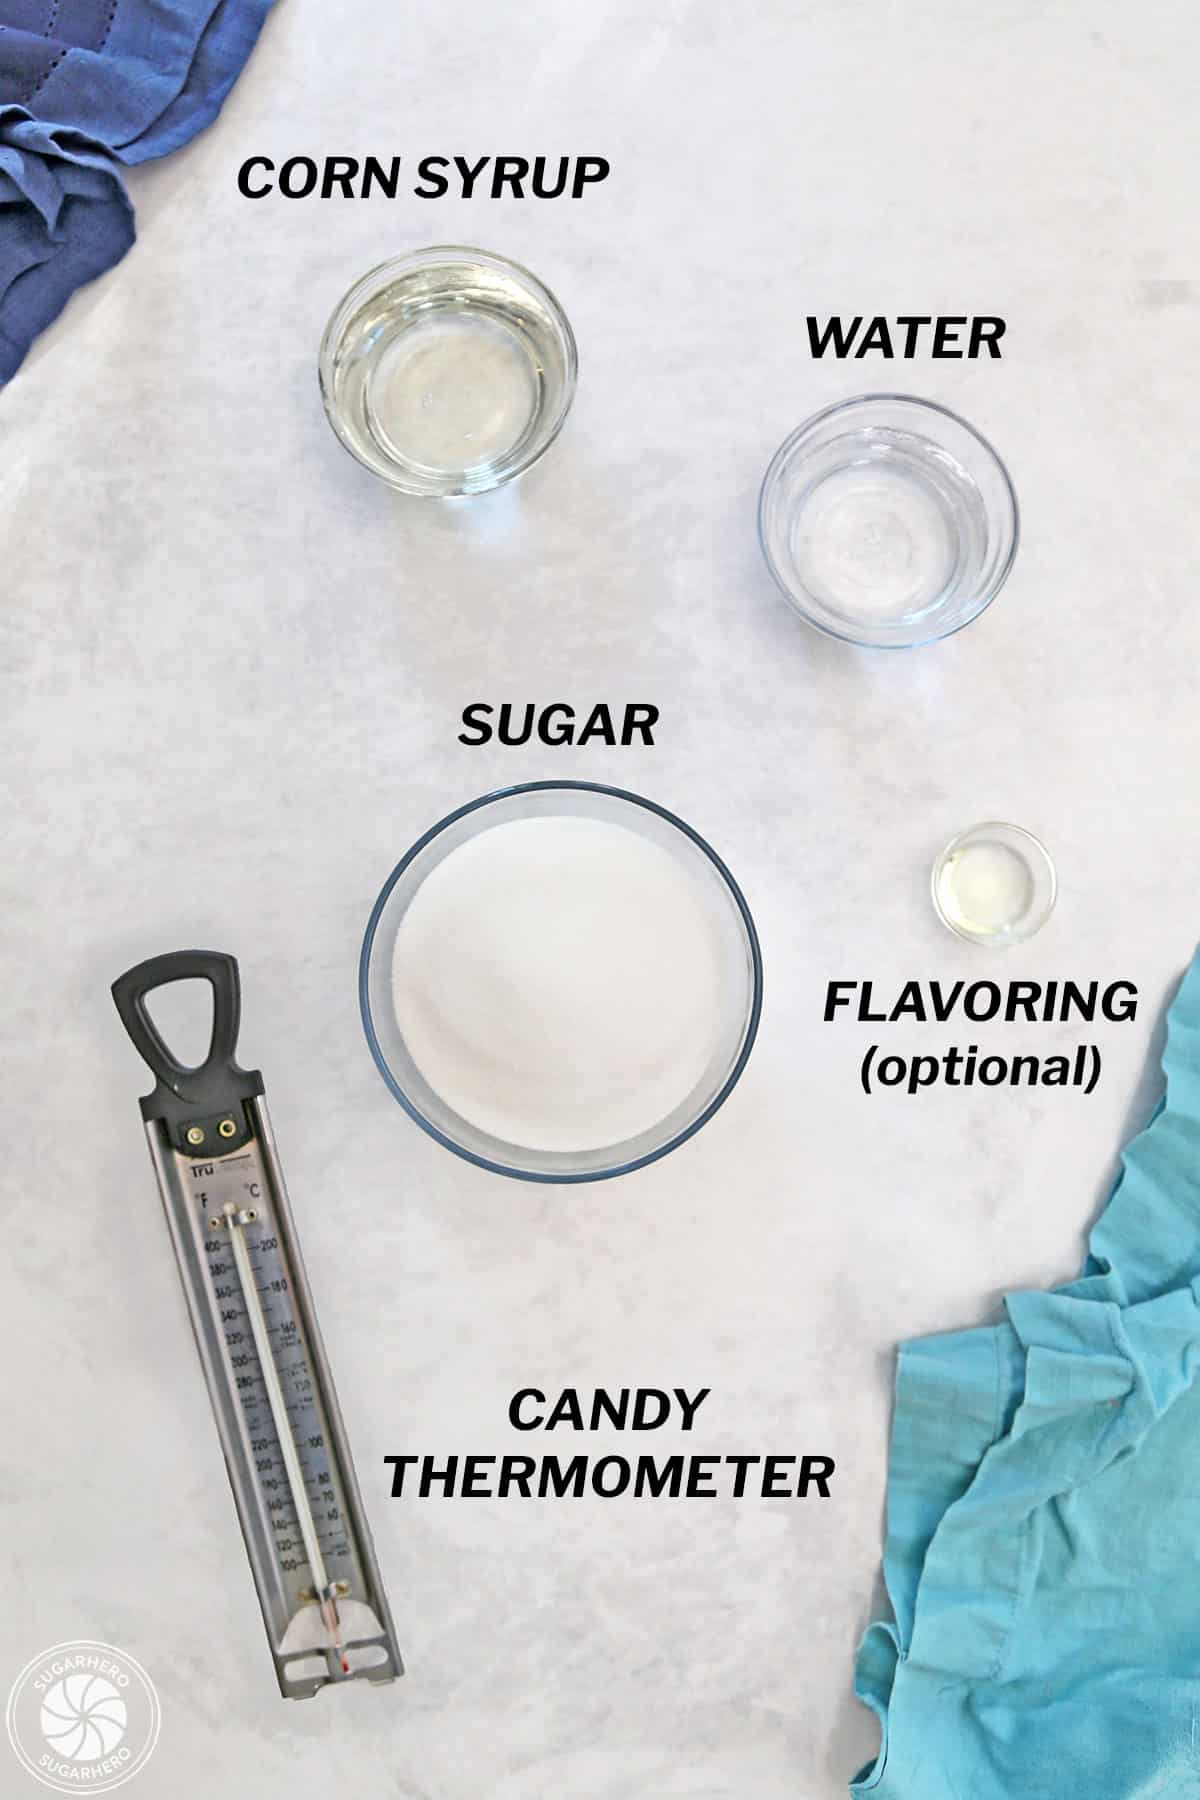
The beauty of edible sugar glass lies in its minimalist ingredient list, making it an accessible project for most kitchens. The primary components include:
- Granulated Sugar: The foundational element, providing the sweetness and structure.
- Corn Syrup: The critical ingredient that inhibits crystallization, ensuring a clear and smooth result. Light corn syrup is generally preferred for its neutral flavor and color.
- Water: The solvent that dissolves the sugar and facilitates the cooking process.
- Optional Flavorings and Colorings: Extracts such as vanilla, almond, or fruit essences can be added to infuse the glass with desired tastes. Food-grade coloring, in liquid or gel form, allows for a spectrum of visual possibilities.
The necessary equipment is also standard for most home kitchens, with a few specialized tools enhancing precision:
- Heavy-Bottomed Saucepan: Essential for even heat distribution, preventing scorching.
- Candy Thermometer: This is arguably the most critical tool, as accurate temperature measurement is paramount to achieving the correct consistency. Digital thermometers offer enhanced accuracy.
- Silicone Baking Mats or Parchment Paper: For pouring and cooling the sugar mixture. Silicone mats are particularly useful for preventing sticking.
- Heat-Resistant Spatula or Wooden Spoon: For stirring the initial mixture.
- Pastry Brush and Water: Used to wash down the sides of the saucepan, preventing sugar crystals from forming and falling into the syrup.
- Optional Molds: Silicone molds can be used to create specific shapes directly from the molten sugar.
Pro Candy Thermometer Tips: Ensuring Precision
The candy thermometer is the baker’s most trusted ally in sugar work. Its accurate calibration and proper use are non-negotiable for successful sugar glass production.
- Calibration is Key: Before embarking on any candy-making endeavor, it’s crucial to calibrate your thermometer. This can be done by placing it in boiling water (which should read 212°F or 100°C at sea level) or ice water (which should read 32°F or 0°C). Adjustments can often be made to digital thermometers, while analog ones may require noting a consistent offset.
- Proper Placement: Ensure the thermometer bulb is fully submerged in the sugar syrup but does not touch the bottom of the pan, which can provide an inaccurate reading.
- Continuous Monitoring: Keep a close eye on the thermometer as the temperature rises. The goal is to reach the hard-crack stage, typically between 300°F and 310°F (149°C and 154°C).
- Understanding Temperature Zones: Different stages of sugar cooking yield different consistencies. The soft-ball stage (235-245°F) is for caramels, while the hard-ball stage (250-265°F) is for fudge. The hard-crack stage is specifically for brittle candies like sugar glass.
The Process: A Step-by-Step Culinary Journey
The creation of edible sugar glass is a methodical process that, when followed diligently, yields spectacular results.
- Preparation is Paramount: Before beginning, ensure all ingredients are measured precisely and all necessary equipment is within easy reach. Prepare your baking surface by lining it with a silicone mat or parchment paper.
- Combine and Dissolve: In a heavy-bottomed saucepan, combine the granulated sugar, corn syrup, and water. Stir over medium heat until the sugar is completely dissolved. This initial stirring is crucial for ensuring all sugar granules are suspended in the liquid.
- The Boil and Crystal Prevention: Once the sugar is dissolved and the mixture begins to boil, cease stirring. This is a critical juncture to prevent crystallization. Dip a pastry brush in water and gently wipe down the sides of the saucepan, above the syrup line. This action removes any stray sugar crystals that could initiate unwanted crystallization.
- Reaching the Hard-Crack Stage: Continue to cook the syrup without stirring, monitoring the temperature closely with your candy thermometer. The syrup will gradually thicken and change color. The target temperature is the hard-crack stage (300-310°F or 149-154°C).
- Optional Additions: If using flavorings or colorings, remove the pan from the heat immediately upon reaching the target temperature. Carefully stir in your chosen extracts and food coloring until evenly distributed. Be aware that adding liquids can cause the mixture to bubble vigorously.
- Pouring and Cooling: Working quickly but cautiously, pour the molten sugar onto your prepared baking surface. If creating windows for cookies or gingerbread, you can pour the sugar directly into pre-cut openings. For creating shards, pour a thin, even layer.
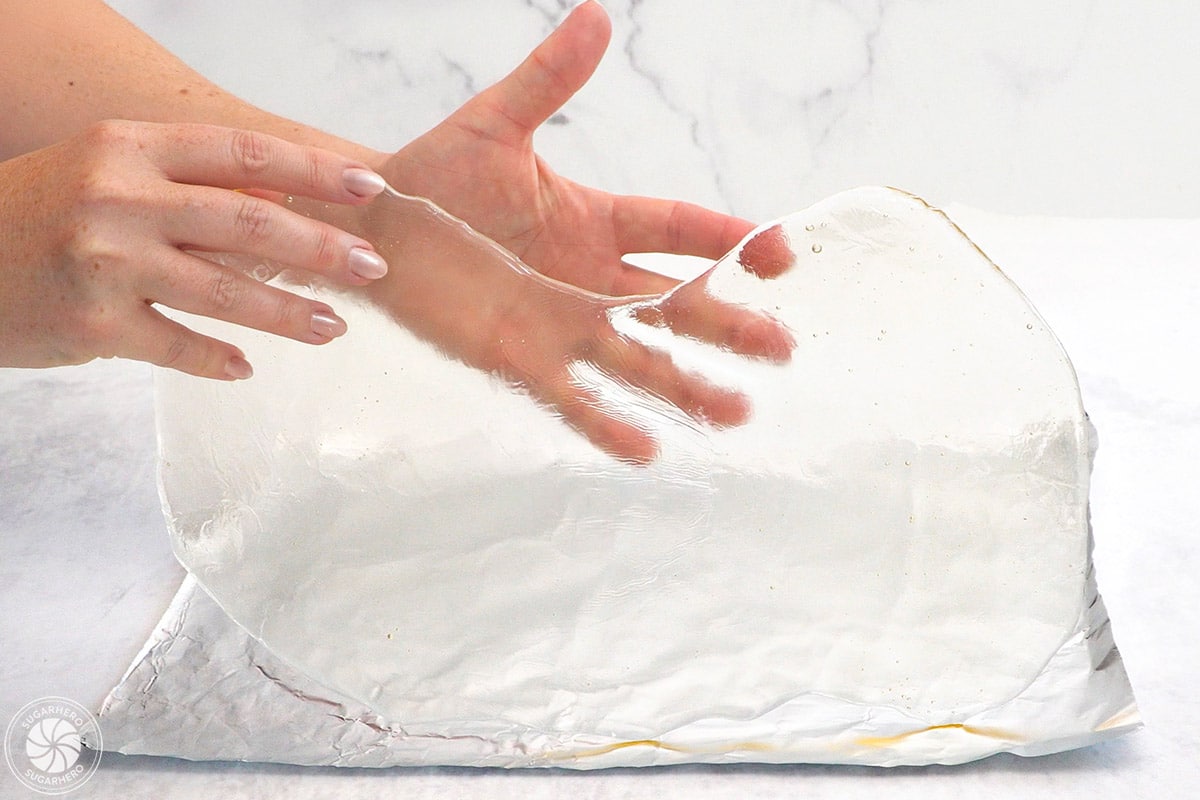
- The Setting Process: Allow the sugar to cool completely undisturbed. This can take anywhere from 30 minutes to several hours, depending on the thickness of the pour and ambient temperature.
- Breaking and Shaping: Once fully hardened, the sugar glass can be broken into desired pieces by gently tapping it with a mallet or the back of a heavy spoon. For more controlled shapes, it can be scored with a sharp knife while still slightly warm but firm.
Frequently Asked Questions: Troubleshooting Common Challenges
Even with meticulous preparation, challenges can arise in candy making. Addressing these common issues proactively can significantly improve the success rate.
- Why is my candy sticky? Stickiness is almost invariably a sign of humidity. Sugar is hygroscopic, meaning it readily absorbs moisture from the air. Making candy on a humid or rainy day is highly discouraged. Even after proper cooking, storing the sugar glass in an airtight container at room temperature is essential. For particularly humid climates, including silica gel packets in the storage container can help absorb excess moisture.
- Why is my candy not hardening? If the candy remains soft or doesn’t set, it indicates it has not been cooked to a sufficient temperature. Re-check your thermometer’s accuracy and ensure you have reached the hard-crack stage. Double-check ingredient measurements as well.
- Why is my glass candy opaque or crumbly? This indicates crystallization. Crystallization occurs when sugar molecules arrange themselves into an ordered crystalline structure during the cooking process. This can be triggered by excessive stirring after boiling, insufficient washing of the pan’s sides to remove stray crystals, or even the introduction of a stray crystal from utensils or the thermometer. The corn syrup in the recipe is designed to interfere with this process, so using substitutes for corn syrup can increase the risk of crystallization.
- Storage Information: Edible sugar glass is best stored at room temperature in an airtight container for up to seven days. Refrigeration or freezing is not recommended, as condensation can lead to stickiness. In very humid conditions, consumption within 2-3 days may be necessary, and the use of silica gel packets can extend its shelf life.
The Broader Impact: Elevating Dessert Artistry
The accessibility of edible sugar glass represents a democratization of advanced pastry techniques. Previously, such elaborate decorative elements were often the exclusive purview of professional patisseries. Now, home bakers can achieve professional-level results, fostering a more creative and experimental approach to dessert making. This trend not only enhances the visual appeal of baked goods but also contributes to a richer sensory experience, blending artistry with deliciousness. As more bakers embrace this technique, we can anticipate an even greater wave of innovative and visually captivating dessert creations.