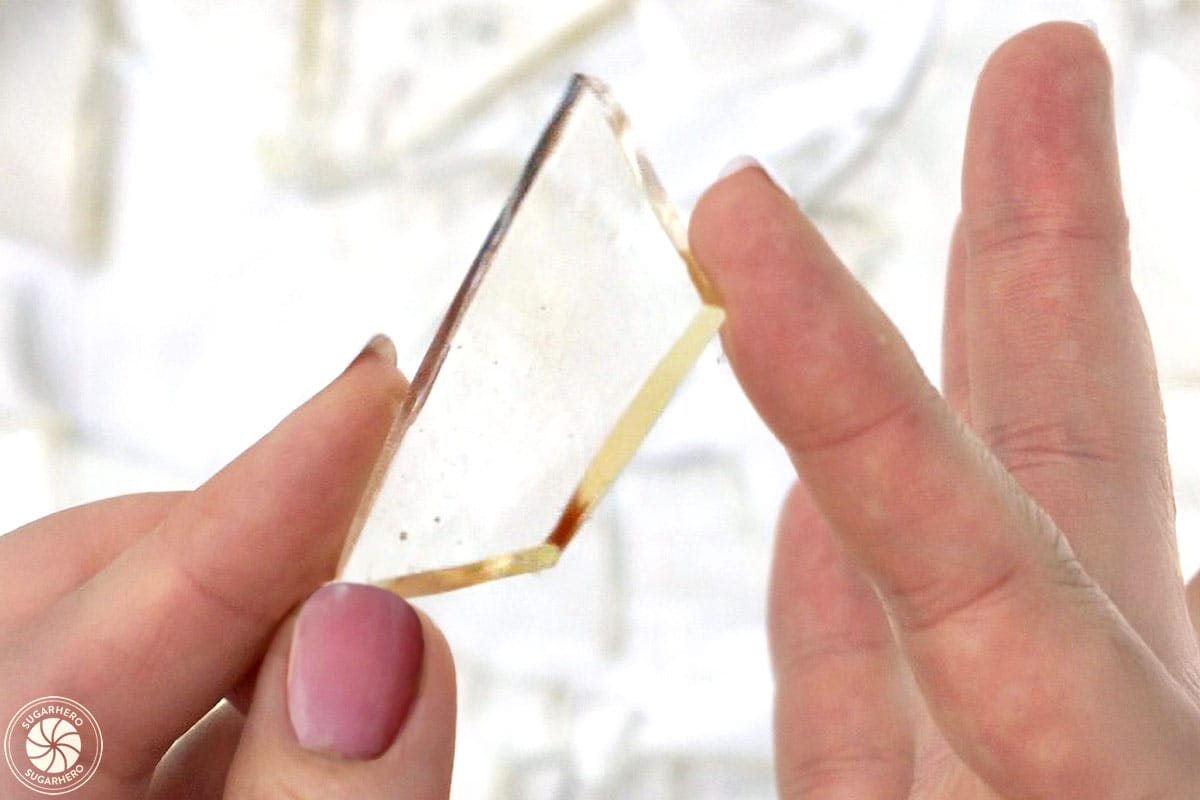
The art of confectionery allows for a remarkable transformation of simple ingredients into visually stunning edible creations. Among the most captivating of these are realistic-looking shards and windows crafted from sugar glass. This versatile ingredient, often appearing in intricate gingerbread houses, thematic Halloween desserts, or even as an homage to popular culture like the "Breaking Bad" rock candy, offers bakers a unique avenue for culinary expression. The process of creating this clear, hard candy, while appearing complex, is achievable with precise techniques and a clear understanding of sugar crystallization. This guide delves into the creation of edible sugar glass, exploring its applications, the science behind its formation, essential ingredients and equipment, and troubleshooting common challenges to ensure a flawless, professional finish.
The Allure of Edible Sugar Glass
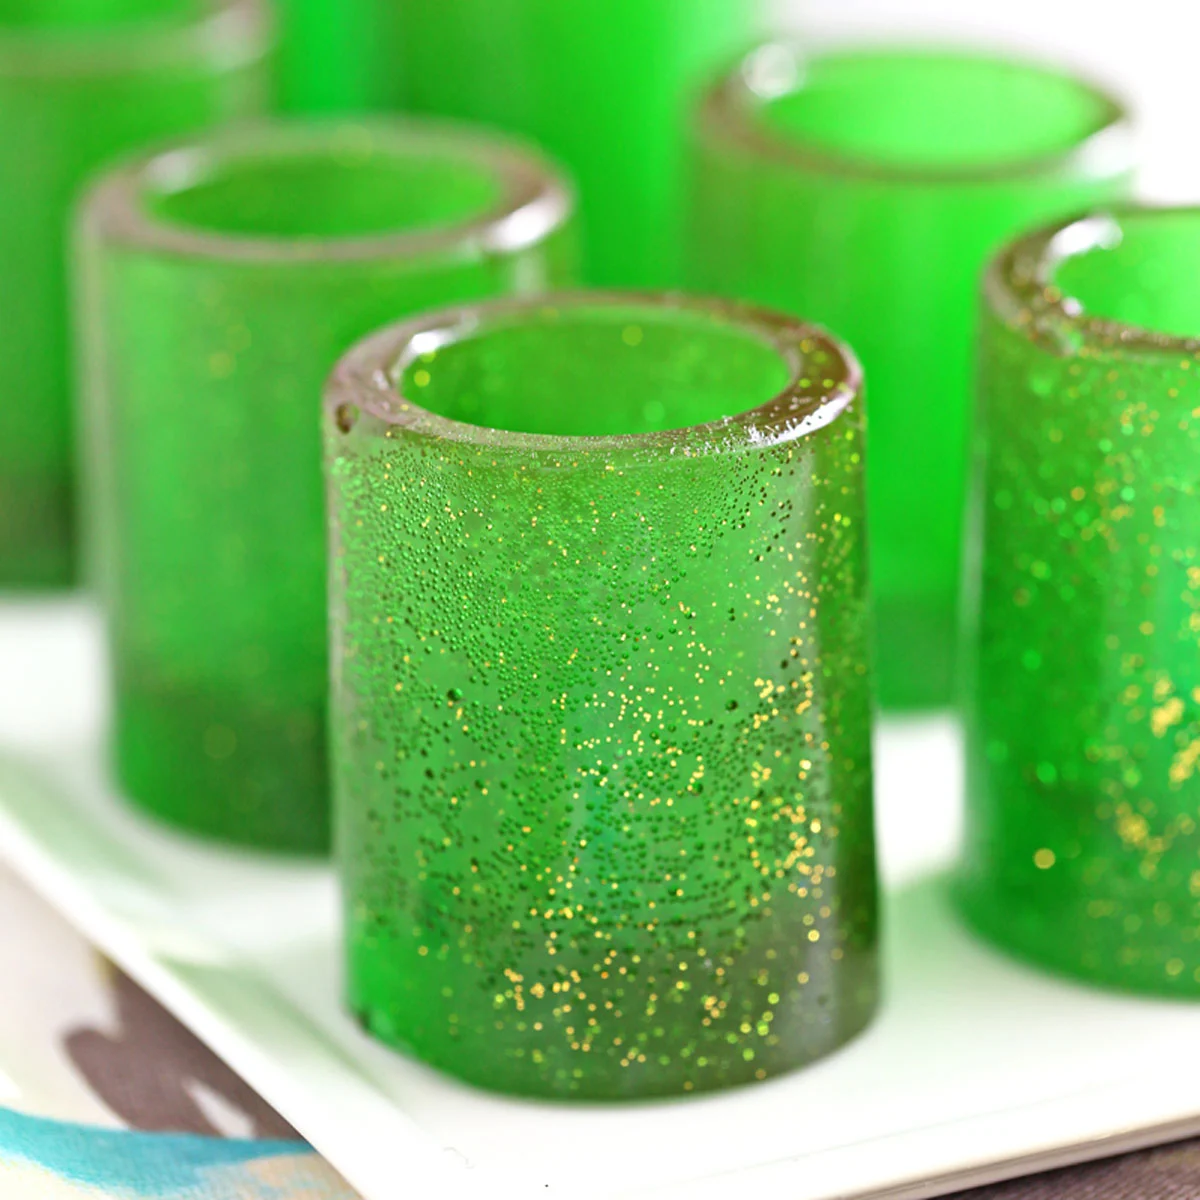
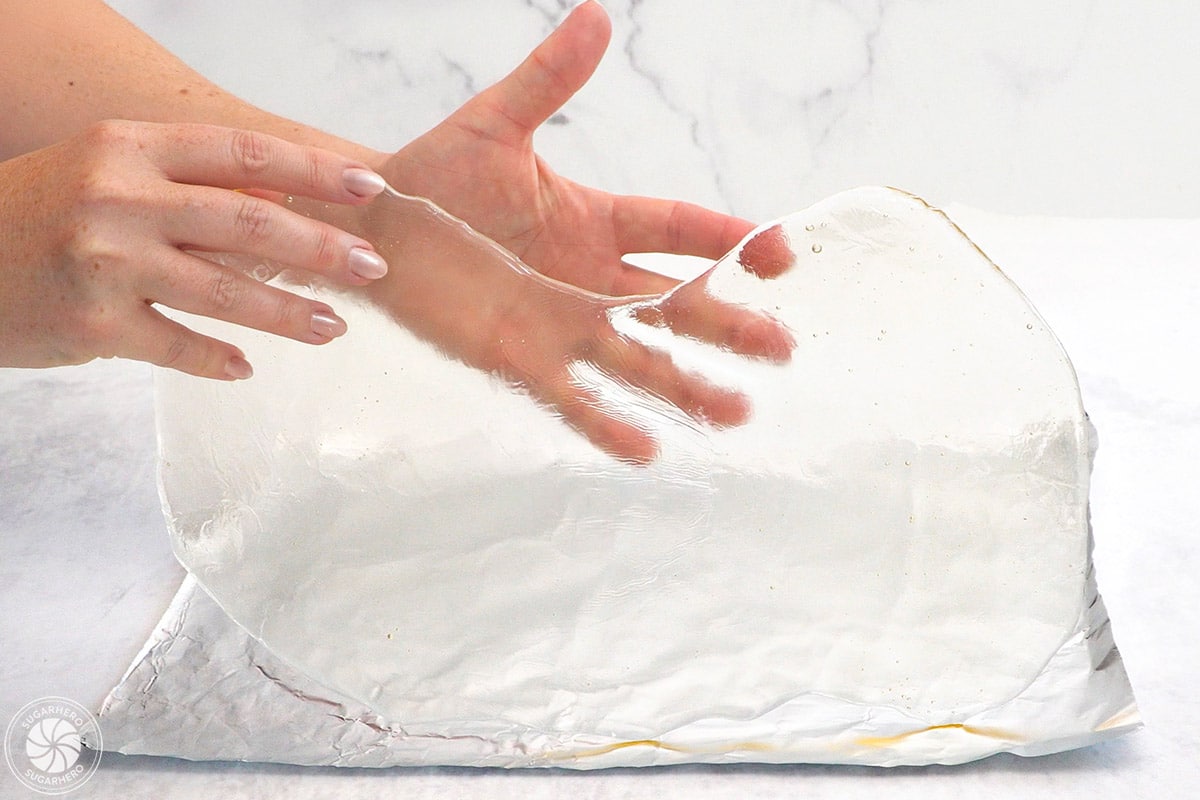
Edible sugar glass provides a dramatic visual element to desserts, mimicking the appearance of true glass without compromising edibility. Its transparency, coupled with the ability to be tinted and flavored, makes it an indispensable tool for bakers aiming to elevate their creations. From delicate candy windows seamlessly integrated into gingerbread structures to jagged, dramatic shards adorning a spooky-themed cake, the applications are as diverse as a baker’s imagination. The recipe’s inherent flexibility allows for customization, enabling the creation of vibrant hues and enticing flavors that complement any dessert’s profile. Furthermore, the sugar glass can be manipulated into various forms – poured flat for breakage into shards, molded into specific shapes, or directly incorporated into baked goods like cookies or gingerbread panels to create functional, transparent windows. This adaptability positions edible sugar glass as a key component in advanced dessert decoration techniques.
The Science and Craft of Sugar Glass Creation
The successful creation of sugar glass hinges on understanding the principles of sugar crystallization and the role of specific ingredients in preventing unwanted crystal formation. At its core, sugar glass is a supercooled liquid solution of sugar. When sugar, water, and an acid (like corn syrup or cream of tartar) are heated to specific temperatures, the sugar molecules dissolve and disperse. The critical factor is reaching the "hard crack" stage, typically around 300-310°F (149-154°C), where most of the water has evaporated, leaving a highly concentrated sugar solution. If cooled rapidly and undisturbed, this solution solidifies into an amorphous, glass-like state.
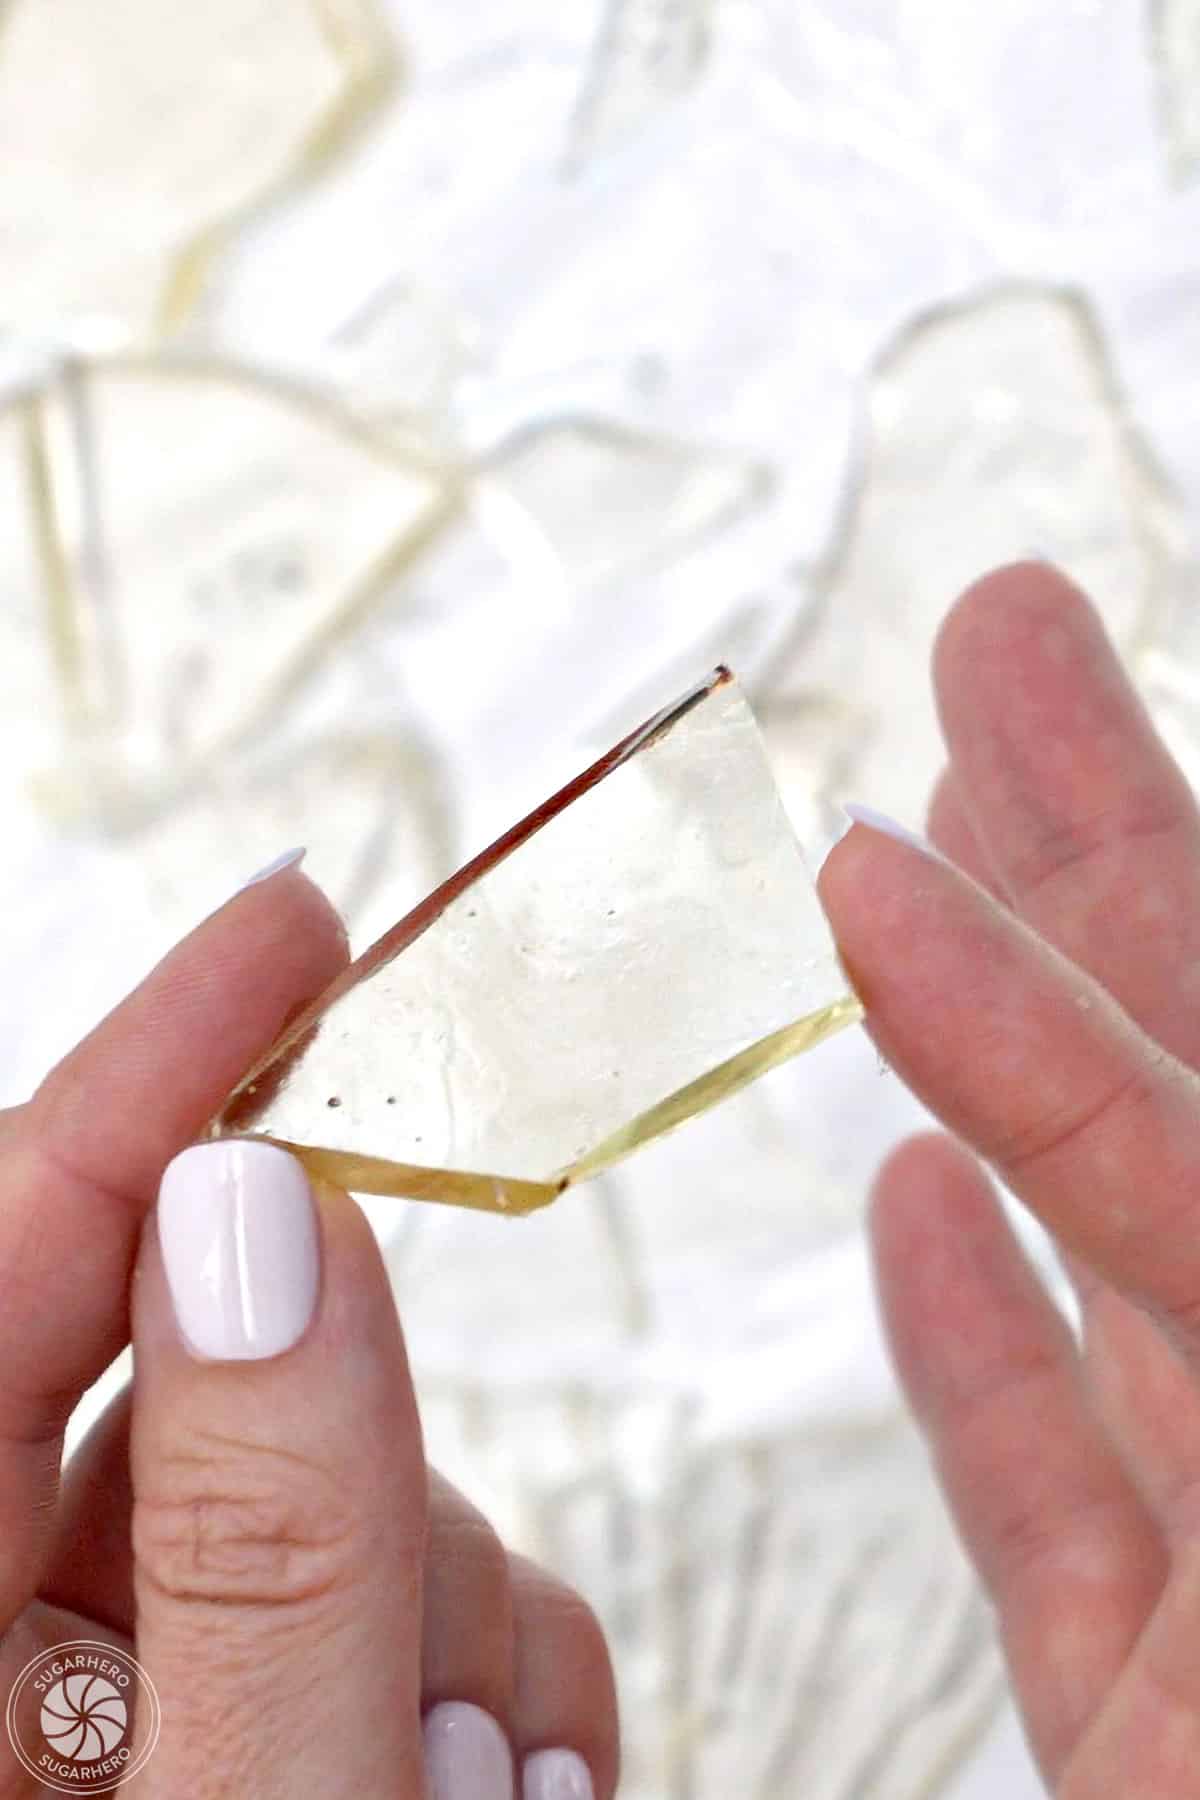
The inclusion of corn syrup, an invert sugar, is crucial. Corn syrup is a mixture of glucose, maltose, and higher oligosaccharides, derived from the hydrolysis of starch. Its presence helps to interfere with the natural tendency of sucrose (table sugar) to recrystallize. By breaking down some of the sucrose molecules and physically blocking others, corn syrup inhibits the formation of large, noticeable sugar crystals that would otherwise result in an opaque, grainy, or crumbly texture, rather than the desired clear, glassy appearance.
Essential Ingredients for Sugar Glass
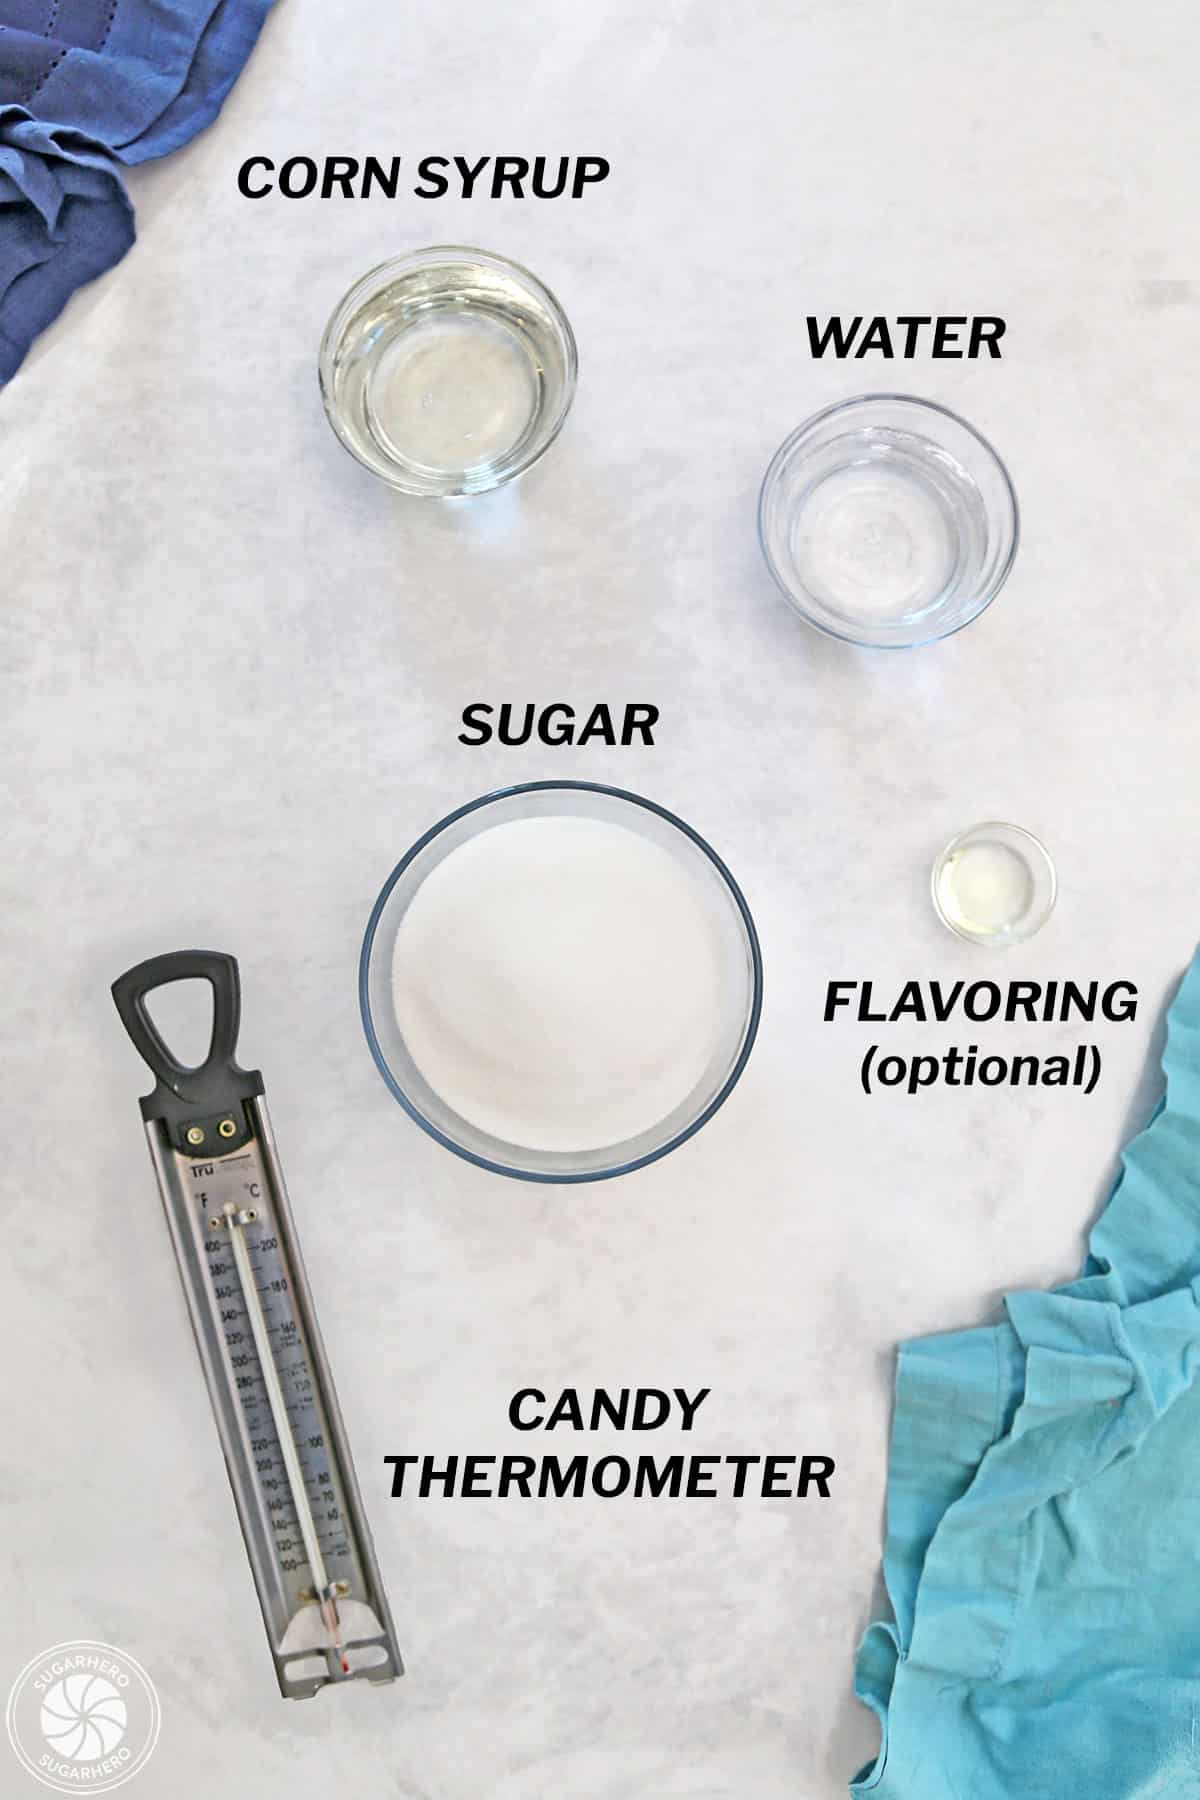
Achieving the perfect sugar glass requires a precise combination of high-quality ingredients. While the core components are simple, their exact measurements and the type used can significantly impact the final outcome.
- Granulated Sugar: This forms the bulk of the sugar glass. For optimal clarity, it’s best to use standard granulated white sugar. Less refined sugars, like brown sugar or raw sugar, contain molasses and impurities that can affect the color and clarity, resulting in a less transparent product. The purity of the sugar is paramount for achieving that crystal-clear finish.
- Corn Syrup: As mentioned, corn syrup is the key to preventing crystallization. Light corn syrup is the most common choice due to its neutral flavor and color. It acts as an amorphous solidifier, ensuring the sugar remains in a glassy state rather than reverting to a crystalline structure. The ratio of corn syrup to sugar is critical; too little can lead to crystallization, while too much might result in a stickier, less brittle candy.
- Water: Water serves as the solvent for the sugar and corn syrup, allowing them to dissolve and reach the necessary temperatures. The amount of water is carefully controlled to ensure proper evaporation during the cooking process.
- Cream of Tartar (Optional but Recommended): This acidic salt is often added to help further inhibit crystallization. It works by hydrolyzing sucrose into simpler sugars, similar to corn syrup, but in a more direct and faster manner. A small amount can significantly improve the chances of achieving a clear, smooth texture.
- Food Coloring (Optional): For colored sugar glass, liquid or gel food coloring can be added. Gel colors are generally preferred as they are more concentrated and less likely to introduce excess moisture.
- Flavoring Extracts (Optional): To impart flavor, a few drops of food-grade extracts can be incorporated. It’s important to use potent extracts and add them towards the end of the cooking process to prevent their flavor from dissipating due to the high heat.
Critical Equipment for Success
The right tools are as important as the ingredients when working with hot sugar. Safety and precision are paramount.
- Heavy-Bottomed Saucepan: A good quality, heavy-bottomed saucepan is essential for even heat distribution. This prevents scorching and ensures the sugar mixture heats uniformly. A light-colored interior can help in monitoring the color changes of the sugar syrup.
- Candy Thermometer: This is arguably the most crucial tool. An accurate candy thermometer is vital for reaching the correct temperature (hard crack stage). It should be calibrated before use to ensure precision. Digital thermometers offer a higher degree of accuracy and ease of reading.
- Heat-Resistant Spatula or Wooden Spoon: For stirring the initial mixture and for scraping down the sides of the pan to remove any stray sugar crystals. Once the mixture reaches a boil, stirring should be minimized or avoided altogether.
- Silicone Baking Mats or Parchment Paper: These are used as a non-stick surface to pour the hot sugar onto. Silicone mats are particularly useful as they provide a smooth, flat surface and are reusable.
- Pastry Brush and Water: A pastry brush dipped in water is used to wash down the sides of the saucepan. This removes any sugar crystals that may have adhered to the pan, preventing them from seeding the entire batch and causing crystallization.
- Heat-Resistant Gloves: Handling molten sugar at temperatures above 300°F (149°C) poses a significant burn risk. Heat-resistant gloves are a necessary safety precaution.
- Cutting Tools: Once cooled, the sugar glass will need to be broken or cut. A sharp knife, a bench scraper, or even a clean hammer can be used to break the hardened sheet into desired pieces.
The Step-by-Step Process
Crafting edible sugar glass involves a methodical approach, emphasizing accuracy and careful temperature control.
- Preparation: Line a baking sheet with a silicone mat or parchment paper. Have all your ingredients measured precisely. If using food coloring or flavoring, have them ready to add at the appropriate stage.
- Combining Ingredients: In the heavy-bottomed saucepan, combine the granulated sugar, corn syrup, water, and cream of tartar (if using). Stir gently over medium heat until the sugar is completely dissolved.
- Boiling and Temperature Monitoring: Once the sugar is dissolved, stop stirring. Clip the candy thermometer to the side of the pan, ensuring the tip is submerged in the syrup but not touching the bottom. Bring the mixture to a boil.
- Washing Down the Sides: As the syrup boils, periodically dip a pastry brush in water and gently brush down the sides of the saucepan. This crucial step removes any sugar crystals that may have formed, preventing them from initiating crystallization in the main batch.
- Reaching the Hard Crack Stage: Continue boiling the syrup until it reaches the hard crack stage, which is between 300°F and 310°F (149°C and 154°C). This is the most critical step. The syrup will be very hot and will form hard, brittle threads when dropped into cold water.
- Adding Color and Flavor (Optional): Once the target temperature is reached, immediately remove the pan from the heat. If using food coloring or flavoring, carefully stir it in at this point. Work quickly, as the sugar will begin to cool and thicken. Be cautious, as adding these ingredients can cause the hot syrup to bubble up.
- Pouring the Sugar: Carefully and slowly pour the hot sugar syrup onto the prepared silicone mat or parchment paper. Aim for an even, thin layer. Avoid spreading it too much with a spatula, as this can introduce air bubbles or cause uneven cooling.
- Cooling and Hardening: Allow the sugar glass to cool completely at room temperature. This process can take anywhere from 30 minutes to a couple of hours, depending on the thickness of the pour and the ambient temperature. Do not attempt to move or touch the sugar while it is still warm, as it will be sticky and malleable.
- Breaking or Cutting: Once fully hardened, the sugar glass can be broken into shards by gently tapping it with a clean hammer or rolling pin, or it can be carefully scored and broken with a sharp knife or bench scraper. For cleaner cuts, you can score the surface while the sugar is still slightly warm but firm.
Addressing Common Challenges: FAQs for Success
Despite following the recipe, bakers sometimes encounter issues. Understanding these common problems and their solutions is key to mastering sugar glass.
-
Why is my candy sticky?
The most common culprit for sticky sugar glass is humidity. Sugar is hygroscopic, meaning it readily absorbs moisture from the air. High humidity levels can cause the candy to become tacky and soft, even after it has fully hardened. Avoid making sugar glass on humid or rainy days. If you live in a humid climate, store the finished sugar glass in an airtight container with silica gel packets to absorb excess moisture. Proper storage at room temperature is crucial; refrigeration or freezing can introduce condensation and exacerbate stickiness.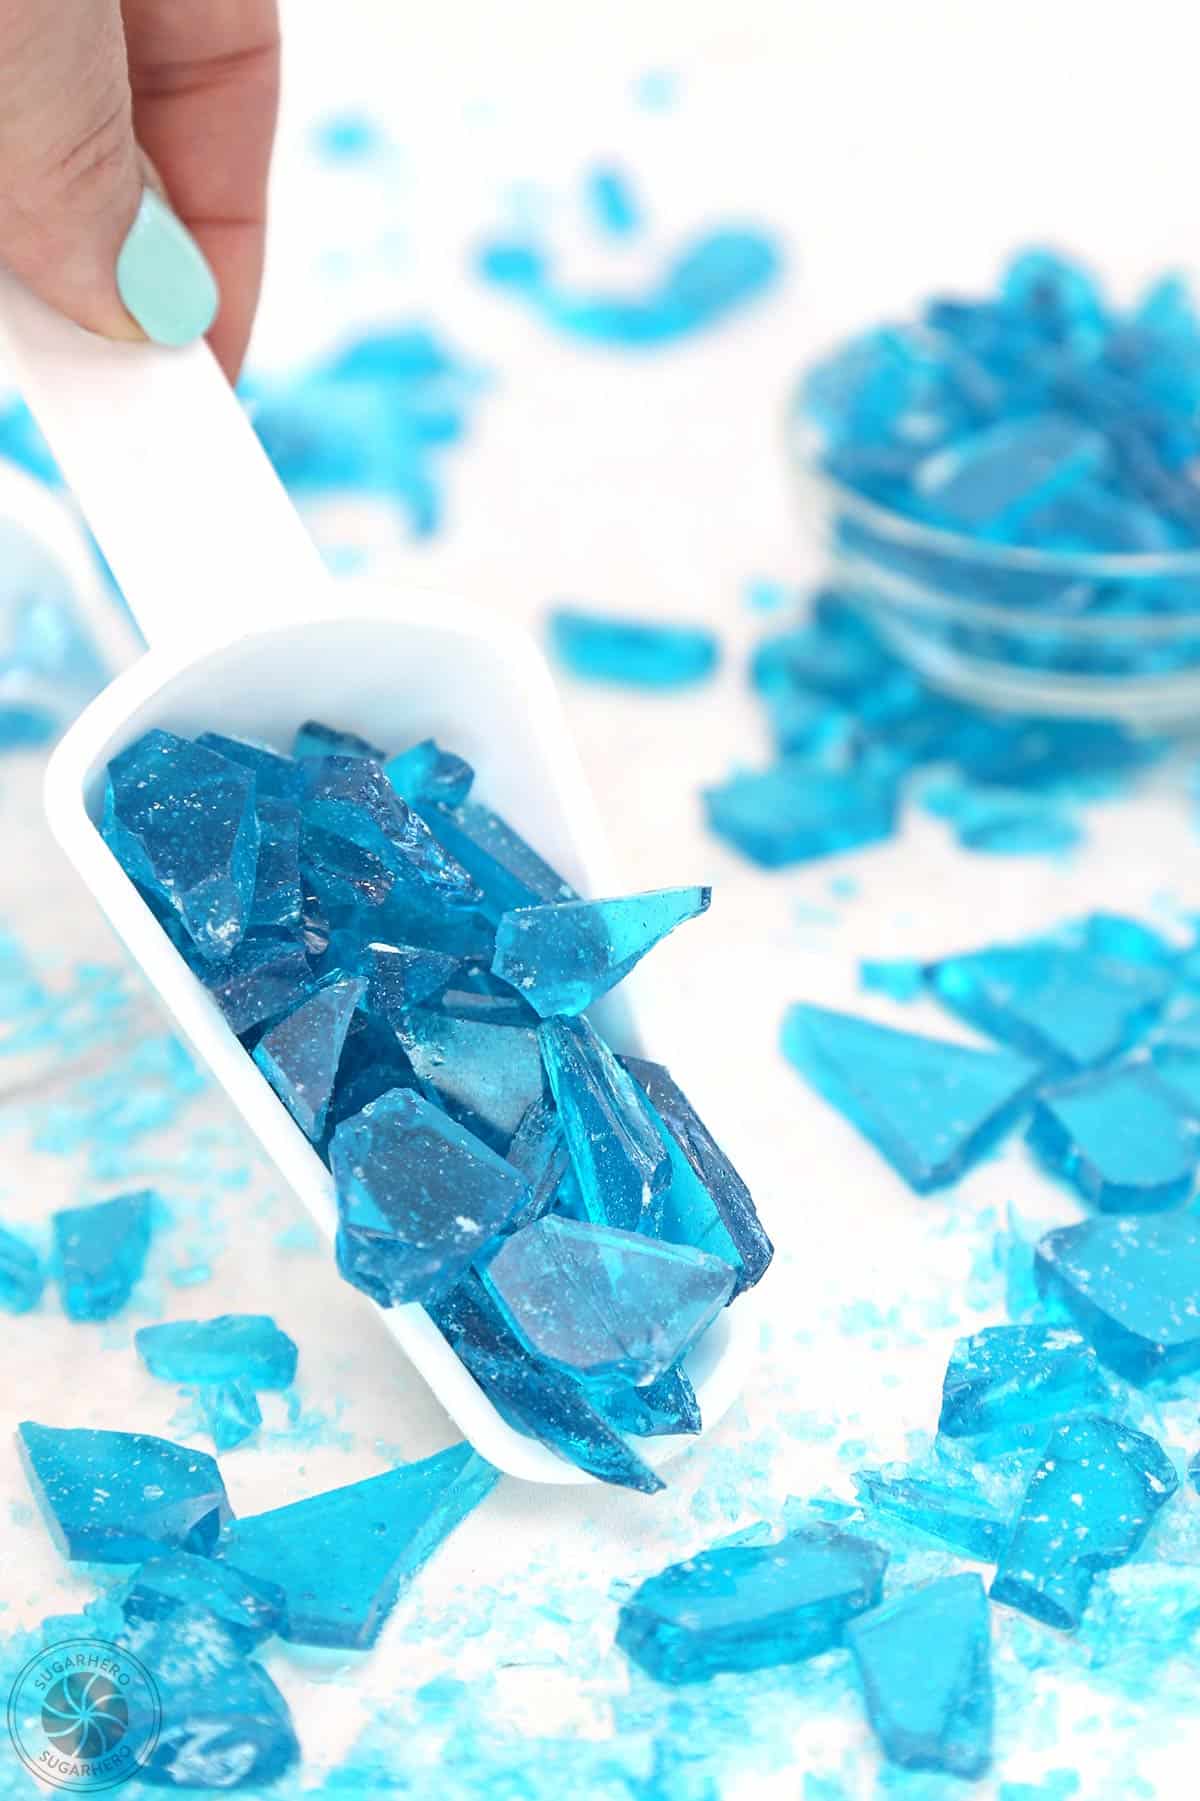
-
Why is my candy not hardening?
If your sugar glass remains soft or won’t set, it likely hasn’t been cooked to a high enough temperature. The hard crack stage is essential for achieving a brittle, glass-like texture. If you used a candy thermometer and still encountered this issue, double-check the thermometer’s accuracy by calibrating it. Ensure you used the correct ingredient quantities as specified in the recipe. Over-stirring during the boiling process can also lead to insufficient evaporation of water, resulting in a softer candy. -
Why is my glass candy opaque or crumbly?
This indicates that crystallization has occurred during the cooking or cooling process. Crystallization happens when sugar molecules arrange themselves into a structured, crystalline form instead of remaining in an amorphous, glassy state. This can be caused by: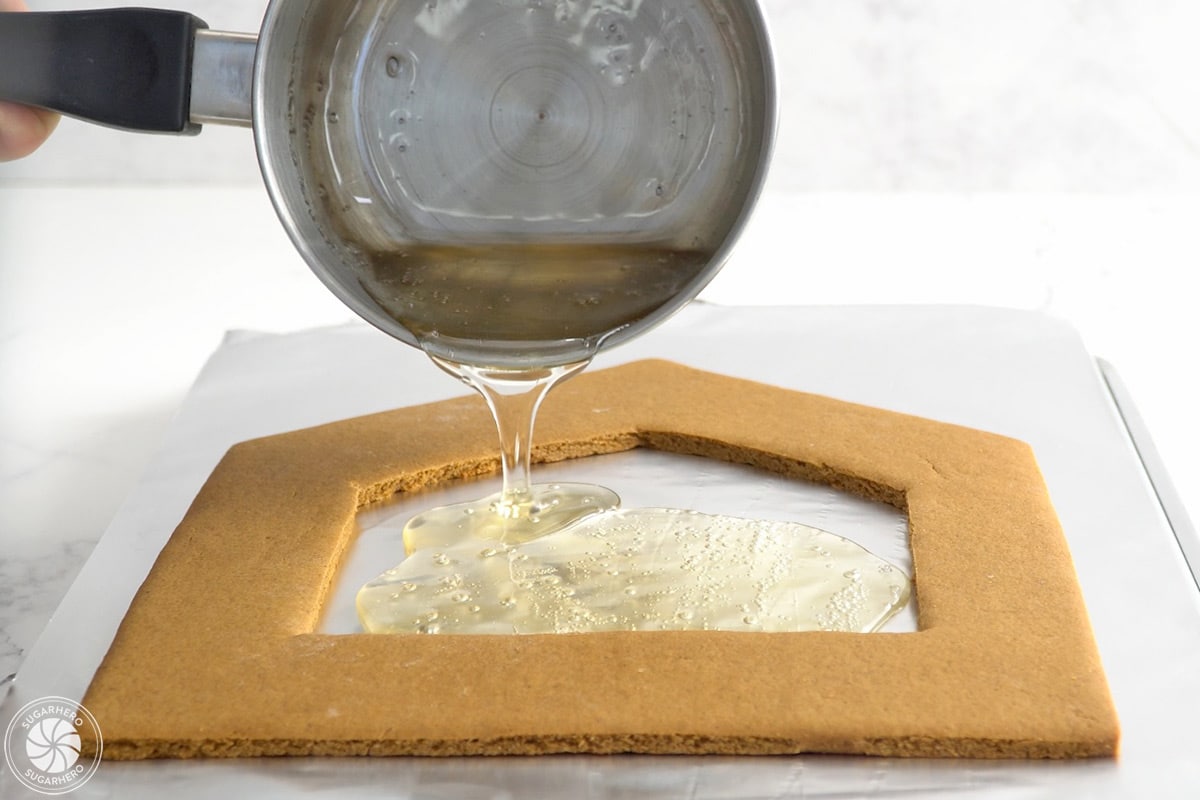
- Stirring after boiling: Once the sugar mixture comes to a boil, it should not be stirred. Stirring can agitate the sugar molecules and encourage crystal formation.
- Undissolved sugar crystals: Any stray sugar crystals on the sides of the pan, on the thermometer, or on utensils can act as "seeds" for crystallization. This is why washing down the sides of the pan is so important.
- Contamination: Even a tiny amount of undissolved sugar or impurities can trigger crystallization.
While crystallized sugar glass is still edible and tastes the same, its appearance and texture will be compromised. Using corn syrup and cream of tartar significantly helps to prevent this.
-
Storage Information:
Proper storage is vital for maintaining the integrity of your sugar glass. Store it at room temperature in a strictly airtight container. It’s best consumed within 7 days. As previously noted, humidity is the enemy of hard candy, so if you live in a particularly damp environment, plan to use your sugar glass within 2-3 days or employ moisture-absorbing aids like silica gel packets. Avoid refrigerating or freezing as condensation will inevitably lead to a sticky product.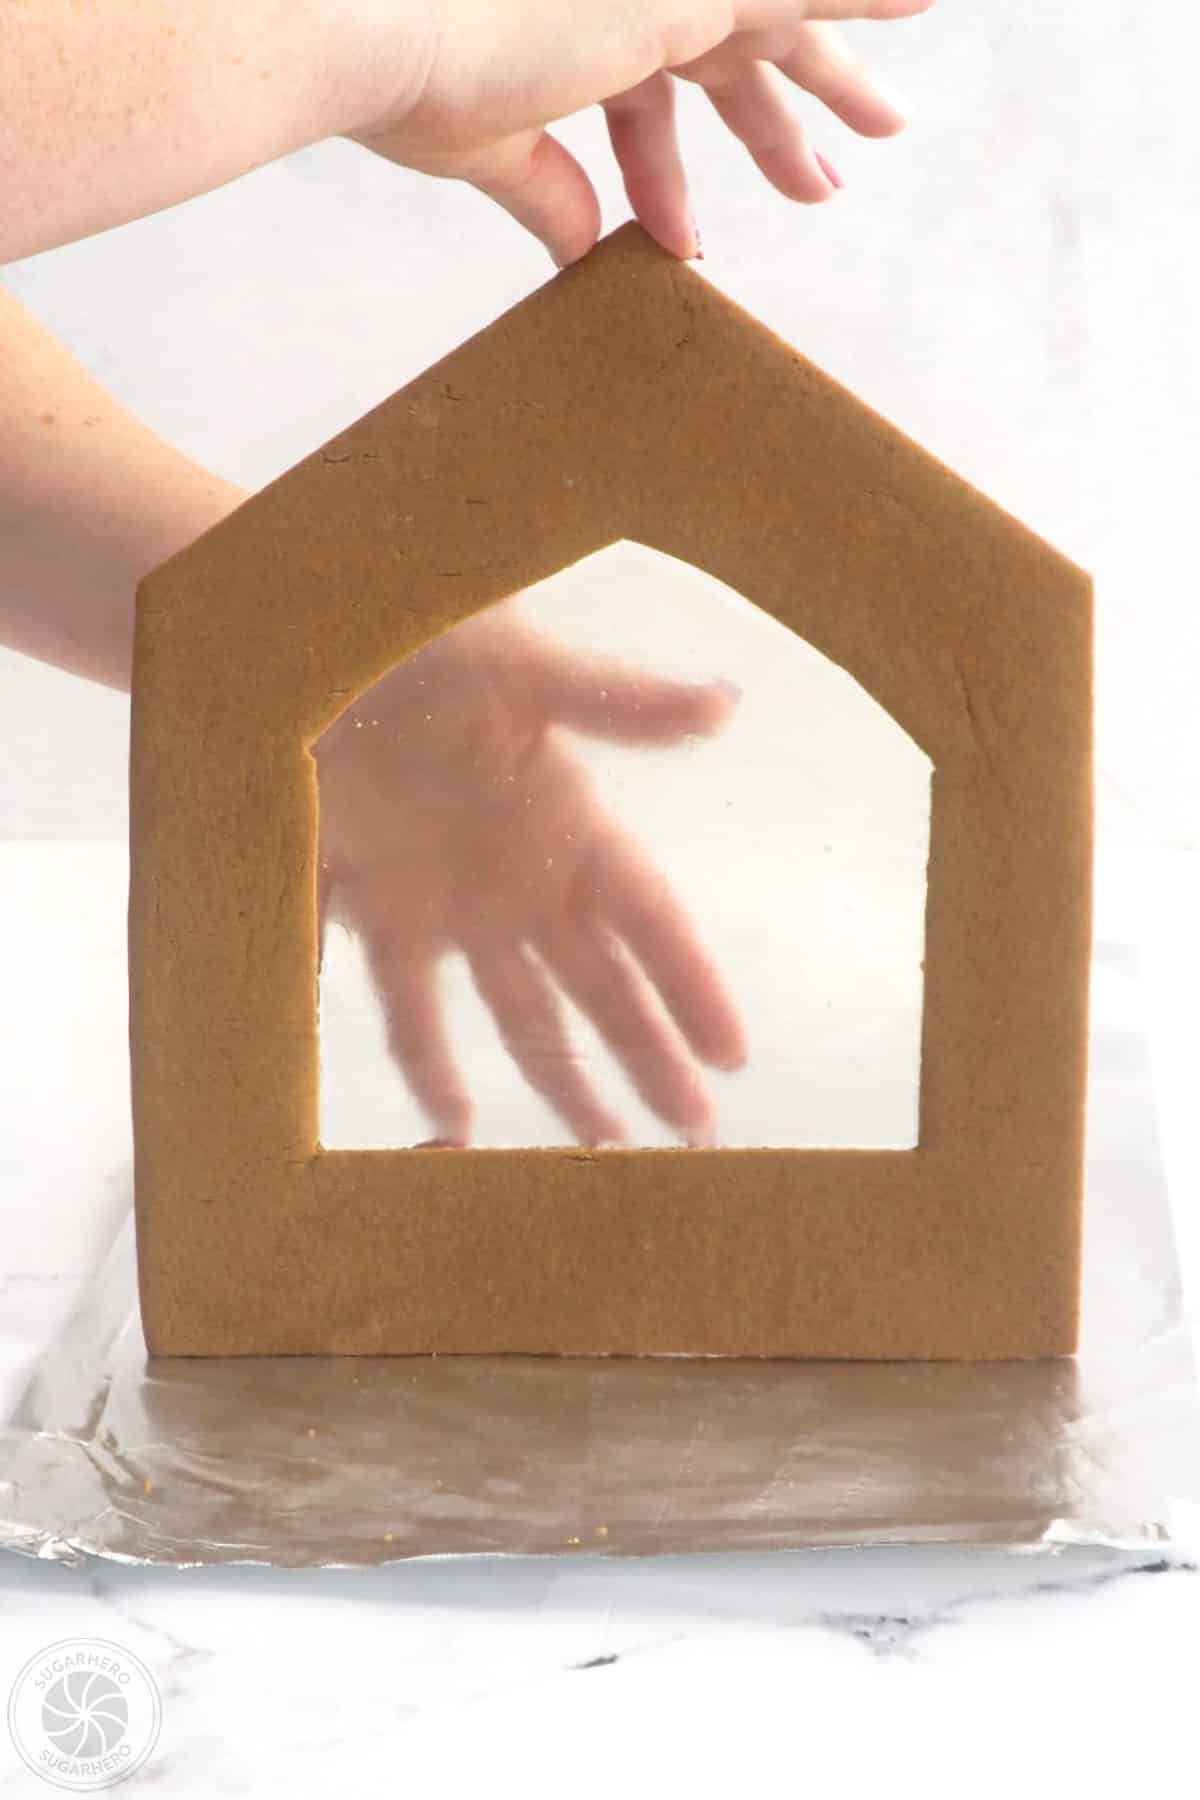
Broader Impact and Culinary Implications
The ability to create professional-grade edible sugar glass empowers home bakers and pastry chefs alike to execute more complex and visually striking dessert designs. Its use democratizes a technique previously associated with high-end patisseries, allowing for greater creativity in home kitchens. The educational aspect of understanding sugar chemistry and precise temperature control also offers a valuable learning experience for aspiring culinary artists. Furthermore, the trend of incorporating such intricate edible elements into desserts aligns with a broader cultural appreciation for visually appealing and artistically crafted food. As the food industry continues to emphasize both taste and aesthetics, techniques like sugar glass creation will remain a cornerstone of innovative dessert artistry.
The journey from simple granulated sugar to shimmering, translucent candy is a testament to the magic of culinary science. By adhering to precise measurements, employing the correct techniques, and understanding the underlying principles, anyone can master the art of creating beautiful and delicious edible sugar glass, transforming ordinary desserts into extraordinary works of art.