The crisp autumn air and the changing leaves signal the arrival of Halloween, a season synonymous with festive gatherings, thrilling decorations, and, of course, delectable treats. Among the myriad of seasonal confections, cupcakes stand out as a versatile and universally beloved option. This year, bakers can elevate their Halloween offerings with a surprisingly simple yet strikingly effective design: the skull cupcake. Far from being overly complicated, these skull-adorned delights offer a perfect blend of spooky charm and edible artistry, making them an ideal centerpiece for any Halloween party or a delightful surprise for trick-or-treaters.
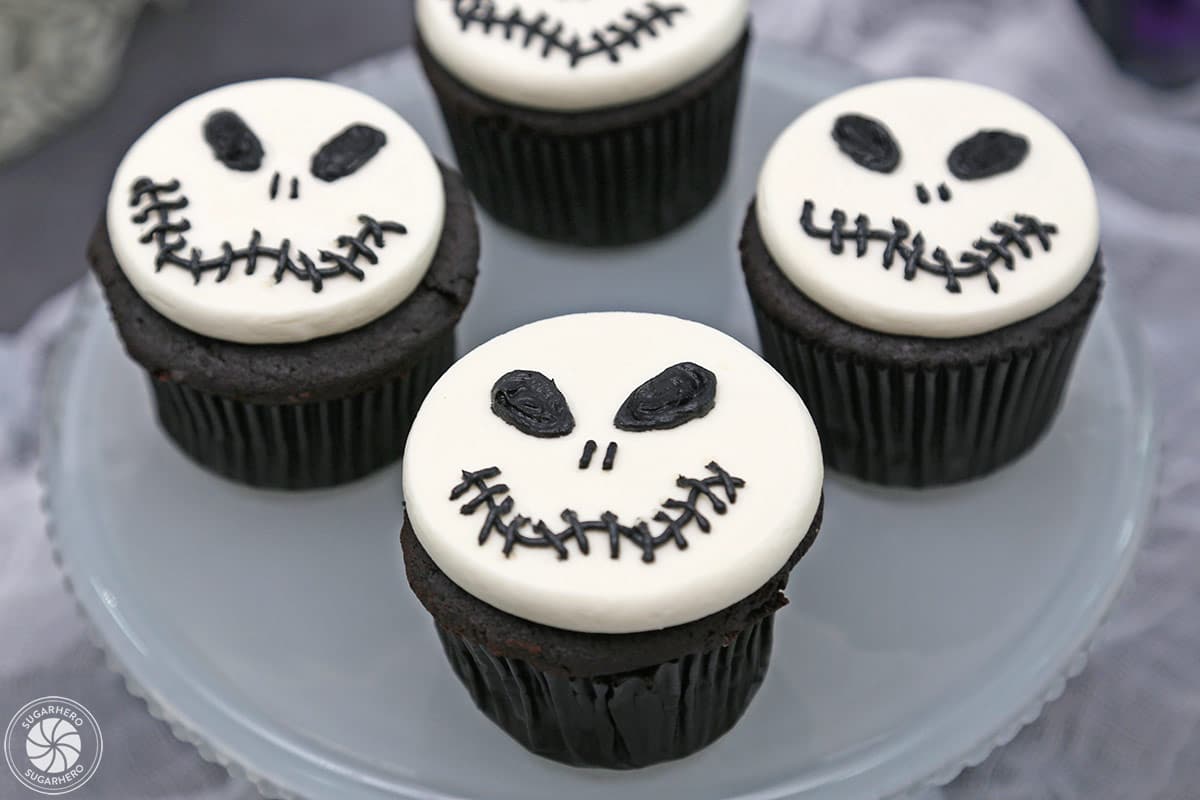
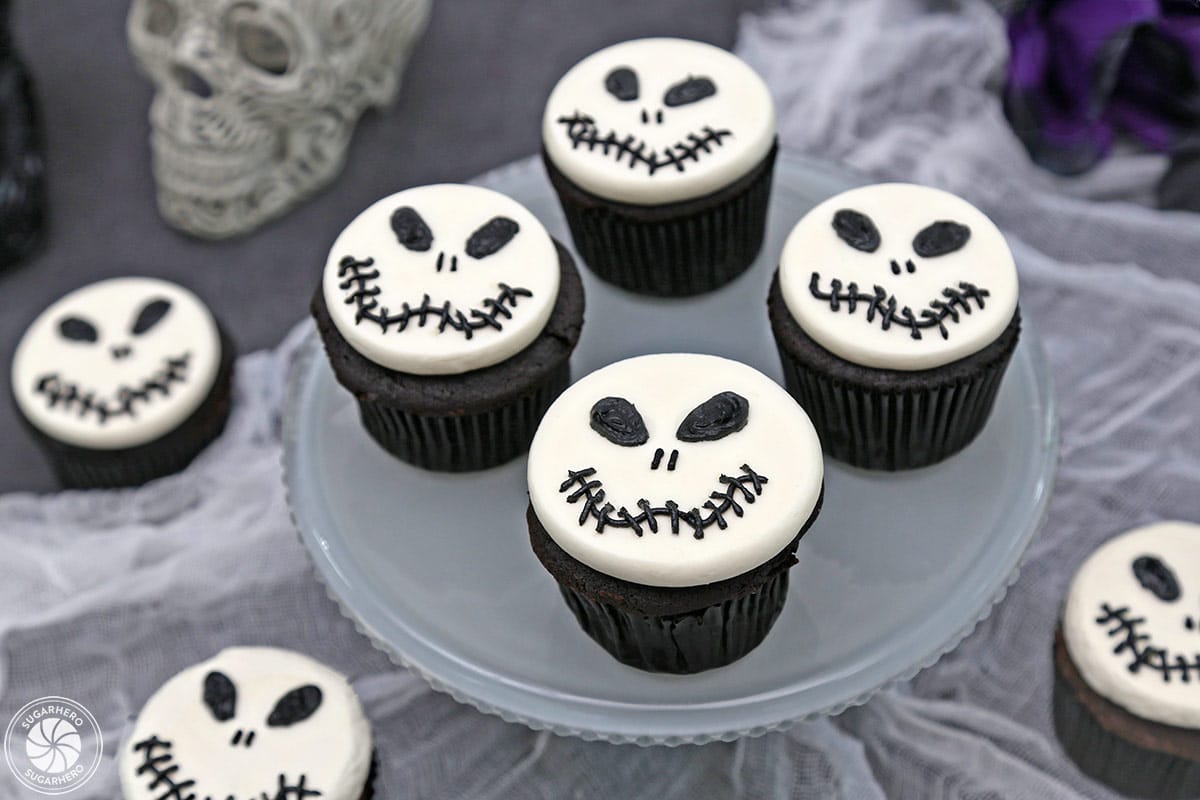
The appeal of these skull cupcakes lies in their accessibility. Requiring only basic baking ingredients and a touch of buttercream artistry, they demystify the process of creating visually impressive themed desserts. The design, often inspired by the iconic Jack Skellington, transforms a standard cupcake into a miniature Halloween spectacle. Whether utilizing a favorite homemade cake recipe or opting for the convenience of a store-bought cake mix, the foundation for these festive treats is readily achievable. The true magic unfolds with the decoration, where two complementary colors of buttercream are expertly employed to craft the distinctive features of a skull.
A Deep Dive into Halloween Baking Traditions
Halloween, with its roots tracing back to ancient Celtic traditions and evolving through centuries of cultural exchange, has solidified its place as a holiday that encourages creativity and communal celebration. The practice of baking and sharing themed treats is an integral part of this modern interpretation. From intricately carved pumpkins to ghost-shaped cookies, the culinary landscape of Halloween is rich and varied. Cupcakes, as a portable and individual serving format, have gained immense popularity for their adaptability to various themes and ease of distribution, especially in school events or neighborhood gatherings. The skull motif, a potent symbol of mortality and remembrance, has been reinterpreted in popular culture as a playful and slightly eerie icon, perfectly aligning with Halloween’s dual nature of fright and fun.
The Essential Components for Skull Cupcakes
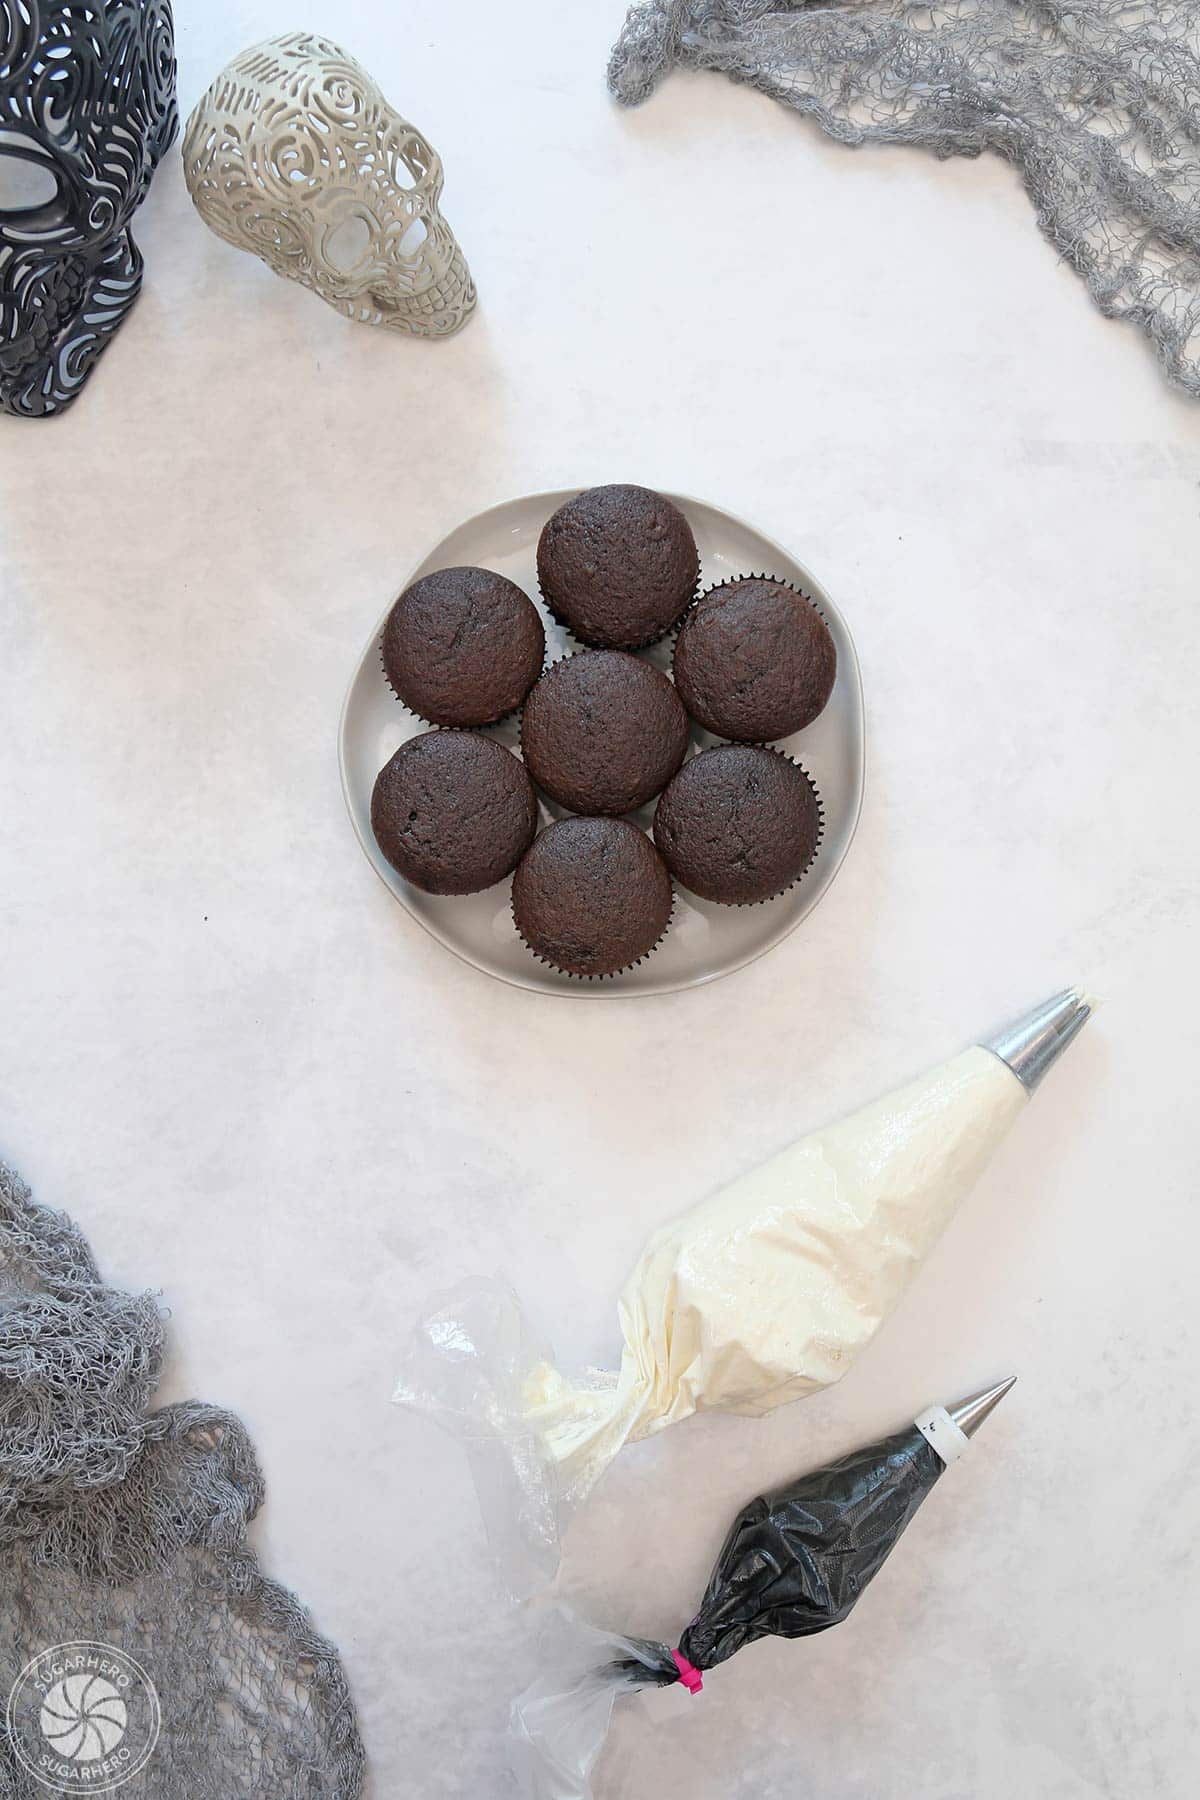
Crafting these eye-catching skull cupcakes involves a straightforward list of ingredients and equipment, ensuring that even novice bakers can achieve professional-looking results.
Ingredients:
The foundation of any great cupcake lies in its ingredients. For these skull cupcakes, the focus is on simple, high-quality components that deliver on flavor and texture.
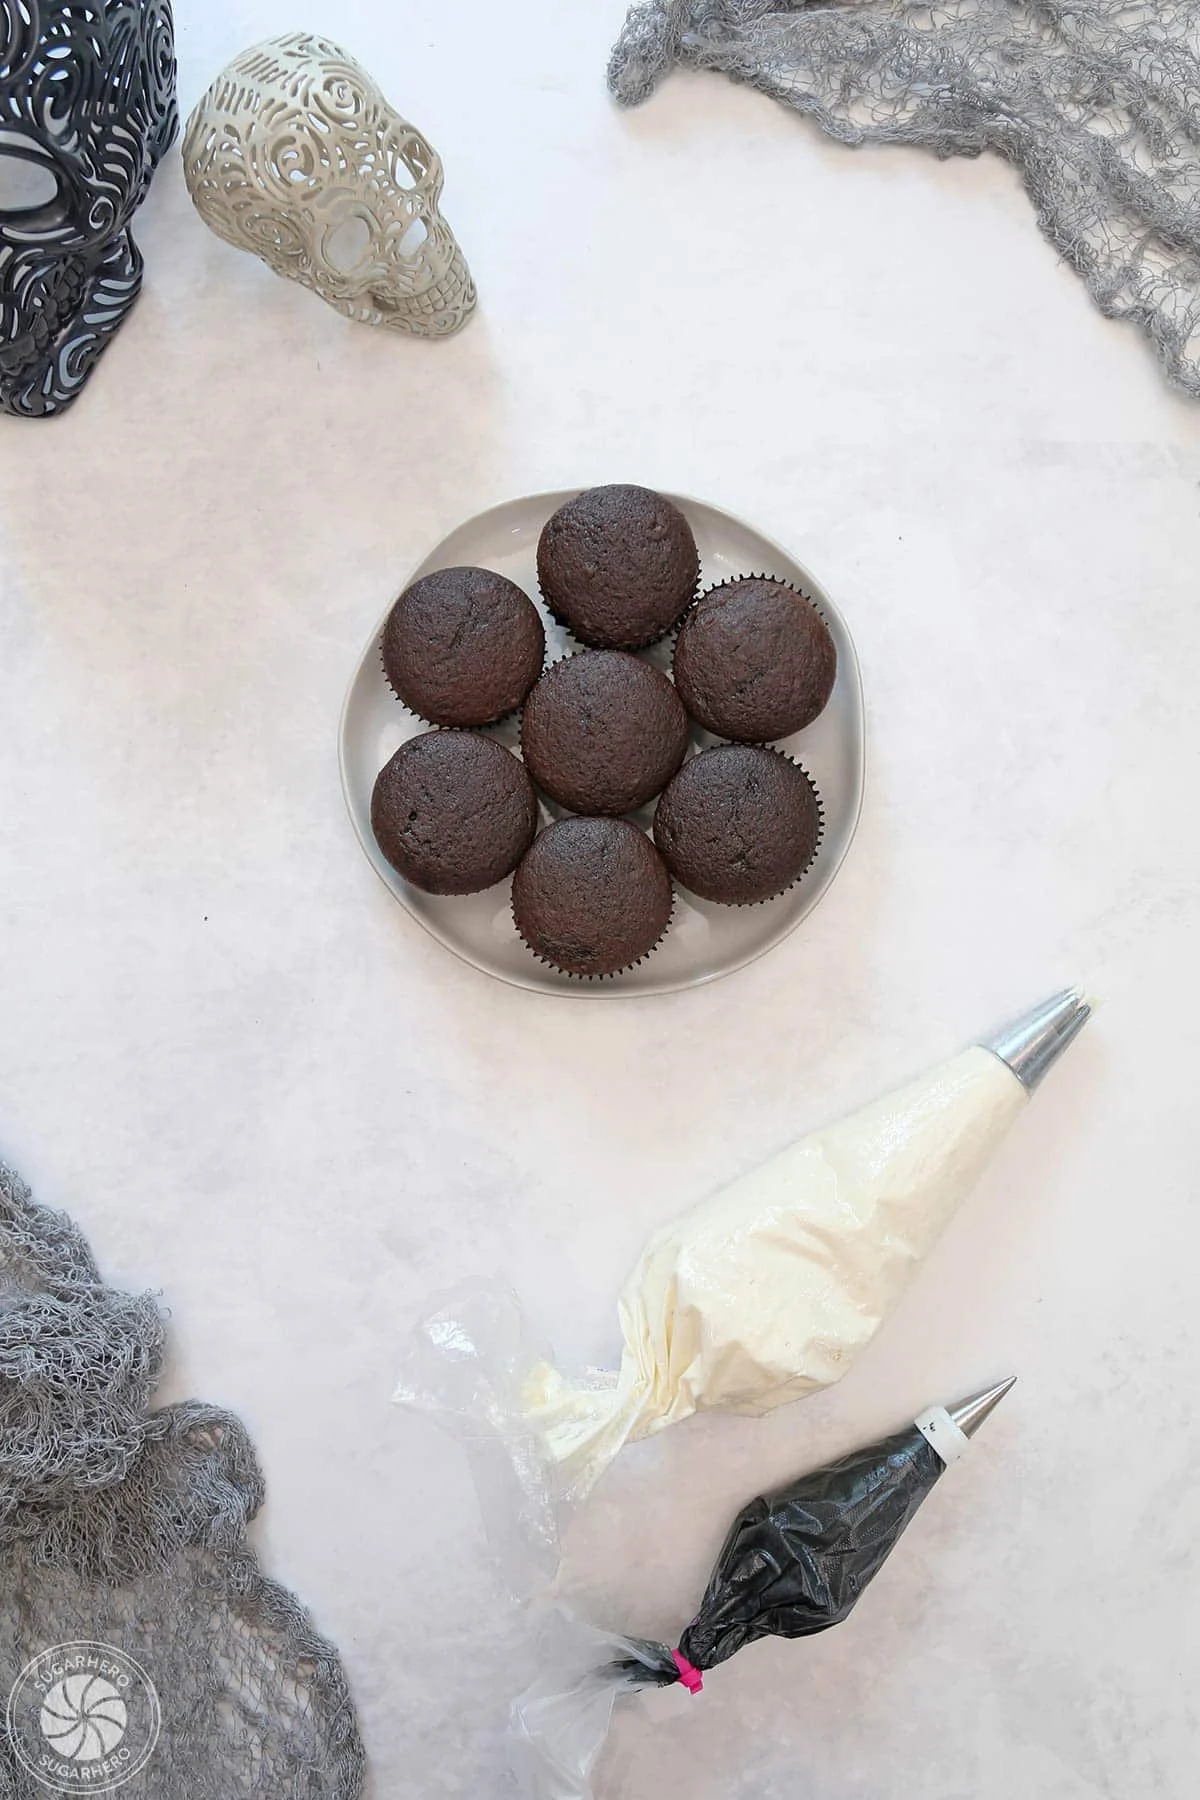
- Baked Cupcakes: Approximately two dozen, whether homemade or from a mix. Flavor profiles such as vanilla, chocolate, or even a spiced pumpkin cake would complement the Halloween theme.
- Buttercream Frosting: A generous amount is needed, typically a batch that yields around 4-6 cups. This forms the base for the skull’s features.
- Food Coloring: Crucially, a high-quality black food coloring is essential for achieving a deep, opaque skull. Gel or powdered food coloring is recommended over liquid varieties, as they provide more concentrated color without altering the frosting’s consistency.
- Optional: Black Cocoa Powder: For those seeking a richer, more intensely dark frosting with a subtle chocolate undertone, black cocoa powder can be incorporated. It helps reduce the amount of black food coloring needed.
Equipment:
The right tools can significantly enhance the decorating process and the final outcome.
- Piping Bags: Two are ideal, one for each color of frosting, allowing for precise application of details.
- Piping Tips: A medium round tip (like a Wilton #12) is perfect for creating the base shape of the skull and its features. A smaller round tip can also be useful for finer details.
- Offset Spatula: For smoothly frosting the cupcakes and creating a clean base.
- Parchment Paper or Wax Paper: Useful for lining baking sheets and managing any frosting drips.
- Optional: Ziplock Bags: As a readily available alternative to piping bags, Ziplock bags can be used by cutting a small corner to extrude the frosting.
The Culinary Process: A Step-by-Step Guide
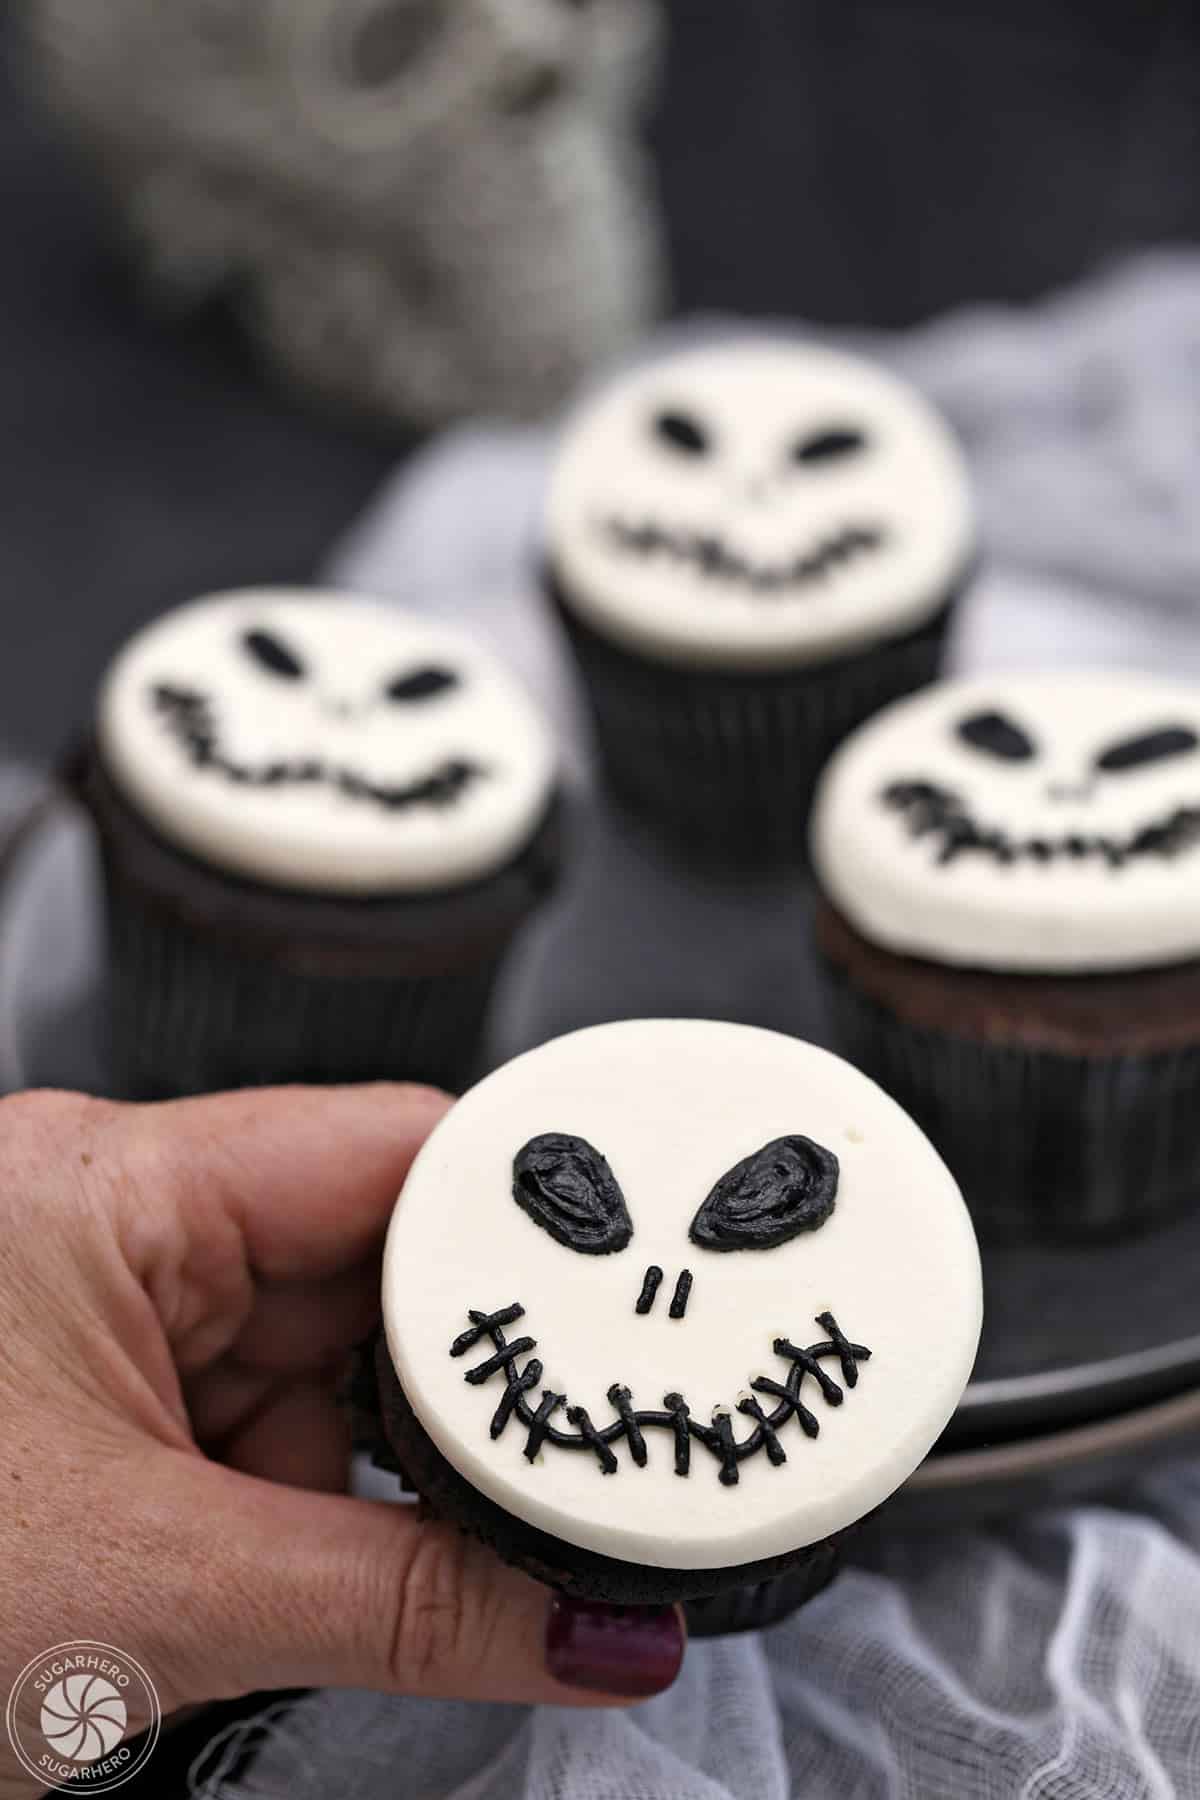
The creation of these skull cupcakes is a methodical yet enjoyable process, broken down into distinct stages to ensure clarity and success.
Phase 1: Preparing the Frosting
The success of the black frosting is paramount. Achieving a true, deep black can be a challenge, and it often requires patience and the right techniques.
- Creaming the Butter: Begin by creaming softened unsalted butter until light and fluffy. This incorporates air, which is crucial for a smooth and stable buttercream.
- Adding Sweeteners and Liquids: Gradually add powdered sugar, alternating with small amounts of milk or cream, until the desired consistency is reached. Beat on medium speed to ensure thorough incorporation.
- Coloring the Frosting: Divide the buttercream into two portions. For the skull’s main feature, color one portion black. Start with a small amount of black food coloring and gradually add more until a deep, rich black is achieved. If using black cocoa powder, incorporate it during the initial mixing stage. For the second portion, keep it white or tint it a complementary subtle color if desired.
- The "Black Magic" of Time: A critical step for achieving true black frosting is allowing it to rest. Black food coloring, especially gel or powder, needs time to deepen and develop its full intensity. It is highly recommended to prepare and color the black frosting at least 24 hours in advance. Store it in an airtight container, pressing plastic wrap directly onto the surface to prevent a crust from forming. Refrigerate until ready to use. Before decorating, allow the frosting to come to room temperature and then whip it on medium speed until it regains its light, creamy texture. This resting period is often referred to as "blooming" for food colorings.
Phase 2: Frosting the Cupcakes
With the frosting prepared, the next step is to create a smooth canvas for the skull design.
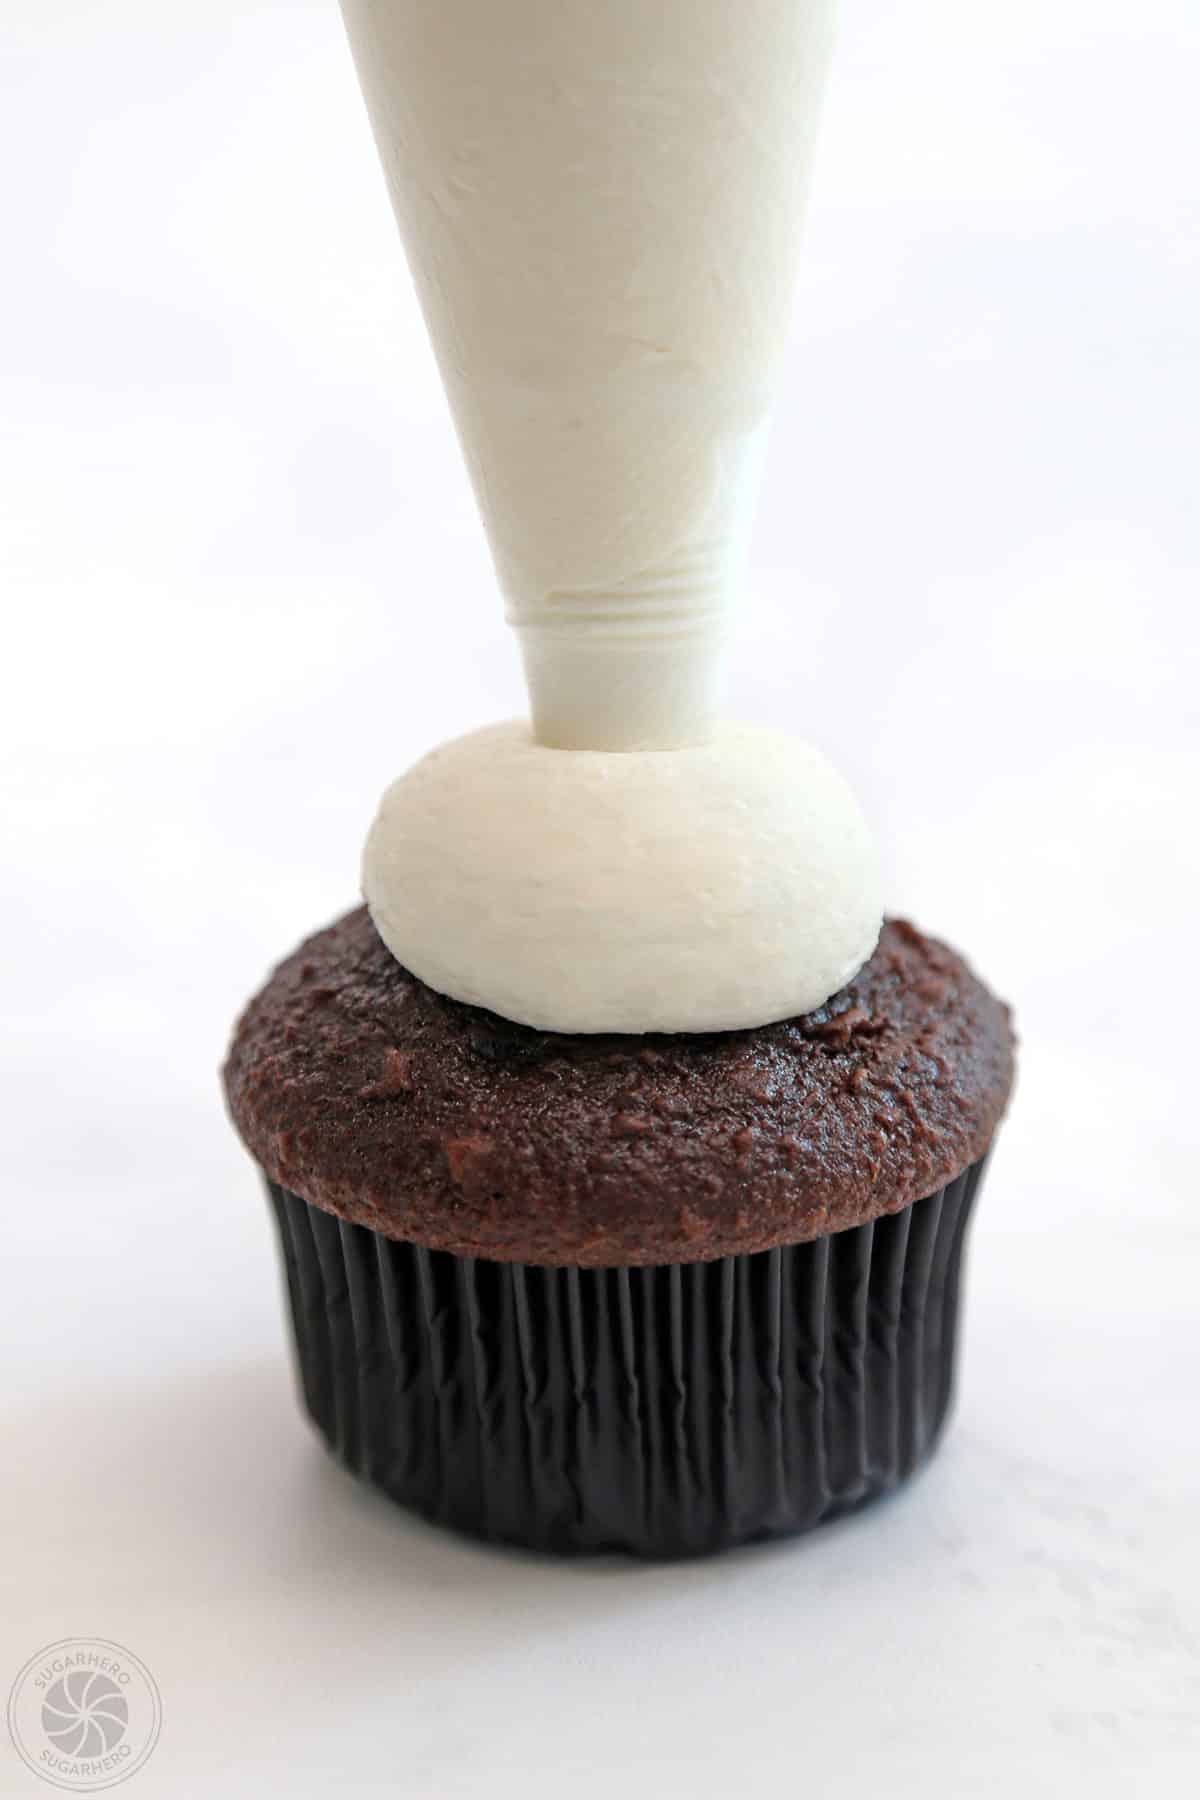
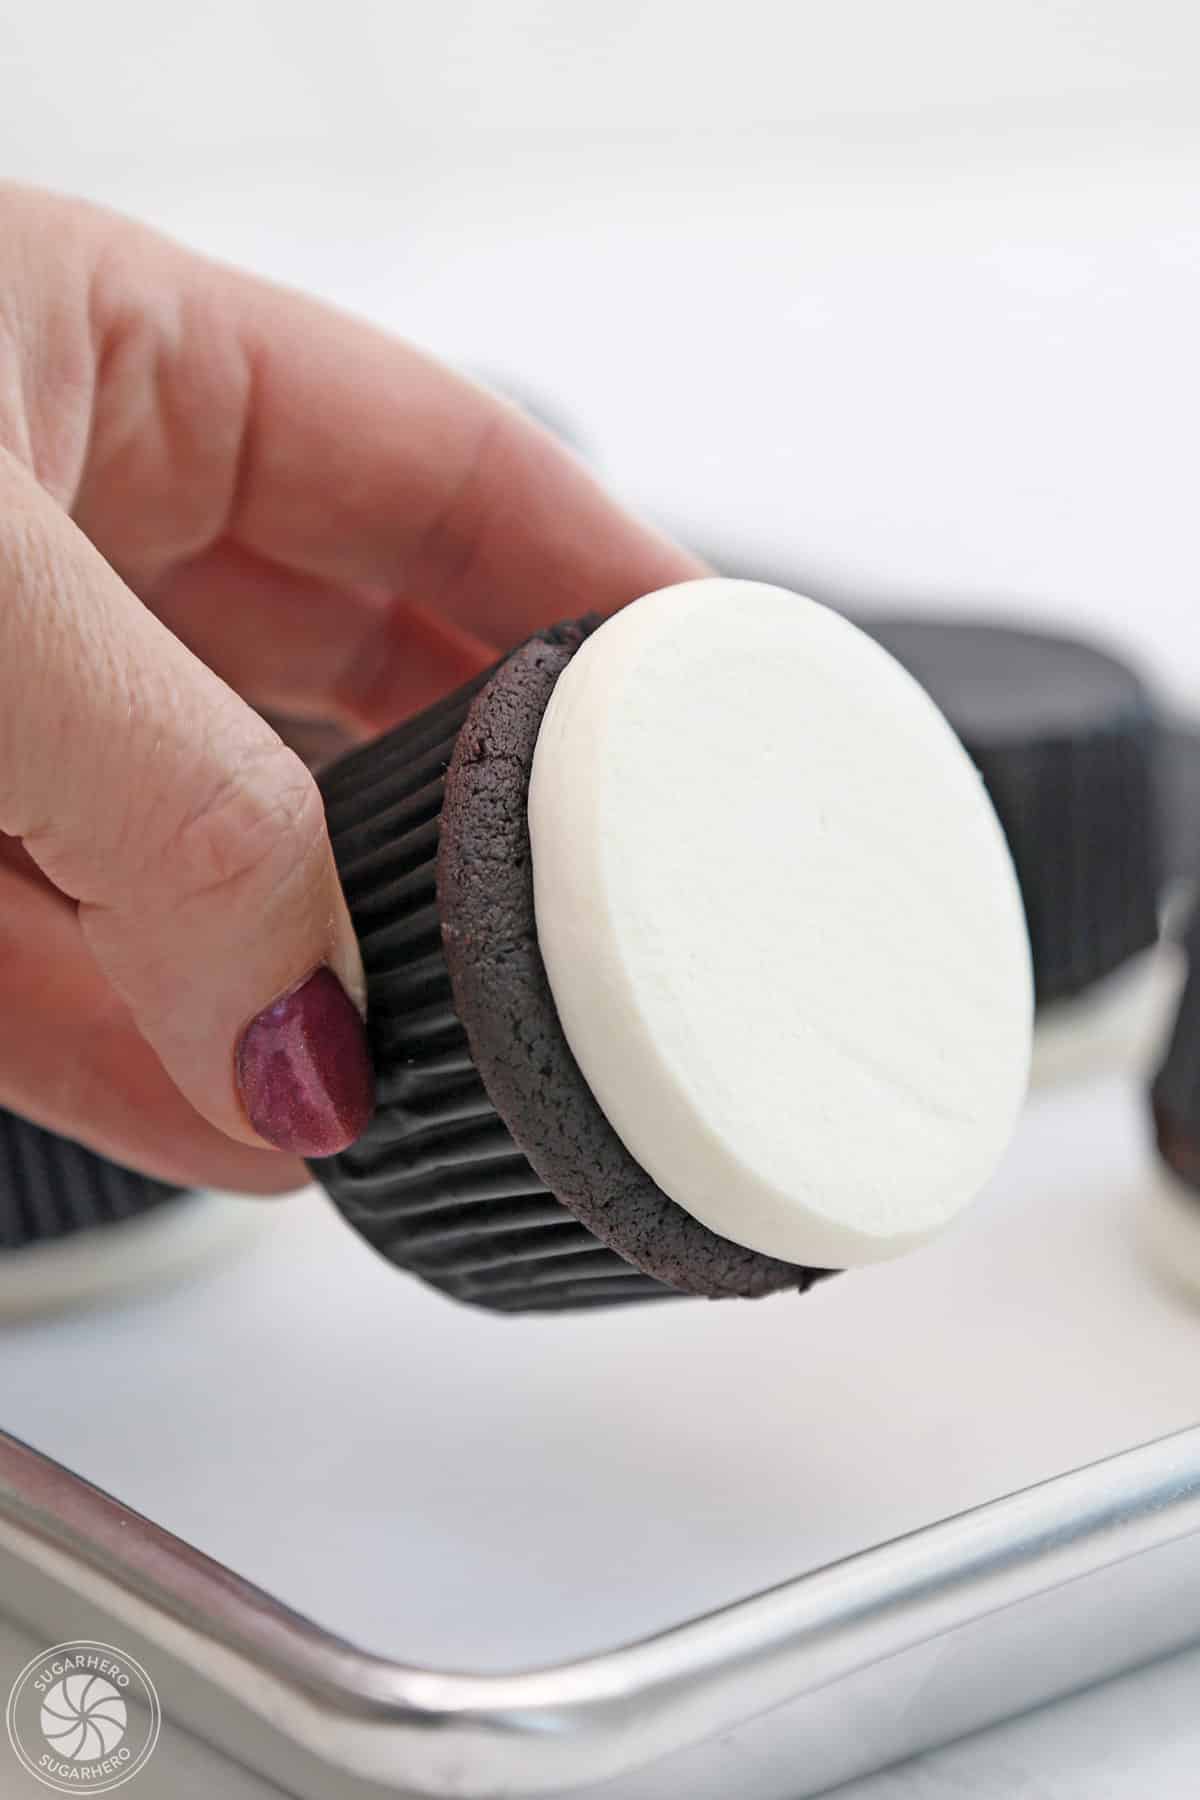
- Base Layer: Using an offset spatula, apply a thin, even layer of white (or colored) frosting to the top of each cooled cupcake. This serves as the base for the skull’s face.
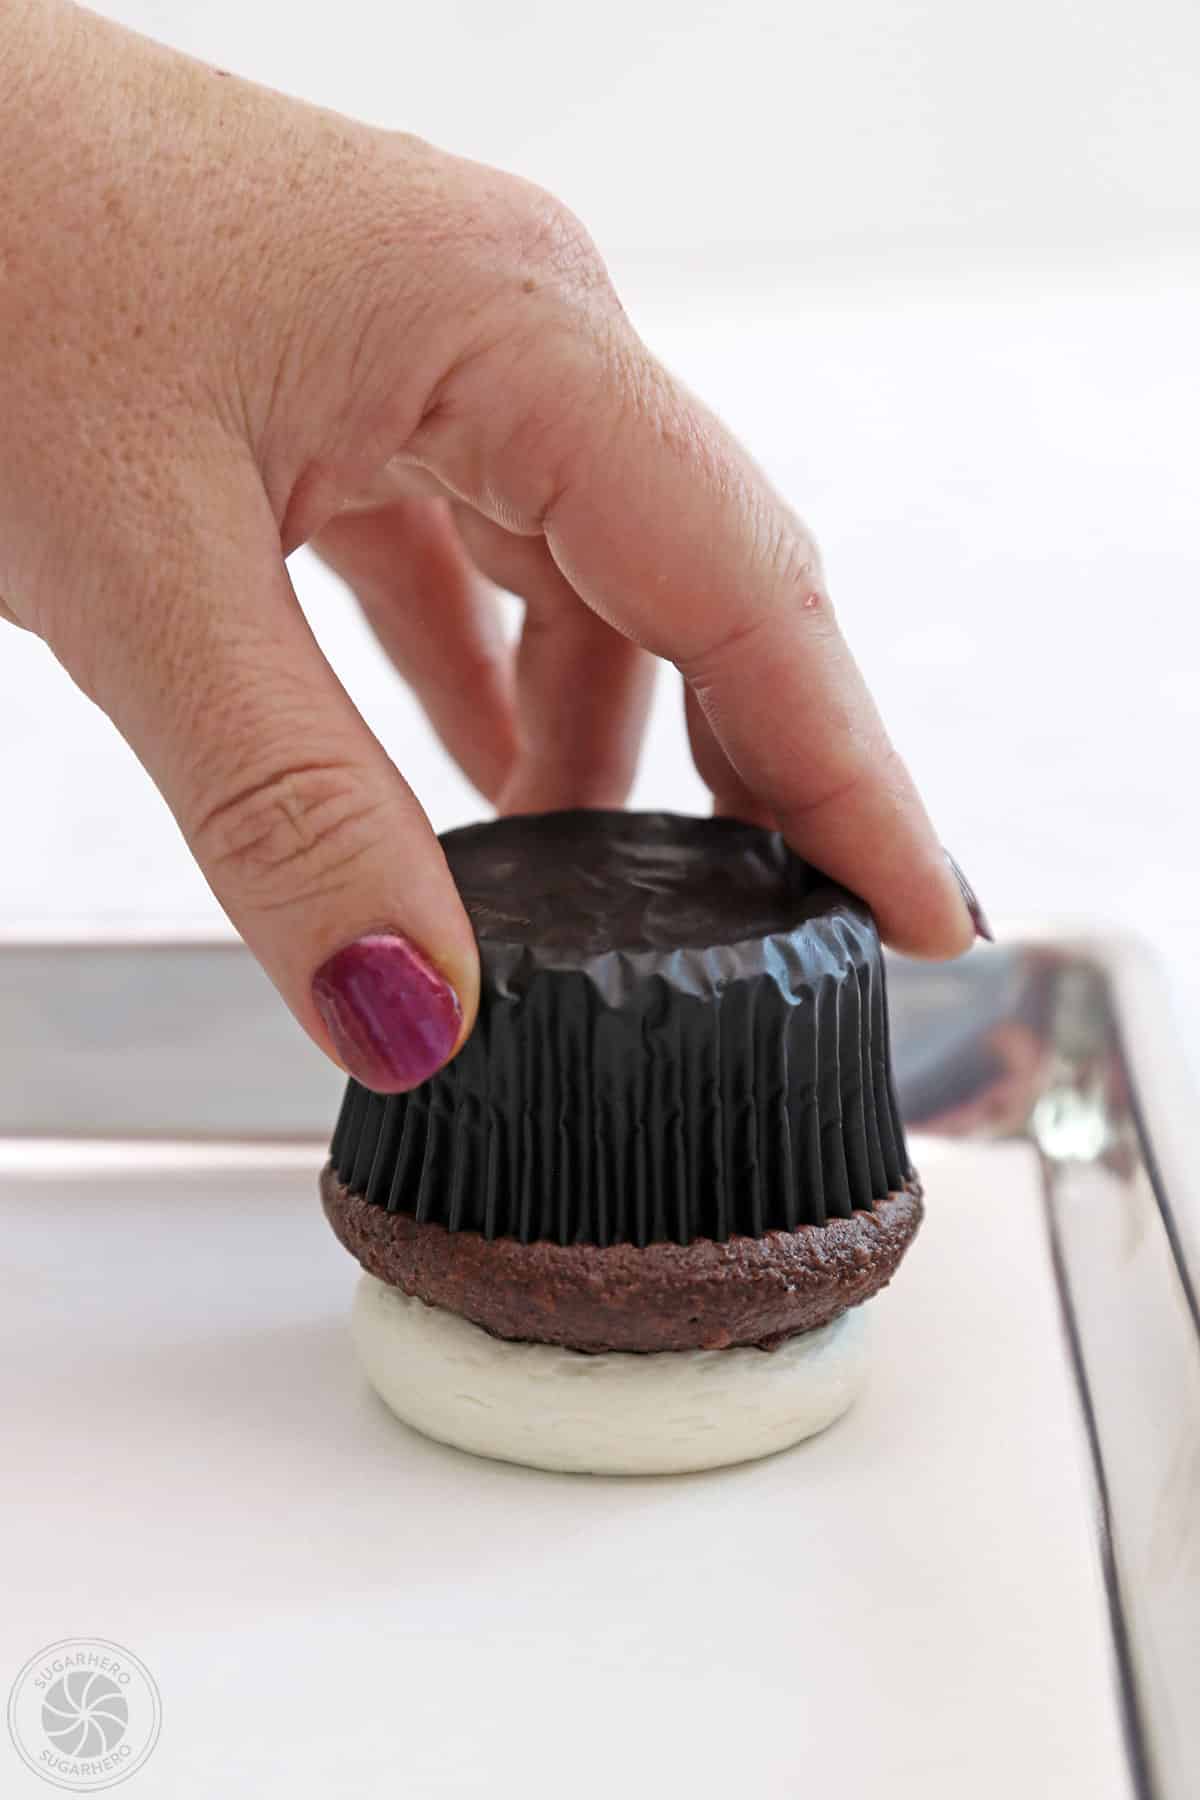
- Flattening the Surface: For a cleaner skull design, it’s often beneficial to create a relatively flat surface. Gently press the frosted top of the cupcake onto a parchment-lined baking sheet or work surface. This flattens the frosting and removes any peaks or swirls, providing a smoother area for drawing the facial features. Alternatively, some decorators prefer to apply a thicker layer of frosting and then smooth it with a bench scraper or the back of a spoon.
Phase 3: Decorating the Skull
This is where the creative transformation takes place, bringing the skull to life with simple piping techniques.
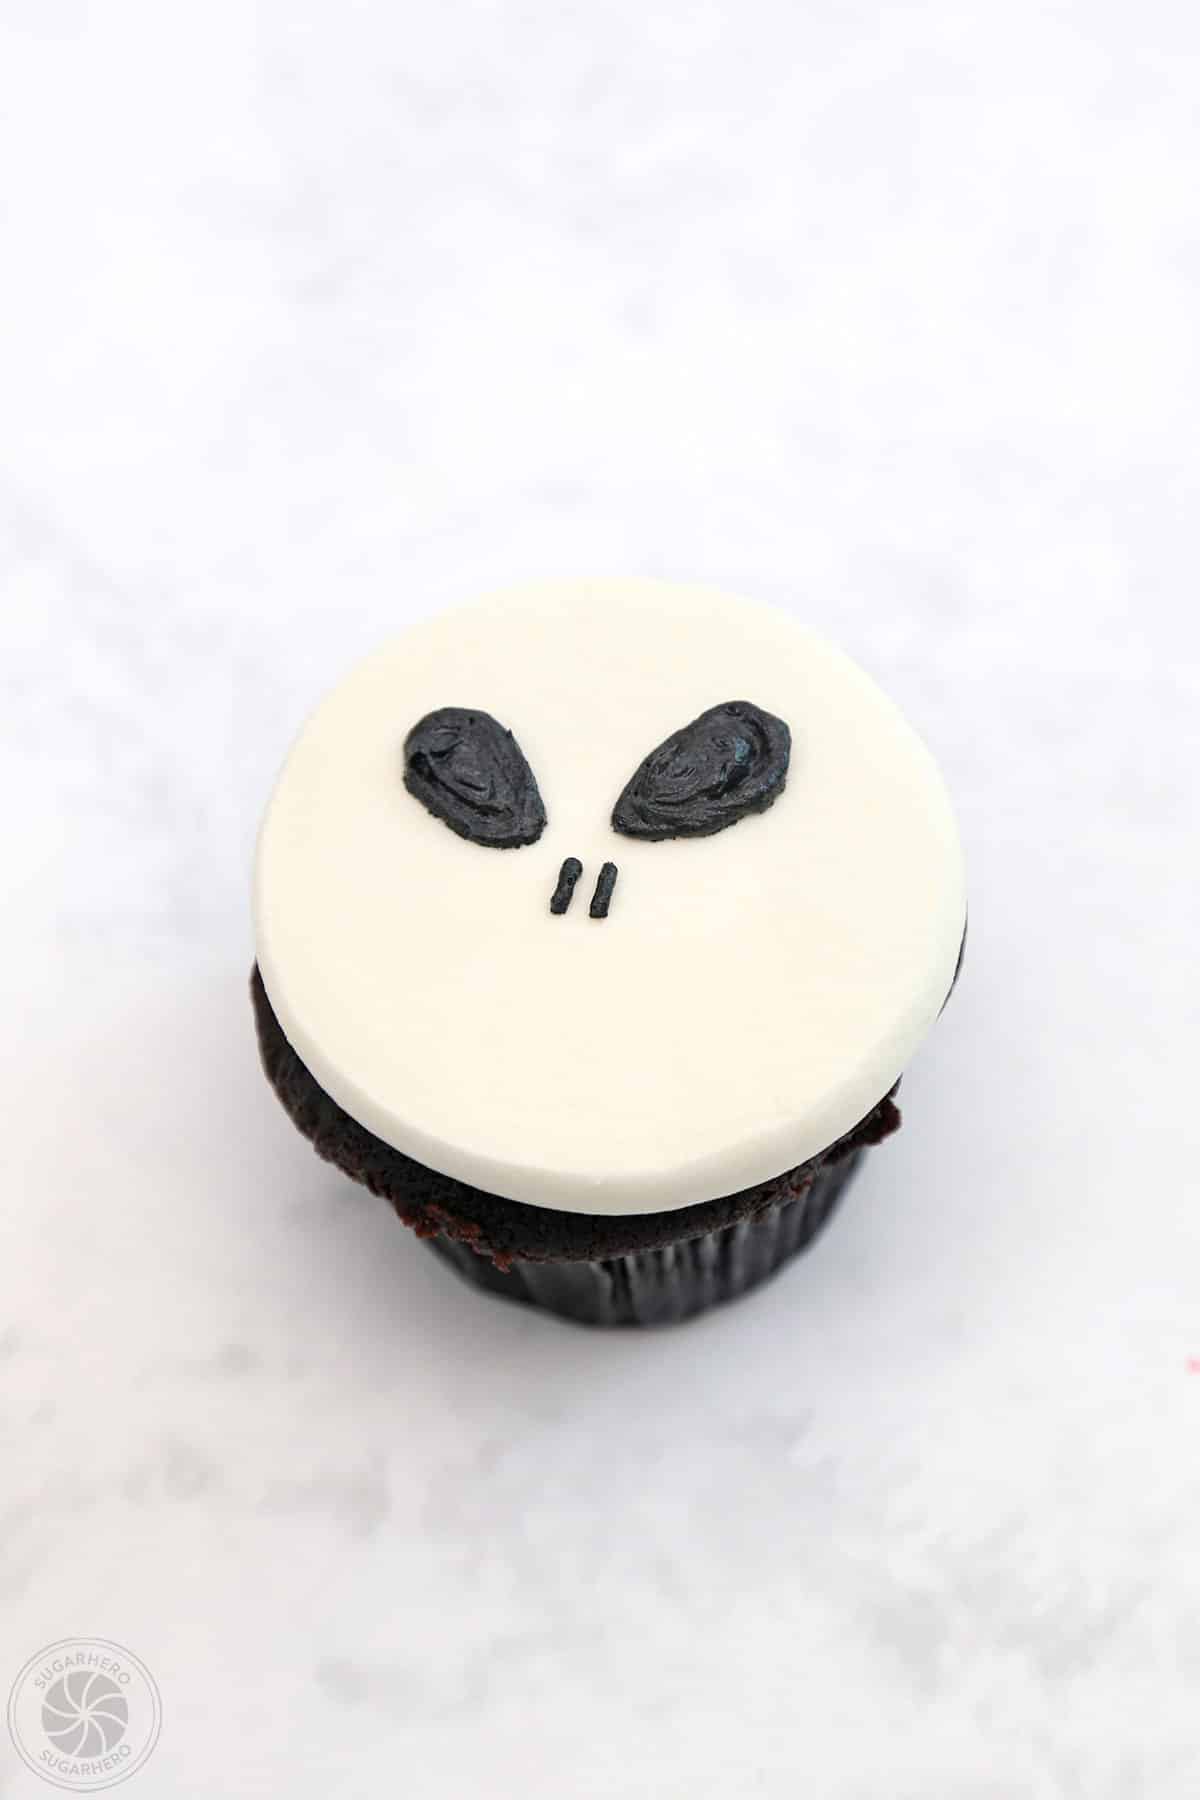
- Piping the Main Shape: Using the piping bag fitted with a medium round tip and filled with black frosting, pipe a large, slightly flattened circle or oval on top of the white frosted cupcake. This will form the main cranial area of the skull. The exact shape can be adjusted to create different skull expressions.
- Creating the Eyes: Next, pipe two smaller circles or rounded squares above the main shape to represent the eye sockets. Ensure they are symmetrical for a classic skull look.
- Adding the Nose: Below the eye sockets, pipe a small inverted triangle or a rounded shape to form the nasal cavity.
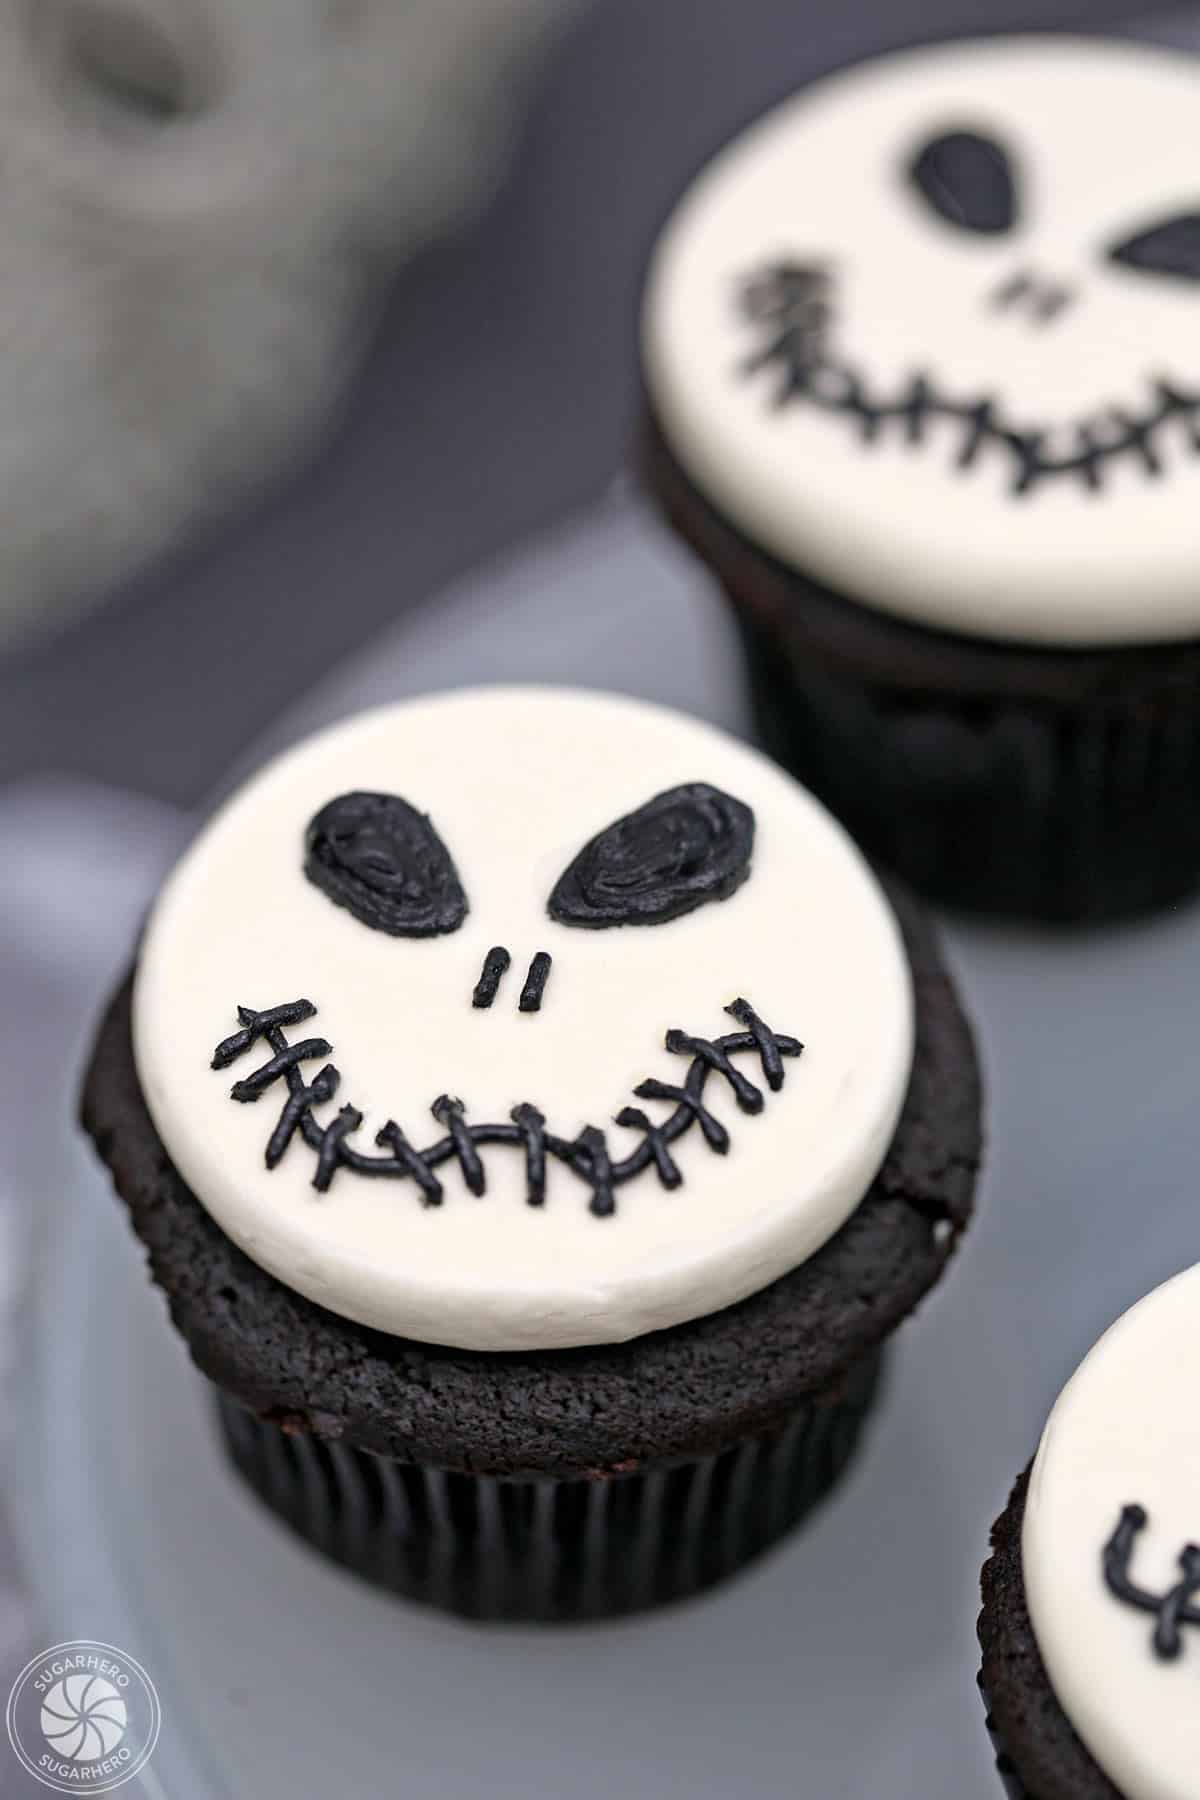
- Detailing the Mouth: For the mouth, pipe a horizontal line connecting the two sides of the main skull shape. You can then add vertical lines or small dots below this line to suggest teeth, or leave it as a simple, eerie grin.
- Optional Accents: For added detail, you could pipe small dots or lines around the edges of the skull or add subtle shading.
A Chronological Approach to Halloween Baking
The preparation of Halloween treats often benefits from a strategic timeline to ensure freshness and reduce last-minute stress.
- One Week Prior: Bake and freeze the cupcakes. Ensure they are completely cooled before packaging in airtight containers to prevent freezer burn.
- 24-48 Hours Prior: Prepare and color the buttercream frostings, especially the black frosting. This allows ample time for the black color to fully develop its intensity. Store properly as noted above.
- The Day Of: Thaw the cupcakes at room temperature. Bring the buttercream to room temperature and re-whip it to achieve the desired consistency. Proceed with frosting and decorating.
Expert Insights and Troubleshooting
Achieving the perfect buttercream consistency is crucial for effective decorating. Factors such as room temperature, butter brand, and even humidity can influence its texture. If the frosting is too stiff, a tablespoon of milk or cream can help loosen it. If it’s too soft, a bit more powdered sugar can firm it up.
For those without specialized piping equipment, a sturdy Ziplock bag with a small corner snipped off can serve as an effective substitute. While it may offer less control than a professional piping bag and tip, it is a perfectly viable option for home bakers.
Storage and Make-Ahead Strategies
These skull cupcakes are designed for both immediate enjoyment and advance preparation.
- Storage: Store unfrosted cupcakes at room temperature in an airtight container for up to two days. Once decorated, store them in an airtight container at room temperature for 2-3 days. For longer storage, they can be refrigerated for up to a week. It is important to allow refrigerated cupcakes to come to room temperature before serving to ensure the best flavor and texture.
- Make-Ahead: As mentioned, both the cupcakes and the frosting can be prepared in advance. This is a significant advantage for busy hosts planning Halloween parties. The ability to freeze cupcakes and refrigerate frosting means that the more time-consuming elements can be tackled well before the event.
Analysis of Implications and Broader Impact
The popularity of DIY baking and themed celebrations continues to surge, with platforms like social media playing a pivotal role in disseminating trends and inspiring home cooks. The skull cupcake, with its visual appeal and relative ease of execution, fits perfectly into this landscape. It empowers individuals to create professional-looking desserts without requiring advanced culinary skills. This accessibility fosters a sense of accomplishment and encourages participation in seasonal festivities. Furthermore, these treats contribute to the overall atmosphere of Halloween, transforming ordinary gatherings into memorable experiences filled with whimsy and a touch of playful dread. The shared enjoyment of these festive confections strengthens community bonds and creates lasting culinary memories.
Conclusion
The creation of creepy-cute skull cupcakes is more than just a baking project; it’s an opportunity to engage with the spirit of Halloween through a delightful and accessible culinary endeavor. By understanding the core ingredients, employing straightforward decorating techniques, and leveraging strategic preparation, bakers of all levels can produce visually stunning and delicious treats. These cupcakes serve as a testament to the fact that impressive festive desserts do not require complex methods, but rather a blend of creativity, a few key ingredients, and a touch of holiday magic. As the season of spooks and sweets approaches, these skull cupcakes are poised to become a cherished addition to any Halloween celebration, offering a perfect "bone-appetit" for all who dare to indulge.