This innovative recipe elevates the humble tri-tip cut into a flavor-packed pastrami, boasting a tender, smoky profile perfect for both elegant slicing and hearty sandwiches. The process, which requires a week-long brine followed by a focused grilling session, yields a beef experience that rivals traditional pastrami preparations, offering a quicker yet equally satisfying result due to the tri-tip’s inherent leanness.
The Art of Pastrami: Beyond Brisket
Pastrami, a culinary tradition deeply rooted in Eastern European Jewish cuisine, is characterized by its meticulous preparation process. Historically, the most common cut for pastrami has been beef brisket, a tougher, fattier cut that benefits significantly from long, slow cooking methods to break down connective tissues and render fat. This results in a deeply flavorful and moist final product. However, the essence of pastrami lies in its distinctive curing and seasoning.
The fundamental technique involves a multi-day wet brine, typically incorporating salt, sugar, and a blend of spices, which imbues the meat with moisture and flavor while also acting as a preservative. Following the brine, the meat is often coated in a coarse, aromatic spice rub, rich with coriander, black pepper, and mustard seed. The final stage traditionally involves smoking, though in some contemporary adaptations, grilling is employed for a quicker finish.
Tri-Tip: A Leaner Alternative for Pastrami Perfection
The tri-tip, a triangular muscle cut from the bottom sirloin of a steer, presents a unique opportunity for pastrami enthusiasts. Unlike the richly marbled brisket, tri-tip is a leaner cut. This characteristic translates to a shorter cooking time when aiming for a medium or medium-rare finish, a desirable outcome for many who seek the complex flavors of pastrami without the extended commitment of slow-smoking a brisket. The recipe capitalizes on this by aiming for an internal temperature around 135°F (57°C), a range that ensures juiciness without overcooking the lean meat.
The Weeklong Transformation: A Detailed Process
The journey to creating this exceptional pastrami begins with a precise seven-day brining process. This extended period allows the flavors to deeply penetrate the tri-tip, ensuring every bite is infused with the savory brine.

Step 1: The Brine – Laying the Foundation of Flavor
The initial step involves preparing a potent brine. The recipe calls for mixing one cup of a specialized pastrami brine concentrate with eight cups of warm water. It is crucial that the sugar and salts fully dissolve before the brine is allowed to cool. Once cooled, the tri-tip is submerged in this liquid within a meat preparation bag, ensuring complete coverage. The bagged meat is then refrigerated for a full six days. This duration is critical for proper curing and flavor development.
Supporting Data: Wet brining, also known as corning, relies on osmosis. Salt and other solutes in the brine draw moisture out of the meat initially, but then as the concentration equalizes, moisture and flavor are drawn back into the meat. For leaner cuts like tri-tip, a longer brine ensures sufficient moisture retention and flavor infusion, mitigating the risk of dryness during the subsequent cooking phase. Traditional corned beef brines can range from 3 to 10 days, with 5-7 days being a common recommendation for cuts of this size.
Step 2: Seasoning – The Aromatic Embrace
After the six-day brining period, the tri-tip is removed from the brine. A thorough rinsing under cold water is essential to eliminate any residual surface salt, which could otherwise lead to an overly salty final product. The meat is then meticulously patted dry with paper towels. Following this, a generous coating of pastrami rub is applied to all sides of the tri-tip. This rub is the signature of pastrami, contributing its characteristic peppery, coriander-infused aroma and taste.

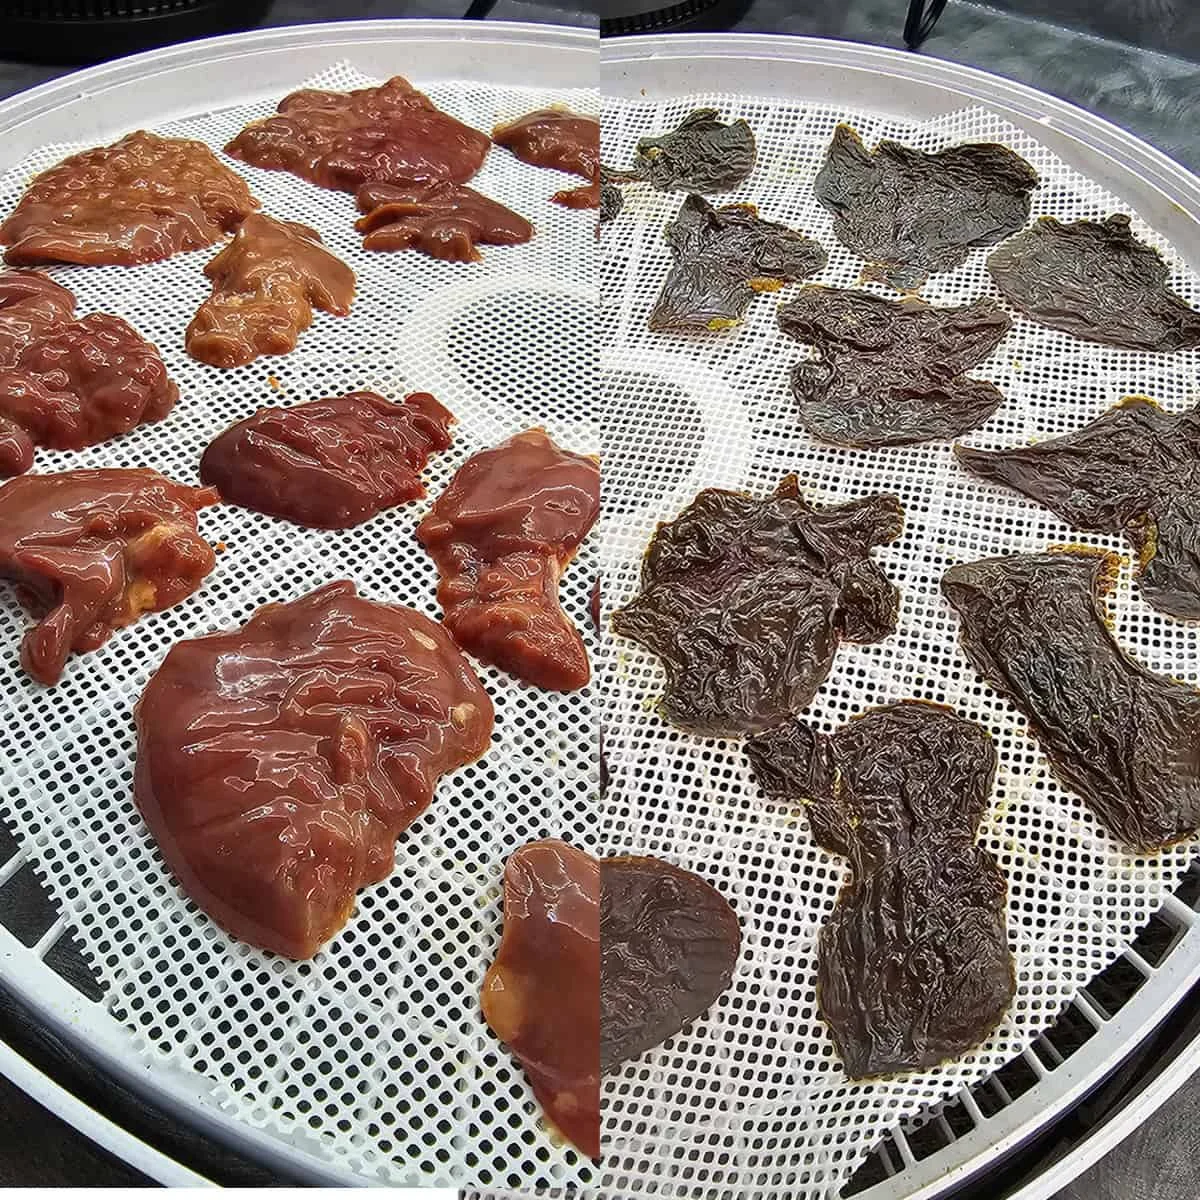
The seasoned tri-tip is then returned to the refrigerator, this time uncovered, for an additional day. This uncovered period, often referred to as "pellicle formation," allows the exterior of the meat to dry out slightly. This dried surface is crucial for achieving a better crust and smoke adhesion during the grilling process, enhancing both texture and flavor.
Step 3: Grilling – The Hot and Fast Finish
The cooking phase employs a direct grilling method. The grill is preheated to a medium-hot temperature, ideally between 350°F and 375°F (175°C – 190°C), with a designated direct heat zone. The seasoned tri-tip is placed directly over the heat source. The goal is to reach an internal temperature of approximately 135°F (57°C), signifying a perfect medium-rare. To ensure even cooking and prevent any single side from overcooking, the tri-tip is flipped every five to seven minutes. This frequent flipping is key to managing the heat on a leaner cut.
Step 4: Basting – Adding Moisture and Depth
Throughout the grilling process, a basting liquid is employed to maintain moisture and add another layer of flavor. This liquid is prepared by combining oil, red wine vinegar, minced garlic, and salt in a small pot. This mixture is placed on the grill to warm. Each time the tri-tip is flipped, a generous amount of this basting liquid is brushed onto its surface. The acidity of the vinegar helps to tenderize the meat further, while the garlic and salt enhance the overall savory profile.

Timeline of the Process:
- Day 1: Prepare brine, submerge tri-tip, and refrigerate.
- Days 2-6: Tri-tip brines in the refrigerator.
- Day 7 (Morning): Remove tri-tip from brine, rinse, pat dry, and apply pastrami rub.
- Day 7 (Afternoon/Evening): Uncovered tri-tip dries in the refrigerator.
- Day 8: Grill the pastrami-seasoned tri-tip, basting as it cooks.
Serving and Storage: Enjoying the Pastrami Tri-Tip
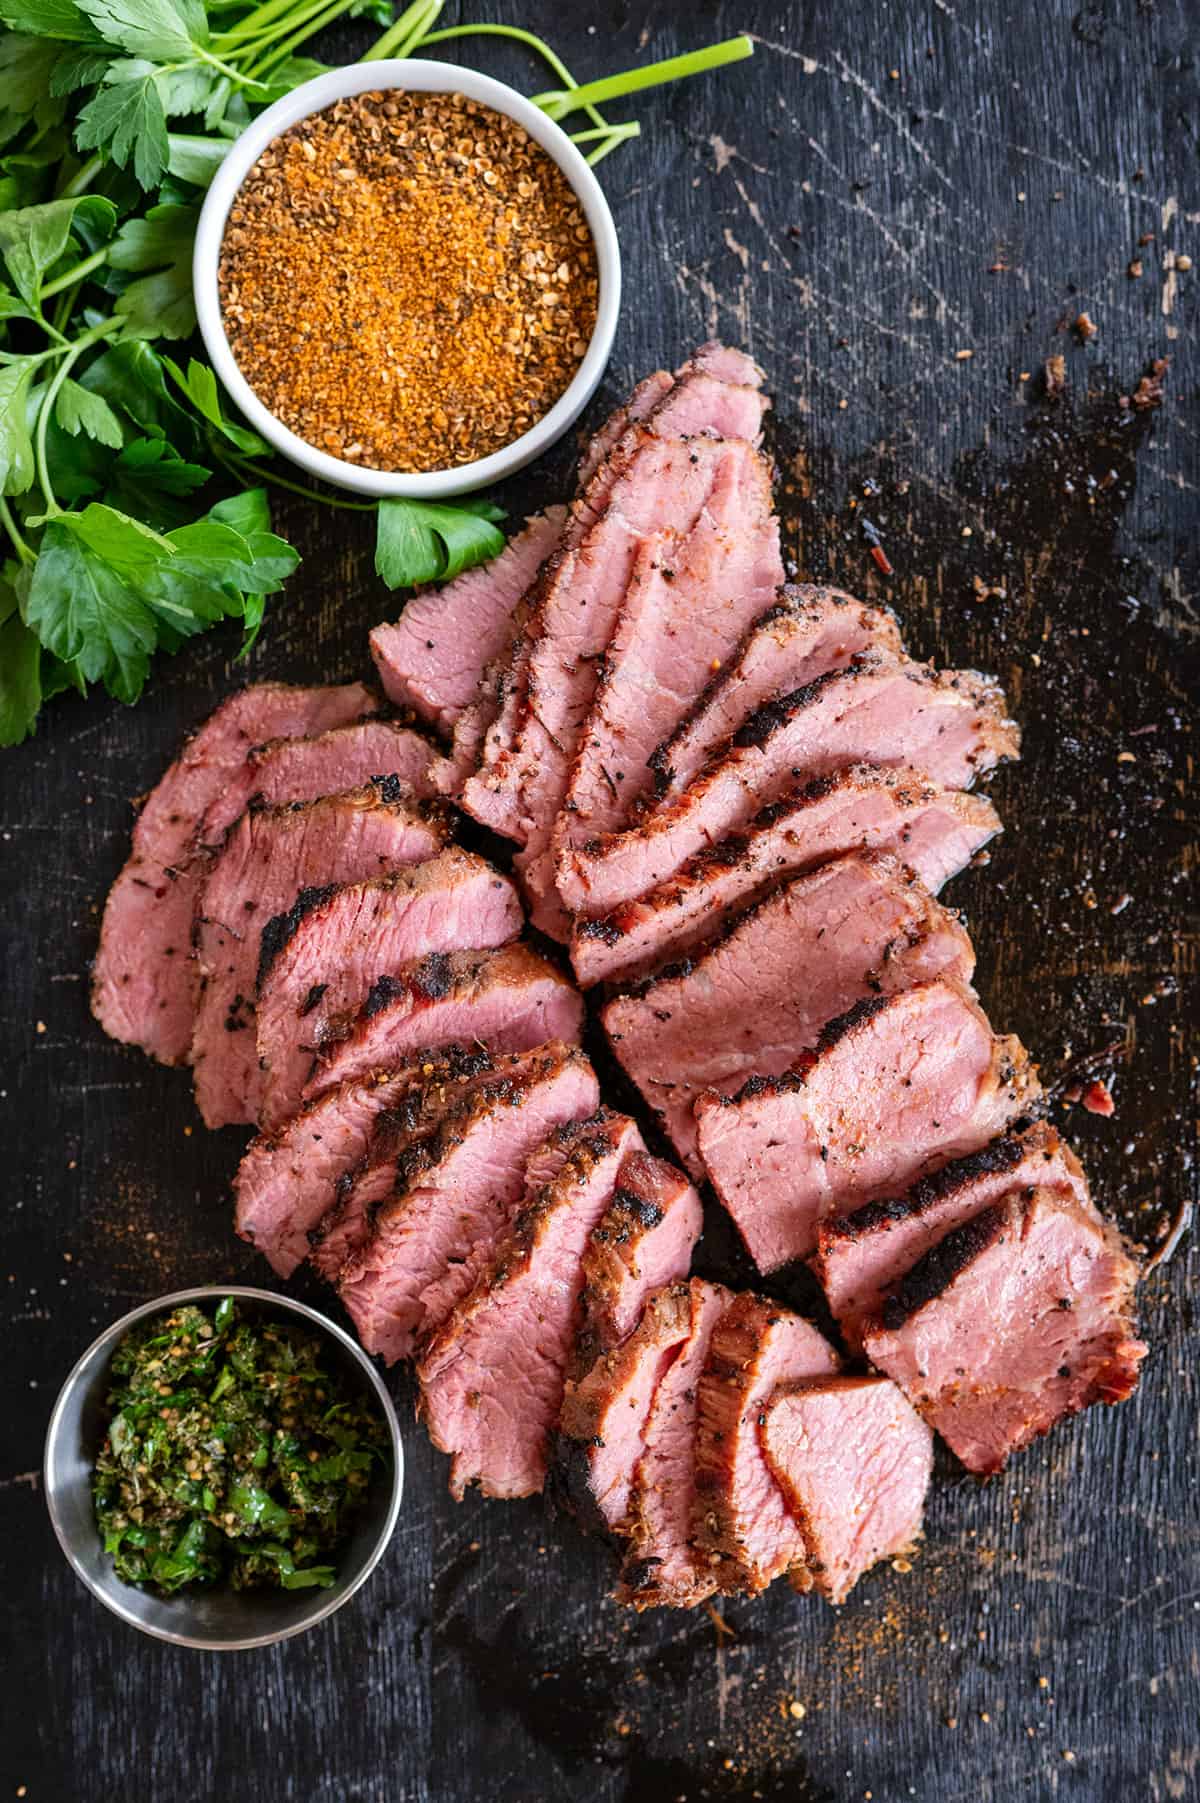
Once the tri-tip reaches its target internal temperature of 135°F (57°C), it is removed from the grill. A crucial resting period of 10 to 15 minutes follows. This allows the juices, which have been driven to the center during cooking, to redistribute throughout the meat, ensuring maximum tenderness and flavor in every slice. After resting, the tri-tip is sliced thinly against the grain.
The versatility of pastrami tri-tip shines in its serving options. It is excellent served as a standalone dish, accompanied by classic barbecue sides such as potato salad and coleslaw. Alternatively, it can be piled high on freshly baked bread or soft buns to create an unforgettable pastrami sandwich.

Storage: Leftover pastrami tri-tip can be stored in an airtight container in the refrigerator for up to a week. For longer preservation, it can be frozen for several months. It can be enjoyed cold or reheated gently in a microwave or a skillet to preserve its moisture and texture.
Nutritional Considerations
The nutritional profile of this pastrami tri-tip recipe indicates that a serving (based on the recipe’s default servings) contains approximately 322 calories, 1 gram of carbohydrates, 31 grams of protein, and 21 grams of fat. This breakdown highlights the lean protein content of the dish, with a notable amount of monounsaturated fats contributing to its richness.
Expert Insights and Frequently Asked Questions
Culinary experts often emphasize the importance of understanding meat cuts and their optimal cooking methods. For pastrami, the choice of meat significantly influences the preparation. While brisket is traditional, leaner cuts like tri-tip offer a more accessible and time-efficient route to a delicious pastrami-style experience.

Frequently Asked Questions:
-
What cut of meat is best for pastrami?
Traditionally, pastrami is made from brisket or beef navel due to their higher fat content, which benefits from slow cooking. However, virtually any protein can be transformed into pastrami through the brining and seasoning process. Tri-tip, a leaner cut, is an excellent alternative for those seeking a quicker preparation time. -
How long do you brine a tri-tip for pastrami?
For cuts like tri-tip, which are generally less than half the size of a whole brisket, a brining period of 5 to 7 days is recommended. This ensures adequate flavor penetration and moisture retention without oversaturating the meat.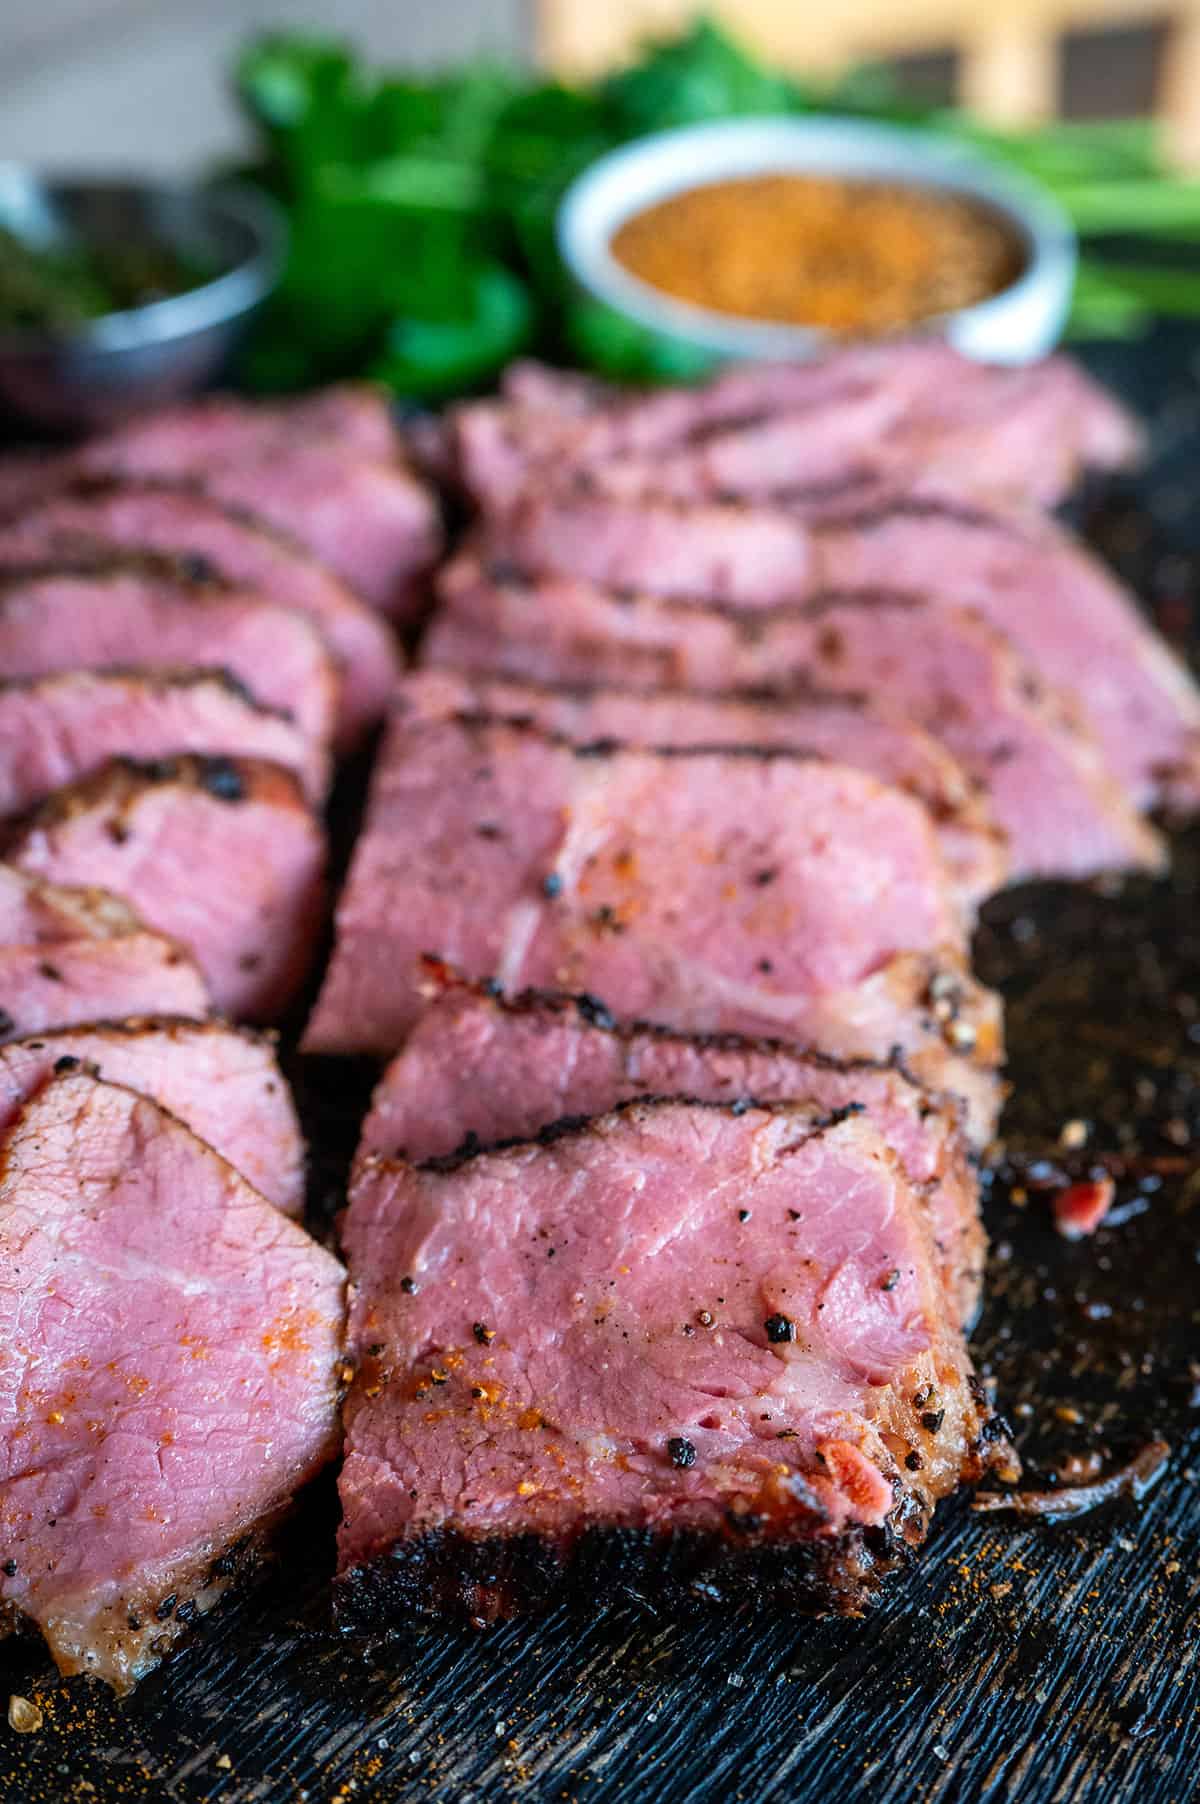
-
Is picanha the same as tri-tip?
No, picanha and tri-tip are distinct cuts of beef, although both originate from the sirloin primal. Picanha, also known as the rump cap, has a thick cap of fat that is highly prized for its flavor. Tri-tip is a leaner, triangular muscle from the bottom sirloin.
The development of this pastrami tri-tip recipe reflects a growing trend in home cooking: adapting traditional, time-intensive techniques to more readily available and leaner cuts of meat. This approach democratizes complex culinary creations, making them accessible to a wider audience seeking both authenticity and convenience. The success of this method lies in the balance between the crucial brining period and the focused, high-heat grilling, ensuring a flavorful and tender result that honors the spirit of pastrami while embracing the unique qualities of the tri-tip.